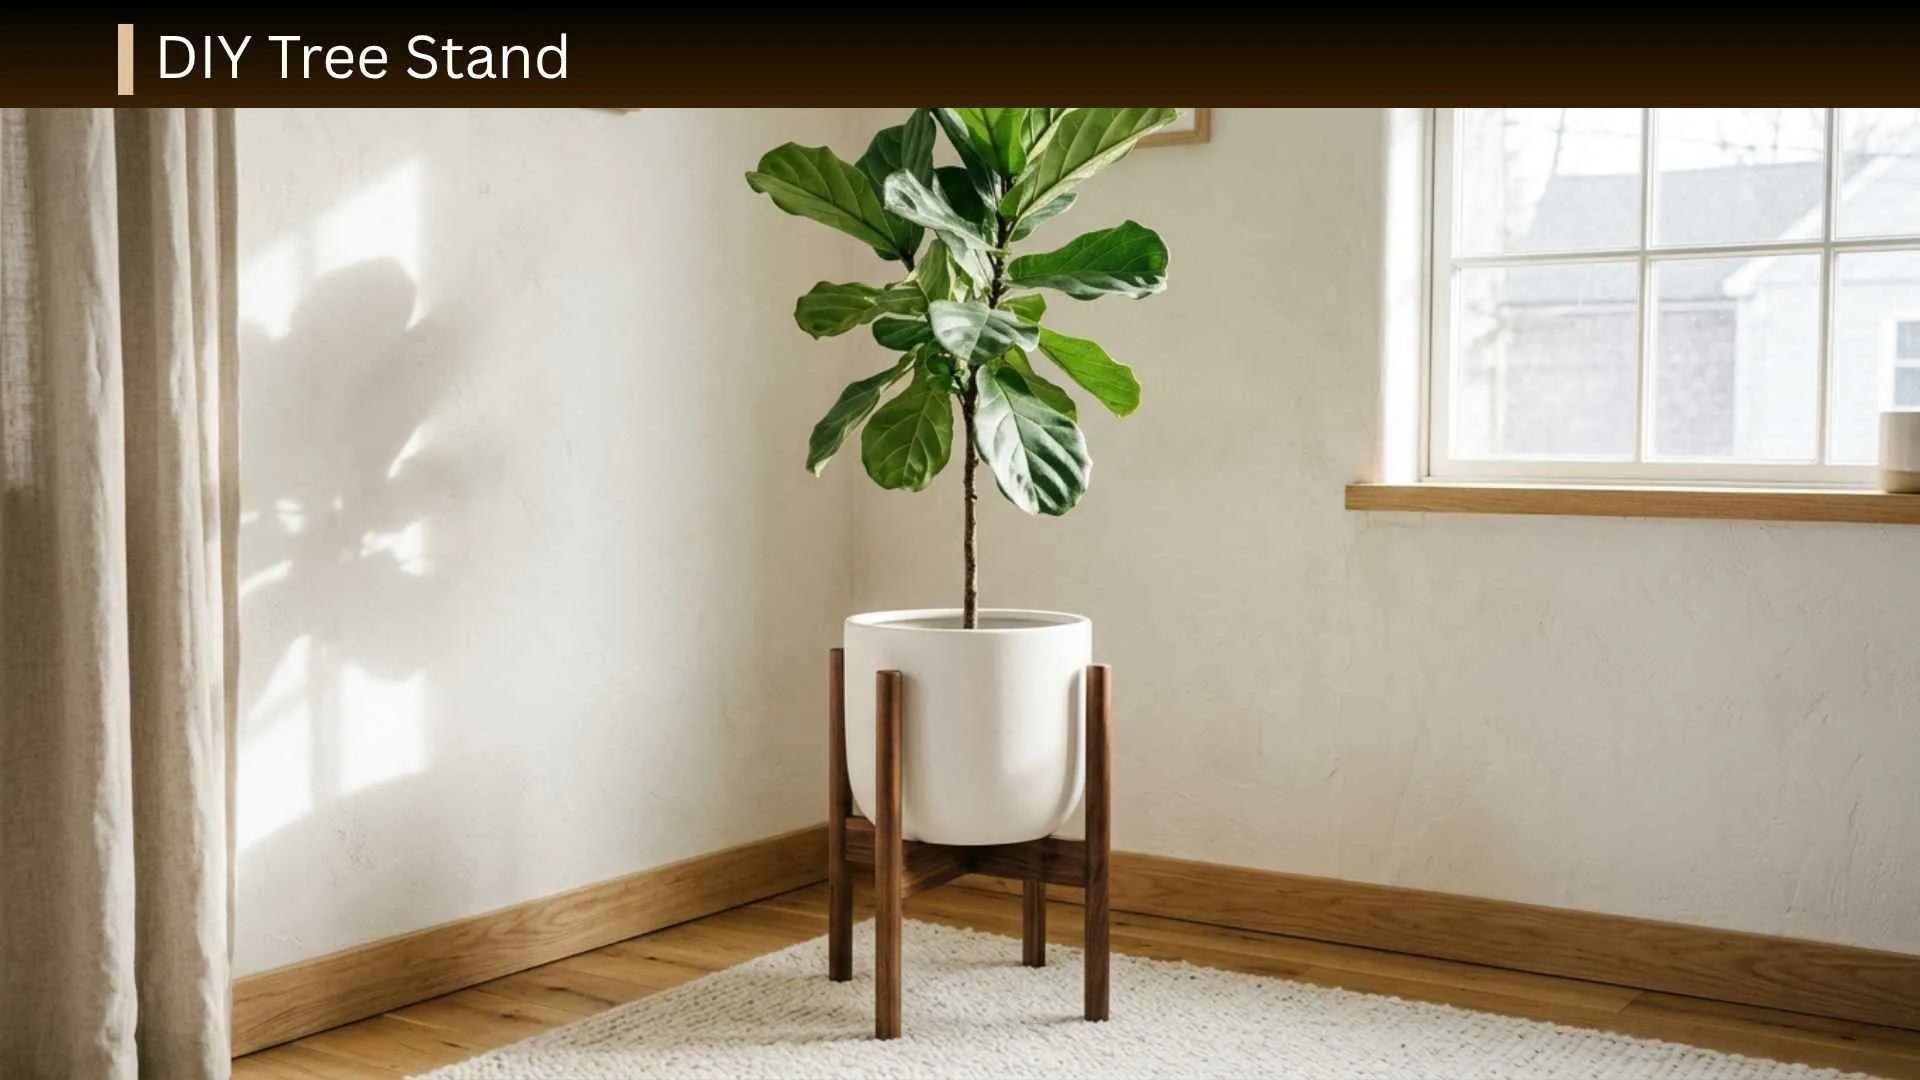
A DIY tree stand can be a simple way to support your Christmas tree without buying an expensive stand. The best design depends on whether you have a real tree or an artificial one. A real Christmas tree needs a stable base and enough room for water, while an artificial tree usually needs support for its center pole.
If you are searching for an easy DIY tree stand, the safest approach is to focus on stability first and decoration second. A wide wooden base, a properly fitted support, and when using a real tree a suitable water reservoir can give you a practical homemade solution.
This guide explains how to make a sturdy DIY Christmas tree stand, how to choose the right design for your tree, how to improve stability, and how to turn a basic stand into an attractive tree base.
Choose the Right DIY Tree Stand for Your Tree
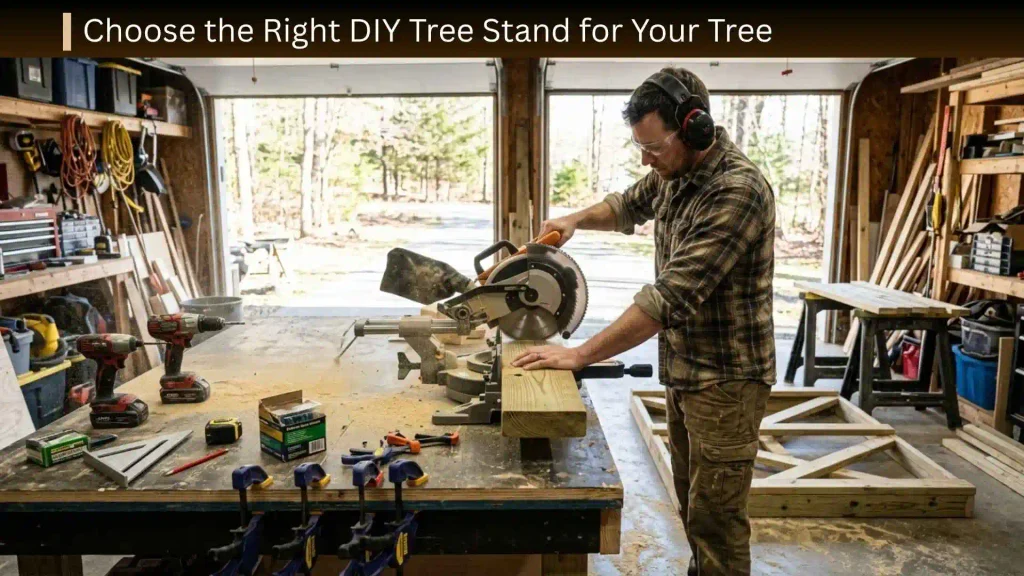
Before cutting wood or grabbing a bucket, decide what type of tree you are supporting.
DIY Stand for a Real Christmas Tree
A real tree needs a stand that holds the trunk securely while keeping the freshly cut bottom submerged in water.
The National Christmas Tree Association recommends using a traditional water-holding stand with adequate capacity. As a general guideline, the stand should provide about 1 quart of water capacity per inch of trunk diameter.
That means a real tree should not simply be placed into a decorative basket or dry wooden box unless there is a separate, stable water-holding system inside it.
DIY Stand for an Artificial Christmas Tree
Artificial trees are usually easier because they do not need water.
A wooden platform, reinforced box, planter, weighted container, or decorative tree collar can conceal and support the original metal tree base.
For an artificial tree, measure the diameter of the factory stand or center pole before designing your DIY base. The goal is to create something that supports the existing structure rather than forcing the pole into an opening that is too tight.
DIY Stand Cover vs. Structural Stand
There is an important difference between a tree stand and a tree stand cover.
A structural stand actually supports the tree.
A decorative cover simply hides an existing stand.
If your artificial tree already stands securely, a wooden box, basket, fabric collar, crate-style cover, or planter may be all you need. Decorative boxes and baskets are common approaches for hiding artificial-tree bases.
The Easiest DIY Wooden Tree Stand
For a homemade stand that can be customized to your tree, a wide wooden cross-base is a practical starting point.
The design below is intentionally presented as a sample DIY design, not as a certified load rating. Larger or unusually heavy trees require more substantial construction.
Materials You Will Need
For a basic wooden stand, gather:
- Two sturdy pieces of lumber for the main base
- Additional wood for the center support
- Exterior-rated wood screws
- Drill or driver
- Measuring tape
- Pencil
- Carpenter’s square
- Saw
- Sandpaper
- Level
- Waterproof container or reservoir if supporting a real tree
- Clamps, if available
Choose straight, solid lumber without major cracks or damaged sections.
For a larger tree, use thicker and wider lumber and increase the footprint rather than simply making the center opening larger.
Measure the Tree Trunk First
Do not design the center opening before measuring the actual trunk.
Measure the trunk diameter near the bottom—the section that will sit inside the stand. Also measure the overall tree height and consider how wide the tree becomes near the bottom.
The National Christmas Tree Association recommends using a stand that fits the tree rather than shaving down the sides of the trunk.
Write down:
- Trunk diameter
- Tree height
- Approximate tree width
- Required water capacity
- Available floor space
These measurements determine how large and strong your stand needs to be.
Build a Wide Base
Start with two pieces of lumber that cross at the center to form a strong X-shaped or cross-shaped footprint.
For a sample medium-tree design, you could begin with two boards approximately 24 inches long and arrange them perpendicular to each other.
Secure the boards together at the center using suitable screws.
The important point is not that every tree needs a 24-inch base. The footprint should become wider as the tree becomes taller, heavier, or more top-heavy.
A larger tree should not be placed on a small base simply because the center support fits.
Add the Center Support
The center support is responsible for keeping the trunk or artificial-tree pole upright.
For a real tree, the support should hold the trunk without damaging or excessively squeezing it.
For an artificial tree, the support can be designed around the manufacturer’s existing center pole or metal base.
Make sure the center support is firmly connected to the main base. A loose center piece can allow the entire tree to lean even when the bottom looks heavy.
Keep the Base Level
Place the unfinished stand on the floor and check it from several directions.
If the base rocks, fix the problem before placing the tree on it.
Do not rely on a tree skirt to hide an unstable stand.
A decorative cover can make a finished setup look better, but it should never be responsible for structural stability.
How to Make a DIY Tree Stand for a Real Christmas Tree
Real trees require a different approach because the cut trunk needs access to water.
Use a Water Reservoir
The simplest concept is a sturdy water-holding container positioned inside or underneath a structural frame.
The container must be stable and large enough for the tree’s water requirements.
The National Christmas Tree Association recommends a water-holding stand and advises checking the water level daily so the base of the trunk does not become exposed.
Make a Fresh Cut on the Trunk
Before placing a real tree into the stand, make a fresh cut across the bottom of the trunk.
The cut should be perpendicular to the trunk rather than angled.
The National Christmas Tree Association recommends removing roughly ½ inch from the bottom of the trunk. It specifically advises against V-shaped or angled cuts because they can make the tree harder to hold securely and do not improve water uptake.
Do Not Shave the Trunk
If the trunk is too large for the stand, do not solve the problem by removing layers from the sides.
The outer wood is important for water uptake, so the better solution is to use a stand that actually fits the trunk.
Do Not Drill a Hole in the Trunk
Drilling a hole into the bottom of the trunk is another common DIY suggestion, but it is not necessary for improving water uptake.
The National Christmas Tree Association specifically states that drilling a hole does not improve water uptake.
How to Make a DIY Tree Stand for an Artificial Tree
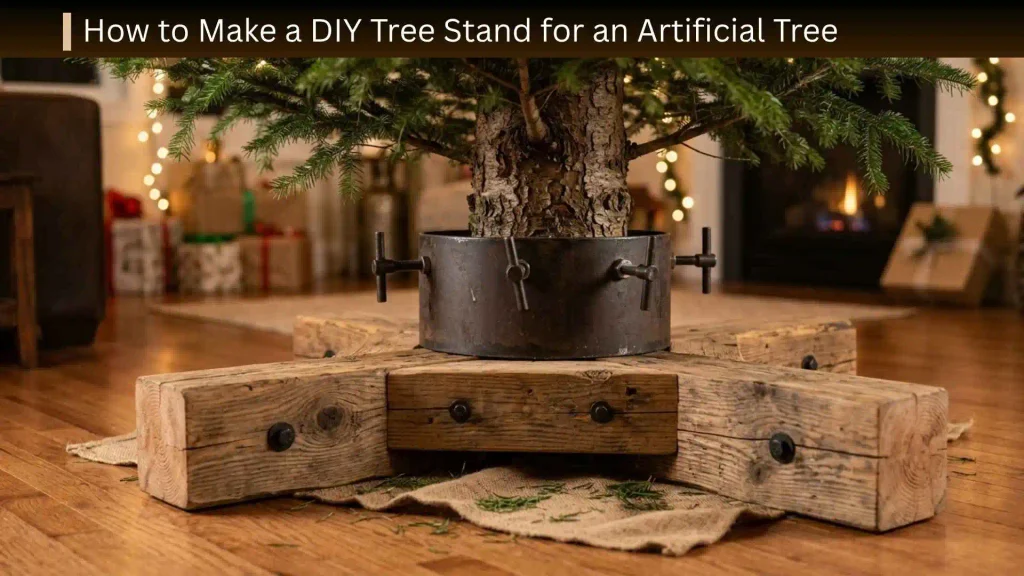
Artificial trees give you more freedom because water is not required.
Use a Wooden Box
A wooden box can hide the original metal stand while creating a more finished appearance.
Measure the existing base first, then build the box large enough to fit around it without pressing against the tree mechanism.
This approach is especially useful when you want a farmhouse, rustic, modern, or minimalist Christmas look.
Use a Planter
A large planter can work as a decorative enclosure for an artificial tree.
Choose a container with a sufficiently wide footprint and make sure the original tree stand remains properly supported inside it.
Do not assume that a heavy-looking planter is automatically stable. Test the complete setup after inserting the tree.
Use a Basket
A large basket can provide a quick decorative solution.
This works best when the artificial tree already has a secure factory stand and you are using the basket primarily as a cover.
The basket should not be expected to support a tall tree unless it has been specifically reinforced for that purpose.
DIY Tree Stand Size Guide
There is no single stand size that works for every Christmas tree.
Use your tree’s dimensions as the starting point.
| Tree Type | Suggested DIY Approach | Main Priority |
| Small artificial tree | Planter or small wooden box | Appearance |
| Medium artificial tree | Wooden base or reinforced box | Stability |
| Small real tree | Water-holding container with support | Water + stability |
| Medium real tree | Wide wooden frame with reservoir | Water capacity |
| Large real tree | Heavy-duty structural stand | Strength + stability |
| Very large tree | Commercial or professionally engineered stand | Safety |
The taller the tree becomes, the more important the width and strength of the base become.
For very large trees, a homemade stand should not be treated as automatically safe simply because it feels heavy.
How to Make a DIY Tree Stand More Stable
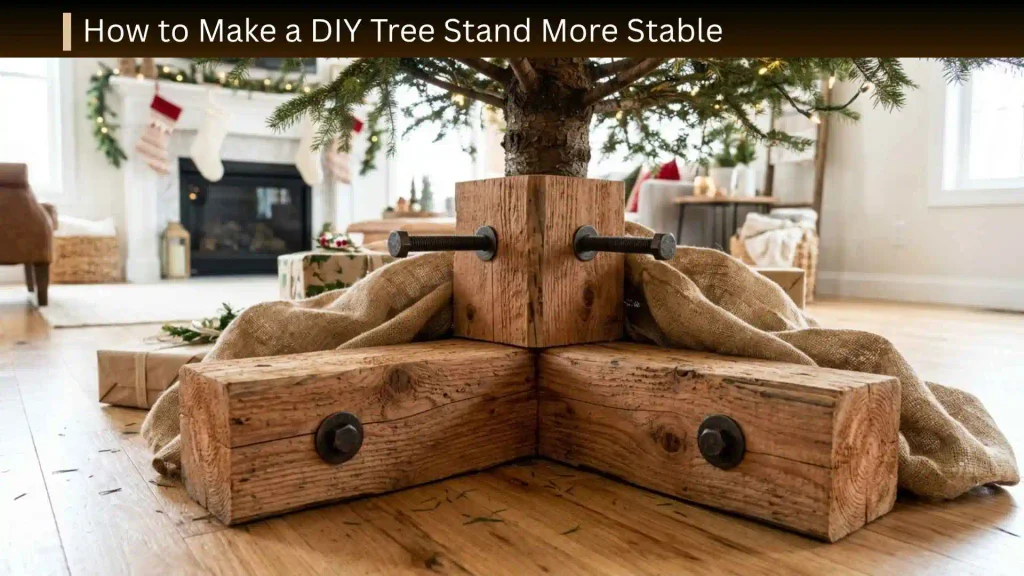
Stability is the most important part of the project.
Make the Footprint Wider
A wider base generally gives you more resistance to tipping than a narrow base.
If your tree feels top-heavy, increase the footprint instead of simply adding decorative weight around the center.
Lower the Center of Gravity
Heavy material positioned low in the structure can help make the setup more resistant to tipping.
For example, a weighted lower base can be more useful than adding weight high around the trunk.
Check the Floor
A perfectly constructed stand can still be unstable if it sits on an uneven or slippery surface.
Place the stand on a firm, level floor before testing the tree.
Test Before Decorating
Do not wait until the tree is covered with lights and ornaments.
With the tree standing in its completed setup, gently test it from several directions.
Look for:
- Rocking
- Leaning
- Sliding
- Loose screws
- Movement around the trunk
- Flexing in the base
- Water-container movement
If anything moves unexpectedly, fix it before decorating.
DIY Tree Stand Ideas on a Budget
You do not always need a complicated woodworking project.
Scrap Wood Tree Stand
If you already have leftover lumber, use it to create a simple cross-shaped base.
This can be one of the least expensive options because the main materials may already be available.
Bucket-Based Stand
A sturdy bucket or container can be incorporated into a DIY stand, particularly when you need a water reservoir for a real tree.
However, simply putting a tree into a bucket does not automatically make it safe. The trunk still needs proper support, the container needs adequate capacity, and the completed setup must be tested for stability.
Wooden Crate Style
A wooden crate can be used as a decorative enclosure around an existing artificial-tree stand.
Add a removable top or open center so the original tree base remains accessible.
Planter Tree Stand
For an artificial tree, a large planter can create the appearance of a permanent decorative base.
Choose one with a broad bottom and enough interior space for the tree’s original support.
Reclaimed Wood Stand
Old boards can be turned into a rustic Christmas tree base.
Sand rough edges carefully and avoid using visibly damaged or rotten wood for structural components.
How to Hide a DIY Tree Stand
Once the structural part is finished, you can make it look much more decorative.
Wooden Tree Collar
A wooden collar can hide the stand while giving the tree a built-in furniture-like appearance.
It can be stained, painted, whitewashed, or left natural.
Woven Basket
A basket creates a softer, more casual appearance and works particularly well with neutral Christmas decorations.
Fabric Tree Skirt
A traditional tree skirt is one of the easiest ways to hide a basic stand.
It also gives you access to the stand when you need to check water levels.
Galvanized Tub or Decorative Container
For an artificial tree, a decorative metal container can create a farmhouse or industrial look.
Make sure the container is being used appropriately as either a cover or a structural component. Do not assume that appearance equals stability.
How Much Does a DIY Tree Stand Cost?
The cost depends heavily on what you already have.
| DIY Option | Typical Material Level | Time Level |
| Scrap wood base | Low | Moderate |
| Bucket setup | Low | Low |
| Wooden box | Low to moderate | Moderate |
| Planter setup | Moderate | Low |
| Decorative wooden collar | Moderate | Moderate |
| Heavy-duty custom stand | Moderate to high | High |
Using scrap lumber and existing hardware can reduce the cost considerably.
A decorative project may cost more than a basic structural stand because you are paying for finishes, trim, paint, stain, baskets, or other visual materials.
Common DIY Tree Stand Mistakes
A DIY stand can fail because of a few basic design mistakes.
Making the Base Too Small
A narrow base may look clean but can become unstable under a tall tree.
Ignoring the Trunk Diameter
A support designed without measuring the trunk can result in a poor fit.
Forgetting About Water
A decorative stand for a real tree is not enough.
The cut end of the trunk needs to remain submerged in water, and the water level should be checked regularly.
Cutting the Trunk at an Angle
An angled or V-shaped cut does not provide the expected advantage and can make the tree more difficult to secure.
Shaving the Trunk
Do not reduce the trunk diameter just to make it fit a smaller stand.
Use a properly sized support instead.
Decorating Before Testing
A stand that has not been tested can become a much bigger problem after you add ornaments, lights, and other decorations.
Test first, decorate second.
DIY Tree Stand Troubleshooting
| Problem | Likely Cause | What to Check |
| Tree leans | Uneven base or loose support | Level and center the tree |
| Stand rocks | Uneven floor or base | Check the bottom footprint |
| Trunk moves | Support is too loose | Improve the center clamp/support |
| Tree tips easily | Base is too narrow | Increase footprint or use a stronger stand |
| Water disappears quickly | Tree is using water | Check the level daily |
| Water remains but trunk is exposed | Reservoir design is inadequate | Recheck water depth and support |
| Artificial tree wobbles | Factory base is poorly supported | Secure the original base |
| Wooden stand flexes | Lumber or joints are insufficient | Reinforce or redesign |
Real Christmas Tree Water Care
A good DIY stand is only part of keeping a real Christmas tree in good condition.
Check the Water Every Day
Check the reservoir daily and make sure the water does not fall below the bottom of the trunk.
The National Christmas Tree Association notes that a tree can use substantial amounts of water, particularly early in the display period.
Use Plain Water
You do not need to create a complicated homemade mixture.
The National Christmas Tree Association recommends plain tap water and advises against adding things such as bleach, aspirin, fertilizer, or other homemade additives.
Keep the Tree Away From Heat
Position the tree away from fireplaces, heaters, heat vents, and direct sunlight.
Reducing exposure to major heat sources can slow drying.
Check Your Lights
Before decorating, inspect your light sets for damaged wires or other problems.
Turn the lights off when leaving home or going to bed, and avoid overloading electrical circuits.
When You Should Buy a Commercial Tree Stand
DIY is not always the best answer.
Consider buying a commercial stand when:
- The tree is unusually tall.
- The trunk is very thick.
- The tree is exceptionally heavy.
- You cannot confidently calculate the required support.
- The homemade base flexes or moves.
- You have children or pets and cannot achieve reliable stability.
- You need a tested water-holding system.
- You are unsure whether your materials can handle the load.
The goal of a DIY project should be a stable and practical tree—not simply avoiding the cost of a store-bought stand.
DIY Tree Stand Safety Checklist
Before calling the project finished, check every item below:
- The base sits flat.
- The tree is centered.
- The trunk or artificial pole is securely supported.
- The base does not rock.
- The stand does not slide easily.
- All structural screws are tight.
- The wood is not cracked or rotten.
- A real tree has a fresh, straight cut.
- The real tree has adequate water capacity.
- The trunk remains submerged.
- The water level is checked daily.
- The tree has been tested before decorating.
- The tree is away from major heat sources.
- Lights and electrical connections have been inspected.
Frequently Asked Questions About DIY Tree Stands
What is the easiest DIY tree stand?
For an artificial Christmas tree, a reinforced wooden box, planter, or decorative container around the existing factory stand can be one of the easiest solutions.
For a real tree, the design needs to accommodate both trunk support and water, so a simple decorative container alone is not enough.
Can I use a bucket as a DIY Christmas tree stand?
A bucket can be part of a DIY tree stand, particularly as a water reservoir or weighted container, but it should not automatically be considered a safe stand.
The completed setup needs secure trunk support, adequate water capacity for a real tree, and enough stability for the height and weight of the tree.
How do you make a Christmas tree stand out of wood?
A basic wooden stand can be made by creating a wide cross-shaped base, adding a strong center support, and sizing the opening around the actual tree trunk or artificial-tree pole.
For a real tree, incorporate a suitable water reservoir.
How big should a DIY tree stand be?
There is no universal dimension.
The stand should be matched to the tree’s height, weight, trunk diameter, and overall footprint. A taller or heavier tree generally requires a wider and stronger base.
How do you keep a DIY Christmas tree stand from tipping?
Use a wide, stable footprint, keep the tree centered, secure the trunk or center pole properly, and test the finished setup before decorating.
If the tree still feels top-heavy, increase the base size or use a stronger commercial stand.
Can I put a real Christmas tree in a planter?
A planter can work as part of a real-tree setup if it provides appropriate structural support and contains a suitable water reservoir.
A decorative planter by itself does not guarantee stability or adequate water access.
Should I cut the Christmas tree trunk at an angle?
No. The National Christmas Tree Association recommends a fresh cut perpendicular to the trunk rather than an angled or V-shaped cut.
Should I drill a hole in the bottom of a Christmas tree trunk?
No. Drilling a hole does not improve water uptake according to the National Christmas Tree Association.
How often should I add water to a real Christmas tree?
Check the stand every day and add water whenever necessary so the bottom of the trunk remains submerged. Water consumption can vary, and trees may use considerable amounts during the early part of the display period.
Final DIY Tree Stand Checklist
The best DIY tree stand is not necessarily the most complicated one.
For an artificial tree, focus on a strong base that securely supports the original tree stand or center pole. For a real tree, combine that structural support with an appropriately sized water reservoir.
Measure the tree first, build around those measurements, use a wide enough footprint, and test the complete setup before decorating.
Most importantly, do not sacrifice stability for appearance. A simple wooden base that stays upright is more useful than an elaborate decorative stand that wobbles.
Once the structure is secure, add a wooden collar, basket, tree skirt, planter, or other decorative cover to give your Christmas tree the finished look you want.
Conclusion
A DIY tree stand can be inexpensive, customizable, and surprisingly simple when you design it around the actual tree.
The key is to separate support from decoration. Build a stable structural base first, then add the visual details afterward. For real Christmas trees, make sure the trunk fits properly, make a fresh perpendicular cut, provide adequate water capacity, and monitor the water level every day.
For artificial trees, you have more flexibility with wooden boxes, planters, baskets, and decorative collars.
If your tree is especially tall or heavy, however, don’t assume a homemade solution is safe simply because it looks sturdy. When in doubt, choose a properly designed commercial stand or a more substantial engineered solution.