Want to build a DIY car at home without buying an expensive kit? A simple homemade car can be made from cardboard, bottle caps, drinking straws, wooden skewers, tape, and a few other everyday materials.
If you want something that simply rolls, a basic cardboard car is the easiest place to start. If you want a DIY car that moves by itself, you can add a rubber-band or balloon-powered system. For a school STEM project, you can go one step further by testing wheel size, weight, friction, alignment, or propulsion and recording the results.
This guide focuses on small homemade toy and model cars, not full-size road vehicles or automotive repairs. It gives you several ways to build a DIY car so you can choose the version that matches your time, materials, and skill level.
Which DIY Car Should You Make?
Before cutting anything, decide what you want your car to do.
| Your goal | Best option | Difficulty | Approximate time |
| Make a very simple car | Push-powered cardboard car | Easy | 15–25 minutes |
| Make a car that moves by itself | Rubber-band car | Easy–moderate | 25–40 minutes |
| Make a science experiment | Balloon-powered car | Easy–moderate | 25–40 minutes |
| Use recycled materials | Bottle-cap cardboard car | Easy | 20–30 minutes |
| Make a school project | Test-and-measure car | Moderate | 30–60 minutes |
| Try a more advanced build | Motorized model car | Moderate | 1+ hours |
| Decorate a toy car | Cardboard craft car | Easy | 20–30 minutes |
If you’re a beginner, start with the push-powered cardboard car. Get the wheels and axles working first. Once the car rolls properly, you can add a propulsion system.
The Easiest DIY Car: Cardboard and Bottle Caps
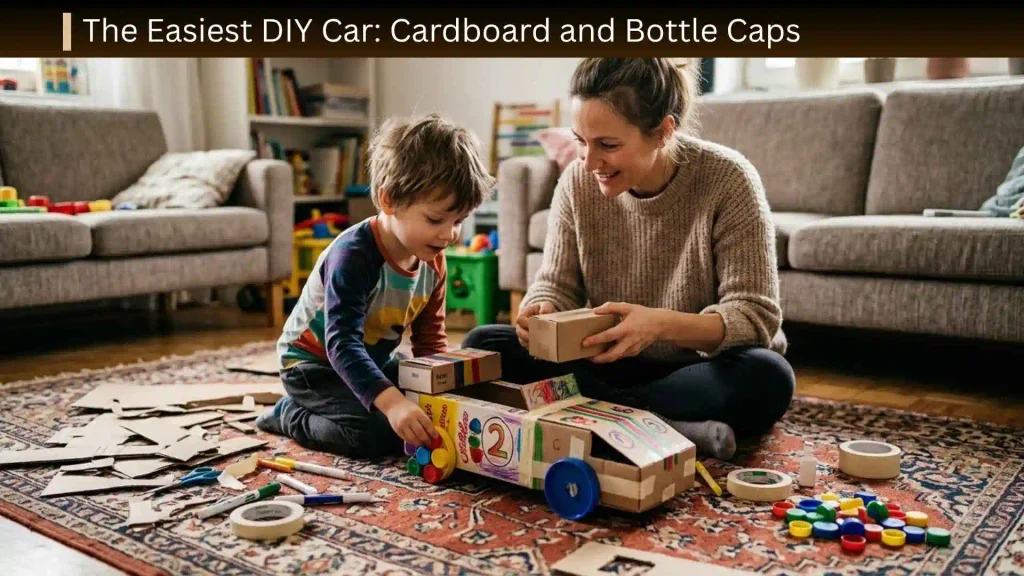
The simplest design uses a flat cardboard body, two axle holders, two axles, and four wheels.
DIY car project at a glance
Difficulty: Beginner
Time: About 20–30 minutes
Main materials: Cardboard, 4 wheels, 2 straws, 2 axles, tape
Best for: Kids, parents, classrooms, STEM activities, and school projects
Power: Push by hand, with optional rubber-band or balloon propulsion
Main challenge: Keeping the axles parallel and the wheels able to rotate freely
A small rectangular chassis around 6 × 3 inches (15 × 8 cm) is a practical starting size for a beginner model. Similar dimensions are commonly used in educational cardboard-car activities, but you can scale the design to suit the materials you have.
What You Need to Make a DIY Car
Gather:
- 1 piece of sturdy cardboard
- 4 similar bottle caps or other round wheels
- 2 drinking straws
- 2 wooden skewers or thin straight rods
- Tape
- Scissors
- Ruler
- Pencil or marker
Optional materials:
- Rubber bands
- Balloon
- Extra straw
- Glue
- Colored paper
- Markers
- Stickers
- Small pieces of cardboard
- Stopwatch or phone for testing
- Coins or small weights for experiments
If you’re working with children, an adult should handle sharp tools and any step that involves making holes in bottle caps or cutting difficult materials. Educational balloon-car projects also recommend adult assistance for cutting and preparing components.
What Can You Use Instead of Bottle Caps?
You don’t need exactly four bottle caps.
Possible wheel substitutes include:
- Cardboard circles
- Plastic lids
- Small craft wheels
- Other lightweight round objects with suitable center holes
The important thing is that the wheels are reasonably similar in size and can be attached securely without preventing the axle from turning.
For a school experiment, using four wheels of the same type makes your testing easier because you have fewer variables changing at once.
How to Make a DIY Car Step by Step
Step 1: Cut the Car Body
Measure a rectangle approximately 6 × 3 inches from sturdy cardboard.
Cut it carefully.
You can make the body longer or wider, but avoid making it unnecessarily heavy. A lightweight chassis is easier to test and modify.
For your first version, keep the body simple.
Step 2: Mark the Axle Positions
Turn the cardboard upside down.
Mark one axle position close to the front and another close to the back.
As a starting point, mark each position about ¾–1 inch from the short ends.
The exact distance is not critical. What matters most is that the two axle positions are:
- Straight
- Parallel
- Centered across the body
This is one of the most important parts of the build.
If the axle holders are crooked, the finished car may curve instead of traveling straight.
Step 3: Prepare the Straw Axle Holders
Cut two pieces of drinking straw slightly shorter than the width of your cardboard body.
Place one straw across each marked axle position.
Tape the straws securely to the underside of the cardboard.
Before moving on, look at them from several angles.
They should be parallel.
A straw that is slightly angled can change the direction of the wheels.
Step 4: Insert the Axles
Slide one wooden skewer through each straw.
The skewer should extend beyond both sides of the car.
Spin each axle with your fingers.
It should rotate without excessive rubbing.
If it feels stuck, don’t continue assembling the car yet. Fix the axle holder first.
A properly aligned axle system should allow the wheels to turn freely; educational balloon-car instructions similarly emphasize checking free axle rotation and parallel alignment before testing.
Step 5: Prepare the Wheels
If you’re using bottle caps, the center of each cap needs a suitable hole for the axle.
Because making holes in plastic can require a sharp tool, an adult should perform this step.
Try to make the holes as close to the center as possible.
A badly off-center hole can make a wheel wobble.
Step 6: Attach the Wheels
Push one wheel onto each end of each axle.
You want the wheel to stay attached to the axle while the axle itself remains free to rotate inside the straw.
Check the clearance.
The wheels should not rub heavily against the cardboard body.
Step 7: Test Before Decorating
Place the unfinished car on a smooth, flat surface.
Give it a gentle push.
Watch what happens.
Does it:
- Travel straight?
- Turn to one side?
- Wobble?
- Stop immediately?
- Move smoothly?
Don’t decorate the car yet.
Fix the mechanical problems first.
This simple rule can save a lot of frustration.
How to Make a DIY Car That Moves by Itself
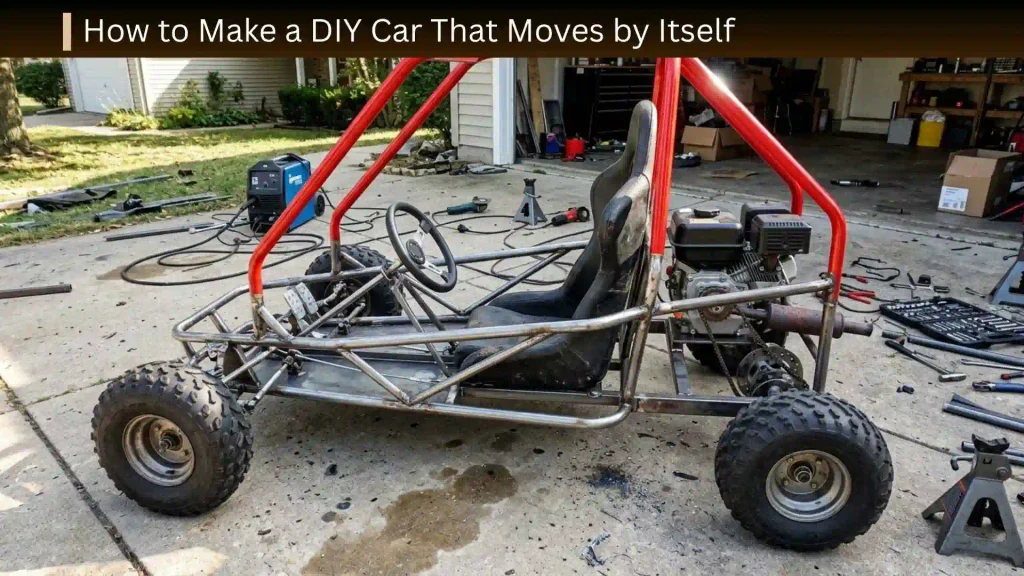
A push-powered car is a good starting point, but many people searching for a DIY car want one that moves without being pushed.
There are three beginner-friendly directions:
- Rubber-band power
- Balloon power
- Small motor power
Each works differently.
DIY Rubber Band Car
A rubber-band car stores energy in a stretched or twisted elastic band and releases that energy through the axle and wheels.
The basic sequence is:
Wind the mechanism → release it → axle turns → wheels turn → car moves
What you need
- Completed cardboard car
- Rubber band
- Tape
- Rear axle that can rotate freely
How to set it up
Attach one end of a rubber band to a secure point on the car body.
Loop the other end around the rear axle.
When the axle is rotated, the rubber band becomes twisted or wound.
Place the car on the floor and release it.
The exact attachment arrangement can vary depending on the chassis, so start with a simple setup and adjust it if the band slips.
Educational vehicle projects commonly use a rubber band connected to the rear axle as a simple mechanical propulsion system.
Why a rubber band car sometimes fails
If the wheels spin but the car stays in place, the problem may be traction rather than power.
Other possible causes include:
- The rubber band slips.
- The axle has too much friction.
- The car is too heavy.
- The wheels are poorly aligned.
- The wheels are not gripping the surface.
- The drive axle is not transferring enough force to the wheels.
Instead of adding more rubber bands immediately, identify the problem first.
DIY Balloon Powered Car
A balloon car is another simple way to make a homemade car move.
The basic idea is:
The balloon fills with air → air escapes backward → the car moves forward.
The escaping air produces a reaction force that propels the car in the opposite direction. Balloon-car activities are widely used to introduce motion, energy, and basic mechanics.
What you need
- Completed cardboard car
- Balloon
- Extra drinking straw
- Rubber band
- Tape
Step 1: Attach the Balloon to the Straw
Insert one end of the straw into the balloon opening.
Secure the connection tightly with a rubber band.
The goal is to prevent most of the air from escaping around the connection.
Step 2: Attach the Straw to the Car
Tape the straw to the top of the car.
Point the open end toward the back.
Keep the straw approximately parallel to the floor.
Step 3: Inflate and Test
Blow air into the balloon through the straw.
Pinch the straw to keep the air inside.
Place the car on a smooth surface.
Release the straw.
The air will escape and propel the car forward.
Balloon-car educational instructions similarly recommend a sealed balloon-and-straw connection and checking that the wheels and axles move freely before testing.
How to Make a DIY Car Go Straight
A homemade car that constantly turns is one of the most common problems.
The first thing to check is alignment.
Check the front axle
Look at the car from above.
The front axle should run straight across the body.
Check the rear axle
The rear axle should be parallel to the front axle.
If the rear axle is slightly angled, one side of the car may travel farther than the other.
Check the wheel holes
A wheel with an off-center hole can wobble.
If one wheel wobbles significantly, replace it or improve the wheel attachment.
Check wheel clearance
The wheels should not press tightly against the cardboard body.
Check the chassis
A badly bent cardboard body can shift the axle holders.
Straighten or replace the body if necessary.
Proper axle alignment is repeatedly identified in educational vehicle activities as important for smooth, straight travel.
DIY Car Troubleshooting Guide
| Problem | Likely cause | What to try |
| Car turns left | Axles aren’t parallel | Re-align the axle holders |
| Car turns right | Wheel/axle alignment | Check both sides |
| Wheels wobble | Off-center holes | Replace or reposition wheels |
| Wheels don’t spin | Too much friction | Check axle and straw clearance |
| Car barely moves | Too heavy or too much friction | Reduce weight and improve alignment |
| Wheels spin but car stays still | Poor traction | Check wheel contact with the surface |
| Rubber band slips | Poor attachment | Secure the band more carefully |
| Balloon loses air quickly | Loose connection | Tighten the balloon around the straw |
| Car flips over | Body too narrow/high | Lower the center of mass and reduce decorations |
| Car stops immediately | Mechanical resistance | Check every wheel and axle |
Don’t try to fix five problems at once.
Change one thing, test again, and observe the result.
How to Make a DIY Car Go Farther
Once your car moves, you can start improving it.
1. Reduce unnecessary weight
Remove decorations or extra cardboard that aren’t helping the structure.
2. Improve alignment
A straight-running car wastes less motion turning.
3. Reduce friction
Make sure the axles rotate freely inside the straw holders.
4. Keep the wheels balanced
Four reasonably similar wheels make testing easier.
5. Use a smooth test surface
A small model car can behave very differently on carpet, tile, wood, and rough concrete.
6. Don’t automatically add more power
More rubber-band tension or a larger balloon isn’t necessarily the solution.
If the wheels, axles, or chassis are poorly aligned, additional power may simply make the problem more obvious.
DIY Car Materials and Easy Substitutions
You can adapt the project to whatever is available.
| Standard material | Possible substitute |
| Cardboard | Cereal-box cardboard or another lightweight stiff sheet |
| Bottle caps | Cardboard circles or suitable plastic lids |
| Wooden skewers | Thin straight rods or suitable dowels |
| Drinking straws | Small smooth tubing |
| Tape | Strong craft tape |
| Rubber band | Suitable elastic loop |
| Balloon | Push propulsion if you don’t need self-powered movement |
When substituting materials, keep the basic engineering requirements in mind.
The wheel should be round enough to roll, the axle should be straight, and the axle holder should allow rotation.
How to Make a Recycled DIY Car
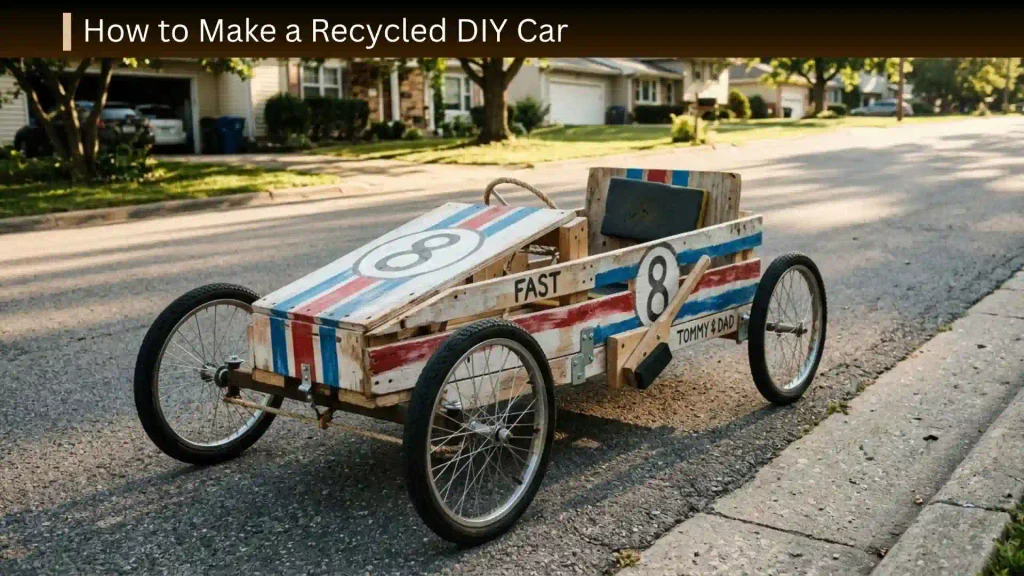
A recycled car is a great option when you don’t want to purchase craft supplies.
Look around your home for:
- Cardboard packaging
- Cereal boxes
- Bottle caps
- Clean plastic lids
- Straws
- Paper tubes
- Scrap cardboard
- Old packaging materials
Start with the chassis.
Then choose the wheels and axle system based on what you have available.
The goal isn’t to reproduce one exact design. The goal is to create a vehicle in which the wheels can rotate around aligned axles.
DIY Car for Kids
A homemade car can be adapted for different ages.
Younger children
Focus on:
- Decorating
- Choosing colors
- Counting wheels
- Testing push distance
- Observing movement
An adult can prepare the body and axle system.
Elementary-school children
Add:
- Wheel comparisons
- Balloon propulsion
- Rubber-band propulsion
- Distance measurements
- Simple design changes
Older children
Introduce:
- Variables
- Repeated trials
- Friction
- Energy
- Force
- Wheel diameter
- Weight distribution
- Data analysis
The project becomes much more valuable when the child isn’t simply following instructions but making predictions and testing them.
DIY Car for a School Science or STEM Project
A homemade car can become a strong school project when you turn the build into an experiment.
Instead of asking:
“Can I make a car?”
ask:
“Which design change helps my car travel farther?”
That gives you something measurable.
Example science question
Does increasing the number of rubber-band twists change how far the car travels?
Hypothesis
Write what you think will happen before testing.
For example:
“I think the car will travel farther when the rubber band is wound more because more stored energy will be available.”
Your hypothesis does not need to be correct. The experiment is about testing it.
Independent variable
The factor you deliberately change.
Example:
Number of rubber-band twists.
Dependent variable
What you measure.
Example:
Distance traveled.
Controlled variables
Keep these the same:
- Same car
- Same wheels
- Same floor
- Same starting position
- Same rubber band
- Same measurement method
This makes the comparison more meaningful.
DIY Car Test Sheet
Use a simple table to record your results.
| Trial | Rubber-band twists | Distance traveled | Notes |
| 1 | 5 | ||
| 2 | 5 | ||
| 3 | 10 | ||
| 4 | 10 | ||
| 5 | 15 | ||
| 6 | 15 |
Run multiple trials rather than relying on one result.
Then compare the average distance for each setting.
Other DIY Car Experiments
You don’t have to study rubber-band tension.
Try one of these questions:
Does wheel size affect distance?
Use the same car but test different wheel sizes.
Does weight affect movement?
Add small weights one at a time.
Does surface type affect distance?
Compare a smooth floor with a rougher surface.
Does axle alignment affect straight-line travel?
Make small alignment adjustments and compare the path.
Does balloon size affect distance?
Use the same car and compare different balloon sizes.
Does body length affect stability?
Build two bodies with different dimensions and compare them.
The important rule is simple:
Change one main variable at a time.
DIY Car Design Challenge
Once you’ve mastered the basic model, give yourself a challenge.
Challenge 1: Longest distance
Build a car that travels as far as possible.
Challenge 2: Straightest car
Build a car that travels toward a target without veering.
Challenge 3: Fastest car
Create a consistent test track and measure travel time.
Challenge 4: Lightest working car
Remove unnecessary material while keeping the car functional.
Challenge 5: Recycled-material challenge
Use only materials that would otherwise be thrown away.
Challenge 6: Decoration challenge
Create a racing car without adding enough weight to significantly affect its movement.
DIY Car: Push vs. Rubber Band vs. Balloon
Not every propulsion system is best for every project.
| Feature | Push car | Rubber-band car | Balloon car |
| Build difficulty | Very low | Moderate | Moderate |
| Needs power mechanism | No | Yes | Yes |
| Good for young kids | Yes | With supervision | With supervision |
| Good for STEM testing | Good | Excellent | Excellent |
| Easy to repeat trials | Yes | Yes | Yes |
| Main concept | Rolling motion | Stored elastic energy | Air propulsion |
If you’re completely new to DIY cars, build the push version first.
If your main goal is a science experiment, the rubber-band and balloon versions give you more variables to investigate.
DIY Motorized Car
A motorized DIY car is a more advanced version.
Instead of using a hand push, rubber band, or balloon, you can use a small DC motor and battery-powered system.
A basic motorized model generally requires:
- Lightweight chassis
- Wheels
- Axles
- Small DC motor
- Battery holder
- Suitable batteries
- Switch
- Wires
- A way to transfer motor rotation to the wheels
This is a different level of project from the simple cardboard car because the electrical system and mechanical drive need to work together.
For beginners, get the chassis and wheels working first before adding a motor.
When working with batteries, motors, wires, or soldering equipment, follow the manufacturer’s instructions and use adult supervision where appropriate.
How to Improve a Motorized DIY Car
If a motorized car doesn’t move properly, troubleshoot the mechanical system before assuming the motor is the problem.
Check:
- Are the wheels touching the surface?
- Can the axles spin freely?
- Is the motor securely mounted?
- Is the battery connected correctly?
- Is the drive mechanism actually transferring rotation to the wheels?
- Is the car too heavy for the motor?
A powerful motor cannot compensate for a badly aligned chassis.
DIY Car Ideas for Different Kids
For the creative child
Build a decorated racing car with a cardboard spoiler, racing number, and personalized design.
For the science-focused child
Build a balloon car and measure distance.
For the engineering-focused child
Build a rubber-band car and optimize its axle alignment and wheel traction.
For the environmentally minded child
Build a recycled car from packaging materials.
For a child who needs a quick school project
Build the basic cardboard version first, then add one measurable experiment.
Before You Build: The 5 Minute Planning Checklist
Before cutting your cardboard, answer these questions:
- What type of car am I making?
- Does it need to move by itself?
- What materials do I already have?
- How much time do I have?
- What will I measure if this is a school project?
Planning for two minutes can save you from rebuilding the car later.
Before You Test: The Mechanical Checklist
Check:
- Body is reasonably flat
- Axle holders are parallel
- Axles rotate freely
- Wheels are reasonably similar
- Wheels don’t rub heavily against the body
- Wheels are attached securely
- Car is not overloaded with decorations
- Test surface is reasonably smooth
- Starting line is marked
- Measuring method is ready
Now test the car.
Do This, Not That
| Do this | Avoid this |
| Test the wheels before decorating | Decorating before testing |
| Measure axle positions | Guessing their locations |
| Keep axles parallel | Mounting them at different angles |
| Use similar wheels | Mixing very different wheel sizes |
| Keep the body reasonably light | Adding unnecessary weight |
| Change one variable during experiments | Changing everything at once |
| Check friction | Assuming more power fixes everything |
| Record test results | Relying on memory |
Common DIY Car Mistakes
Mistake 1: Decorating too early
A beautiful car is frustrating if you have to take it apart to fix the axles.
Build first.
Decorate second.
Mistake 2: Making the wheels uneven
Even small differences can affect how a lightweight model travels.
Mistake 3: Ignoring friction
If the axle is rubbing against the cardboard or the wheel is pressing against the body, the car can lose much of its available motion.
Mistake 4: Using too much tape
Tape is useful for securing components, but excessive tape adds weight.
Mistake 5: Changing everything during testing
If you change wheel size, body weight, axle position, and power source at the same time, you won’t know what caused the result.
Mistake 6: Assuming more power is always better
More energy doesn’t automatically produce better performance.
Alignment, friction, traction, and weight all matter.
DIY Car Safety Tips
For a simple model car, the main concerns are the tools and small components used during construction.
- Have an adult handle sharp tools.
- Use care when making holes in bottle caps.
- Keep skewers and sharp objects away from young children.
- Supervise children when using glue or hot-glue equipment.
- Don’t place balloons near very young children because of choking and broken-balloon hazards.
- Test the finished car on a safe, open surface.
- Never test a homemade model car on a road or near moving traffic.
This article is about small model cars. Building or modifying a full-size automobile requires completely different mechanical, electrical, structural, and legal considerations.
Frequently Asked Questions About DIY Cars
How do you make a simple DIY car?
Cut a lightweight cardboard body, attach two straw axle holders underneath, insert two straight axles, and attach four wheels. Test the car before decorating it.
What is the easiest DIY car for kids?
A simple cardboard push car is usually the easiest starting point because it doesn’t require a motor or complicated propulsion system.
How do you make a DIY car that moves by itself?
You can add a rubber-band mechanism or balloon-and-straw propulsion system. Both allow you to turn the basic cardboard car into a moving STEM project.
How do you make a DIY cardboard car with bottle caps?
Use cardboard for the body, straws as axle holders, wooden skewers as axles, and four bottle caps as wheels. Keep both axle holders parallel so the car has a better chance of traveling straight.
Why does my DIY car keep turning?
The most common things to check are axle alignment, wheel placement, and wheel wobble. Make sure both axles are parallel and the wheels are attached evenly.
Why do the wheels spin but the DIY car doesn’t move?
The wheels may not have enough traction, or the car may have too much friction. Check whether the wheels are actually contacting the surface and whether the axles turn freely.
How can I make my DIY car go farther?
Reduce unnecessary weight, improve wheel and axle alignment, reduce friction, and test the car on a smooth surface. For powered versions, optimize the propulsion system instead of simply adding more power.
What can I use instead of bottle caps?
You can experiment with cardboard circles, suitable plastic lids, or other lightweight round materials. Try to use wheels that are similar in size and shape.
Is a DIY car a good school science project?
Yes. It becomes a stronger science project when you investigate a measurable question, such as whether wheel size, weight, surface type, or propulsion affects distance or speed.
What is the best DIY car for a STEM project?
A rubber-band or balloon-powered car is a good choice because you can change one variable at a time and measure how the design affects movement.
Final DIY Car Project Checklist
Before calling your project finished:
- The body is sturdy enough to hold the components.
- Both axle holders are parallel.
- Both axles can rotate freely.
- The wheels are secure.
- The wheels don’t rub heavily against the body.
- The car rolls when pushed.
- You’ve tested it before decorating.
- You’ve fixed any alignment problems.
- You’ve chosen a propulsion system if needed.
- You’ve recorded results if this is a science project.
- You’ve made only one major change between controlled tests.
Final Thoughts
The best DIY car doesn’t have to be complicated.
Start with a simple cardboard chassis, two axle holders, two axles, and four wheels. Get that basic design rolling before adding a rubber band, balloon, motor, or decorations.
Once the car works, the project becomes much more interesting. You can investigate why it turns, how friction affects movement, whether different wheels change its performance, how weight affects distance, or which propulsion system works best.
That’s what makes a homemade car more than a craft. It becomes a small engineering project where you build, test, observe, change, and improve.