
I am always looking for simple ways to keep my home neat without spending a fortune, and I have found that a DIY tote storage rack is one of the smartest storage projects I can build. If you are like me, you have probably stacked plastic storage totes in a corner, only to struggle every time you need the one at the bottom. I know how frustrating that can be.
I am excited to show you how a DIY tote storage rack can transform clutter into an organized, easy-to-access storage system. Whether I am organizing a garage, basement, workshop, or utility room, this project helps me maximize vertical space while keeping my storage bins secure and within reach.
In this guide, I am sharing everything I have learned—from choosing the right materials and planning the design to building a sturdy rack that fits your space and storage needs. By the end, you will have the knowledge and confidence to create a durable DIY tote storage rack that makes organizing your home easier than ever.
DIY Tote Storage Rack at a Glance
Before getting out the saw, decide what kind of rack you actually need.
- Best general material: 2×4 lumber
- Best location: Garage, basement, shed, workshop, or utility room
- Best design for matching totes: Sliding rail-style rack
- Best design for mixed containers: Full-shelf rack
- Beginner-friendly: Yes, if you can measure accurately and use basic power tools
- Most important measurement: Your tote’s actual outside dimensions with the lid installed
- Most important stability feature: Proper bracing and anchoring
- Best organization strategy: Keep frequently used and lighter totes where they are easiest to reach
- Best starting size: A small 4- to 6-tote rack if you are unsure how much storage you need
A rack should be designed around the containers and the available space, not the other way around.
Why Build a DIY Tote Storage Rack?
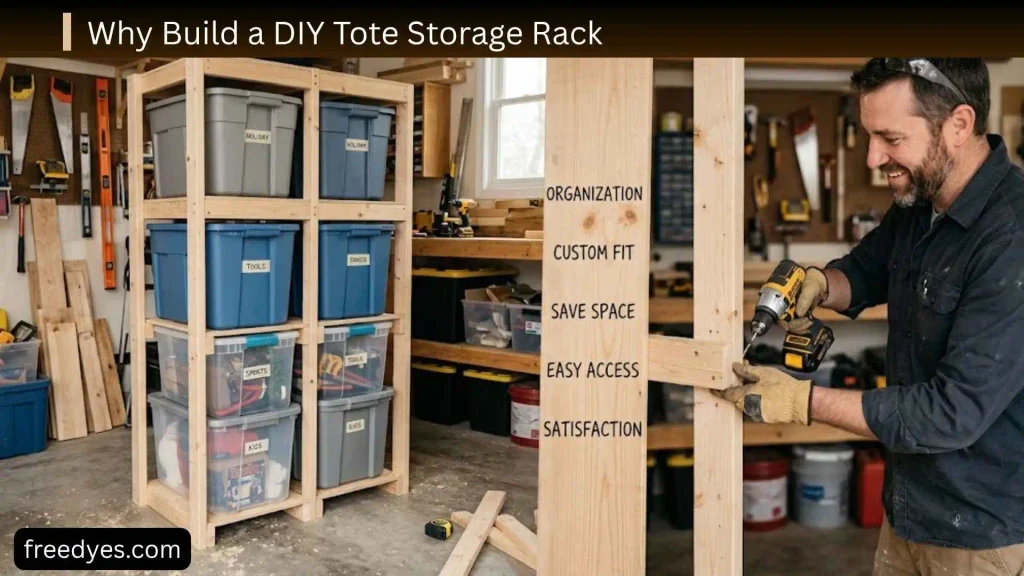
Easier Access to Every Tote
Stacking storage bins saves floor space, but it makes the lower containers inconvenient to reach.
A rack changes the arrangement from a vertical pile into individual storage positions. You can pull one tote forward without unloading the entire stack.
That is especially useful when your totes contain seasonal decorations, holiday supplies, tools, paperwork, clothing, or items that you only need occasionally.
Better Use of Vertical Space
Garages and workshops often have unused vertical space.
Instead of spreading dozens of bins across the floor, a properly designed rack can turn a section of wall into organized storage.
However, taller is not automatically better. A very tall rack can become difficult to access and may require additional bracing and anchoring.
You Can Build It Around Your Totes
Store-bought shelving comes in predetermined sizes.
With a DIY rack, you can determine:
- Number of columns
- Number of rows
- Rack width
- Rack depth
- Rack height
- Runner spacing
- Top shelf size
- Wall location
- Future expansion
That makes DIY particularly useful when you already own a collection of matching totes.
It Can Be Expanded Later
You do not necessarily need to build a huge storage wall on the first attempt.
A modular approach can work better:
4 totes → 8 totes → 12 totes → larger system
Build one stable section first, then add another section if your storage needs increase.
Before You Build: Measure Your Totes
This is the step that prevents many tote-rack problems.
Do not start by copying dimensions from a random plan just because it says “27-gallon tote.”
Different manufacturers can produce 27-gallon containers with different exterior dimensions. Current tote-rack resources list several different footprints for containers sold under the same capacity category.
Measure the Tote Width
Measure the widest part of the tote from side to side.
Do not automatically measure only the bottom of the container. The lid and upper rim may be wider.
If the tote will slide between two supports, use the widest relevant dimension.
Measure the Tote Depth
Measure from the front of the tote to the back.
If the tote has handles, a lid overhang, or another part that extends beyond the main body, include that in your planning.
Measure the Tote Height
Measure the tote with the lid installed.
This measurement determines how much vertical opening the rack needs.
A container that barely fits when empty may become frustrating to use if the opening leaves no room to grip the lid or pull the tote outward.
Measure the Tote Lip
A rail-style rack often supports the tote by its upper rim or lip.
Measure the distance from the bottom of the tote to the underside of that supporting lip.
That measurement can be more important than the total tote height when determining where the rails should go.
Some current rack designs specifically calculate support locations from the tote bottom to the underside of the lip rather than simply using the overall tote height.
Measure the Lid
Do not forget the lid.
The lid may be wider than the main body, and handles or locking tabs can also affect clearance.
A rack that fits the plastic body but catches on the lid is not properly sized.
How to Calculate DIY Tote Rack Dimensions
Instead of copying one universal measurement, use your tote measurements to calculate the rack.
Calculate the Opening Width
Start with:
Opening width = widest tote measurement + clearance
The exact clearance depends on the design, lumber dimensions, and how easily you want the tote to slide.
Do not make the opening so tight that minor differences in lumber thickness or tote shape prevent movement.
Do not make it excessively wide either, because unnecessary space reduces the number of totes you can fit across the rack.
Calculate the Vertical Opening
Start with:
Vertical opening = tote height + working clearance
The additional space gives you room to insert and remove the tote.
For a rail-style rack, the correct measurement also depends on where the supporting lip sits.
A practical approach is to place one tote in a temporary test opening before cutting every support.
Calculate Rack Depth
Start with:
Rack depth = tote depth + small front/rear allowance
The rack does not necessarily need to be as deep as a conventional shelf system.
If the tote extends too far forward, however, it can make the rack awkward to use and may affect stability.
Calculate Overall Width
For multiple tote bays:
Overall width = total bay openings + upright/support thickness
For example, a three-column rack needs three tote openings plus the structural material separating those openings.
A current This Old House tote-rack example similarly calculates its overall width from multiple tote bays plus the thickness of the uprights rather than treating the rack as one oversized opening.
Calculate Overall Height
The overall height depends on:
- Number of tote rows
- Vertical opening
- Thickness of structural members
- Top and bottom framing
- Desired top storage
- Available ceiling height
Leave enough room above the rack for installation and maintenance.
Choose the Right DIY Tote Storage Rack Design
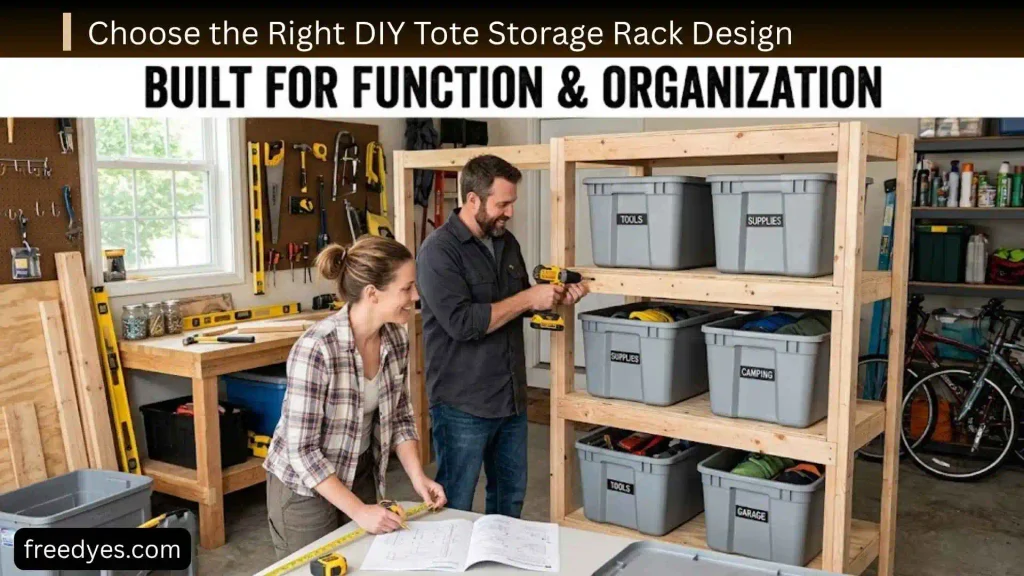
There is no single best rack design for every garage.
Rail-Style Tote Rack
A rail-style rack uses horizontal supports on the sides of each opening.
The tote’s lip rests on the supports, allowing the container to slide in and out somewhat like a drawer.
This design can save lumber because you do not need a solid plywood shelf under every tote. Current 2×4 tote rack systems use this basic principle.
Best for:
- Matching plastic totes
- Garage storage
- Large collections of similar bins
- Easy access
- Lower material use
Important: Make sure the tote is suitable for the support arrangement. Do not assume every plastic container has a strong enough lip for a particular rail design.
Full-Shelf Tote Rack
A full-shelf rack gives each level a continuous surface.
Best for:
- Mixed-size containers
- Cardboard boxes
- Bags
- Loose equipment
- Containers without suitable lips
It usually requires more material but offers greater flexibility.
Freestanding Rack
A freestanding rack can be positioned wherever you need it.
It is useful when the wall cannot easily be used for storage.
However, a freestanding rack still needs to be designed against tipping. A tall, narrow structure should not be treated as stable simply because it is heavy.
Wall-Anchored Rack
A wall-anchored rack can provide additional stability.
If you build a tall rack, anchoring it to appropriate structural framing is an important part of the design. Current tote-rack guidance commonly recommends anchoring taller systems to wall studs.
Materials for a Basic DIY Tote Storage Rack
The exact quantity depends on your chosen dimensions.
Lumber
For a straightforward rack, common choices include:
- 2×4 lumber for uprights
- 2×4 lumber for structural rails
- 2×2 or similar lumber for lighter-duty runners where appropriate
- Plywood if you want solid shelves
- Additional lumber for diagonal bracing
Standard 2×4 construction is widely used in current tote-rack designs because it is easy to source and simple to work with.
Fasteners
Use screws appropriate for structural wood connections.
Avoid treating ordinary drywall screws as a substitute for construction or structural screws.
Choose fastener length based on the actual joint so the screw provides adequate engagement without unnecessarily protruding.
Tools
A basic build may require:
- Tape measure
- Pencil
- Framing or combination square
- Level
- Drill/driver
- Saw suitable for cutting lumber
- Clamps
- Safety glasses
- Work gloves when appropriate
- Stud finder for wall anchoring
Current DIY plans commonly use a tape measure, square, drill, saw, and safety equipment.
Create Your Cut List Before Buying Lumber
Do not start cutting boards one piece at a time without a plan.
Create a list containing:
- Uprights
- Front rails
- Rear rails
- Side connectors
- Tote runners
- Top frame
- Bottom frame
- Diagonal braces
- Optional shelf pieces
- Optional back panel
Why a Cut List Matters
A cut list helps you:
- Buy enough lumber
- Reduce waste
- Keep matching pieces identical
- Avoid repeatedly measuring
- Make assembly faster
- Identify design mistakes before construction
Several current tote-rack plans provide dedicated shopping and cut lists because the rack dimensions change with the tote and configuration.
Make a Template
If several pieces need identical support positions, create one template board.
Mark the support locations on the template and transfer those marks to the other uprights.
This is more reliable than measuring each upright independently.
A current professional DIY build also uses a template approach to keep support locations consistent across multiple uprights.
Example Layouts for Different Storage Needs
You can scale the same basic concept.
Small 4-Tote Rack
A small rack might use:
- 2 columns
- 2 rows
- 4 storage positions
This is a good starting point for a small garage, shed, basement, or utility room.
Medium 6-Tote Rack
A common arrangement is:
- 2 or 3 columns
- 2 or 3 rows
- 6 storage positions
This provides useful capacity without requiring an extremely tall structure.
8-Tote Rack
An 8-tote arrangement can be built as:
- 4 columns × 2 rows
- 2 columns × 4 rows
The first arrangement is wider and lower. The second uses more vertical space.
For most situations, a lower rack is easier to access and can be easier to stabilize.
12-Tote Rack
A 12-tote rack can be arranged as:
- 3 columns × 4 rows
- 4 columns × 3 rows
- 2 columns × 6 rows
The last option is considerably taller and should not be treated as equivalent from a stability standpoint.
16-Tote Rack
A larger garage system might use:
- 4 columns × 4 rows
This is a popular layout for maximizing wall storage, but the rack needs appropriate bracing and anchoring.
Current 16-tote plans demonstrate how a four-by-four configuration can be built from 2×4 lumber, but their exact dimensions are tied to specific tote families.
How to Build a DIY Tote Storage Rack
The following process describes the construction logic rather than forcing one universal set of measurements onto every tote.
Step 1: Choose the Rack Location
Measure the available area.
Check:
- Wall width
- Ceiling height
- Floor level
- Door clearance
- Garage door tracks
- Vehicle clearance
- Nearby shelves
- Electrical equipment
- Water or moisture exposure
Leave enough room in front of the rack to pull totes completely out.
A rack that technically fits against the wall but leaves no usable aisle is not a successful storage solution.
Step 2: Confirm Your Tote Dimensions
Measure one actual tote with its lid installed.
If you own several brands, measure each style.
If the dimensions differ significantly, either separate them into different rack sections or design the openings around the largest container.
Step 3: Build One Test Opening
Before cutting the entire rack, make a temporary opening using scrap lumber.
Place the actual tote inside it.
Check:
- Side clearance
- Lid clearance
- Runner position
- Pull-out clearance
- Lip engagement
- Overall depth
This small test can prevent an entire rack from being built incorrectly.
Step 4: Cut the Uprights
Cut all vertical posts to the planned height.
Try to make them identical.
Small differences between uprights can cause the rack to become twisted or create uneven tote openings.
Step 5: Mark the Support Locations
Use your template to mark every runner position.
Make sure the marks are consistent from one upright to another.
For a rail-style rack, accuracy matters because the tote needs two opposing supports at the same height.
Step 6: Build the Side Frames
Lay the uprights on a flat surface.
Install the horizontal members at the marked locations.
Use a square to check every connection.
Do not rush this stage.
If the first frame is not square, the problem will usually become more obvious as you add the other pieces.
Step 7: Build the Second Frame
Repeat the process.
Check that the second frame matches the first.
The two sides should have corresponding support locations.
Step 8: Connect the Frames
Stand the two frames upright and connect them with the front-to-back members.
Keep checking:
- Width
- Depth
- Level
- Square
- Parallel sides
Do not fully tighten everything until the structure is aligned.
Step 9: Install the Tote Runners
Install the runners according to your measurements.
The runners should be:
- Parallel
- Level
- Properly secured
- Positioned consistently
- Strong enough for the intended load
Slide an empty tote into each opening as you go.
Testing during assembly is easier than discovering a problem after every runner is installed.
Step 10: Add Diagonal Bracing
A tall rectangular rack can move sideways even when the individual joints seem strong.
Diagonal bracing helps resist this side-to-side movement.
Do not treat bracing as decorative.
Current tote-rack construction guidance specifically uses diagonal reinforcement to improve lateral stability.
Step 11: Check the Rack for Square
Measure diagonally across the frame.
Then measure the opposite diagonal.
If the measurements differ substantially, the frame is not square.
Correct the alignment before permanently tightening or anchoring the rack.
Step 12: Anchor the Rack When Appropriate
Tall racks should be evaluated for tipping.
If you are anchoring the rack to a wall, attach it to appropriate structural framing using suitable hardware.
Do not rely on drywall alone to support a loaded rack.
Step 13: Load the Totes Gradually
Start with lighter containers.
Check for:
- Movement
- Sagging
- Loose joints
- Runner deflection
- Wobbling
- Unexpected contact between totes
Then organize heavier containers toward the lower positions.
How to Make a DIY Tote Storage Rack Stronger
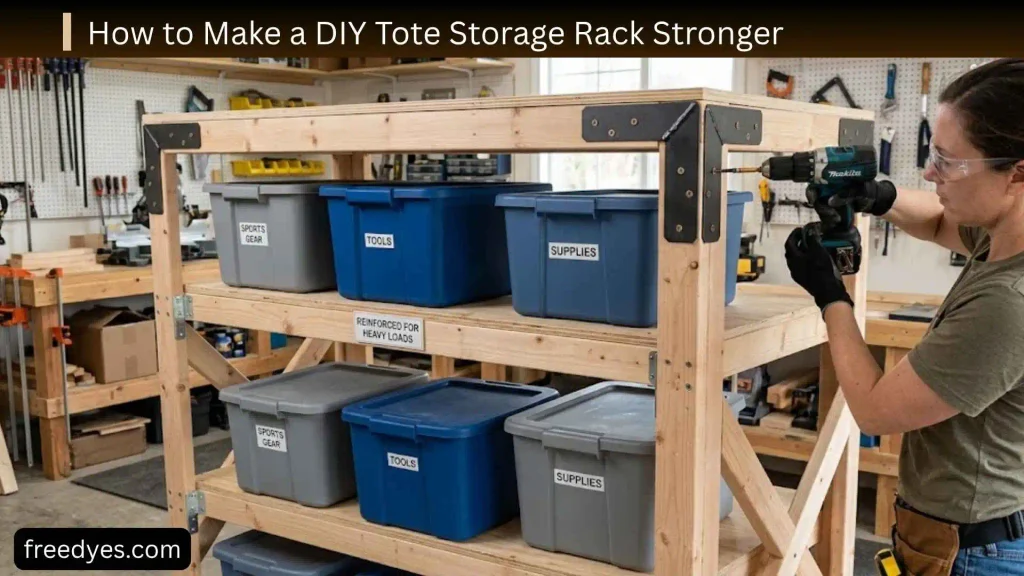
A strong rack is not simply a rack made from more wood.
Good construction depends on geometry, joints, bracing, load distribution, and anchoring.
Use Adequate Uprights
Long spans with insufficient vertical support can increase movement and deflection.
Add intermediate uprights when the rack becomes wider.
Keep Support Spans Reasonable
The longer a structural member spans between supports, the more important its dimensions and loading become.
If you are building a very wide rack, divide it into multiple bays instead of creating one enormous unsupported opening.
Add Diagonal Bracing
Bracing reduces side-to-side movement.
This becomes increasingly important as rack height increases.
Keep Heavy Totes Low
A simple organization rule is:
Heavy items low, lighter items high.
This reduces the tendency to make the rack top-heavy and makes frequently handled heavy bins easier to remove.
Anchor Tall Racks
If the rack is tall, wall anchoring can significantly improve stability.
The anchor method must match the wall construction.
Do Not Guess a Weight Capacity
Do not advertise or assume that a particular rack can safely support a certain number of pounds simply because another design uses the same size lumber.
Load capacity depends on:
- Lumber grade
- Lumber condition
- Span
- Joint design
- Fasteners
- Bracing
- Anchorage
- Tote position
- Actual contents
A rack should be designed conservatively and loaded gradually.
DIY 27-Gallon Tote Storage Rack
The 27-gallon tote is a common target for garage storage projects, but this is exactly where measuring becomes important.
Several current rack plans use different dimensions for different 27-gallon tote families. For example, current published designs list substantially different footprints for HDX, Commander, Member’s Mark, and other containers.
Do Not Assume Every 27-Gallon Tote Fits
The gallon rating tells you the approximate capacity.
It does not guarantee:
- Same width
- Same depth
- Same height
- Same lid size
- Same lip position
- Same handle shape
Therefore, buy or identify your totes first and design the rack around them.
Why 27-Gallon Totes Work Well in a Rack
They are large enough to hold bulky household items while still being manageable as individual containers.
A rack also makes it easier to organize categories such as:
- Christmas decorations
- Halloween decorations
- Camping equipment
- Tools
- Children’s items
- Clothing
- Sports equipment
- Household supplies
- Seasonal equipment
Use a Test Tote
Before committing to a full 27-gallon rack, test one tote.
Check whether the lid, handles, and lip all clear the surrounding structure.
That simple test is more reliable than assuming two products with the same advertised capacity will have identical dimensions.
Rail-Style Rack vs. Full Shelf Rack
| Feature | Rail-Style Rack | Full-Shelf Rack |
| Lumber use | Usually lower | Usually higher |
| Best for matching totes | Excellent | Good |
| Mixed storage | Limited | Excellent |
| Tote access | Very good | Good |
| Plywood required | Usually no | Often useful |
| Customization | High | High |
| Best use | Plastic tote collection | Mixed storage |
A rail system is particularly attractive when all your containers have compatible lips.
A full shelf is safer as a general-purpose solution when your storage containers vary significantly.
Should You Use Casters?
Wheels can make a tote rack easier to move, but mobility introduces another consideration: stability.
Casters Can Be Useful When
- The rack is relatively low
- You need to clean underneath it
- You occasionally need to move the rack
- The floor is smooth
- The wheels are appropriately rated
- The rack has a stable base
Avoid Casters When
- The rack is very tall
- It will carry very heavy totes
- It must remain permanently positioned
- The floor is uneven
- You do not have a good way to lock the wheels
If mobility is unnecessary, a stationary, properly anchored rack is usually the simpler approach.
Small DIY Tote Storage Rack for Tight Spaces
You do not need an entire garage wall to benefit from a tote rack.
Two-Tote Rack
A single-column, two-level rack can fit into a small area.
It is useful for:
- Apartment storage rooms
- Small sheds
- Laundry rooms
- Closets
- Compact workshops
Four-Tote Rack
A two-by-two arrangement provides more storage without becoming particularly tall.
This is a good beginner project because the overall structure remains manageable.
Six-Tote Rack
A two-by-three or three-by-two configuration offers a useful compromise between capacity and accessibility.
If you have limited floor space but reasonable wall height, three rows can work well.
Large Garage Tote Storage Wall
A large storage system can turn an unused wall into a dedicated tote area.
Plan the Wall Before Building
Measure the entire wall.
Then account for:
- Electrical outlets
- Windows
- Doors
- Garage door mechanisms
- Workbenches
- Vehicles
- Ceiling height
- Walkways
Do not build the rack so close to a garage door mechanism that it interferes with moving parts.
Divide a Large Rack Into Sections
Instead of one enormous frame, consider several connected modules.
For example:
Module A: 6 totes
Module B: 6 totes
Module C: 6 totes
This makes future modifications easier and can simplify construction.
Keep an Accessible Zone
Not every tote should be placed according to maximum density.
Keep frequently accessed containers between about waist and chest height when practical.
Reserve high and low positions for items that you rarely use.
How to Organize the Totes After Building the Rack
The rack solves the physical storage problem, but labeling solves the retrieval problem.
Label the Front of Every Tote
Use labels such as:
- Christmas
- Halloween
- Camping
- Tools
- Winter Clothing
- Sports
- Plumbing
- Electrical
- Kids
- Documents
Place the label where you can see it without removing the container.
Use a Simple Numbering System
For a large collection, combine categories with numbers.
For example:
- Holiday 01
- Holiday 02
- Camping 01
- Tools 01
You can then keep a simple inventory list.
Put Frequently Used Totes in the Middle
The best storage position isn’t necessarily the most convenient one to build.
Put frequently accessed items where you can reach them comfortably.
Rarely used seasonal items can go higher.
Heavy items should generally remain lower.
Common DIY Tote Storage Rack Mistakes
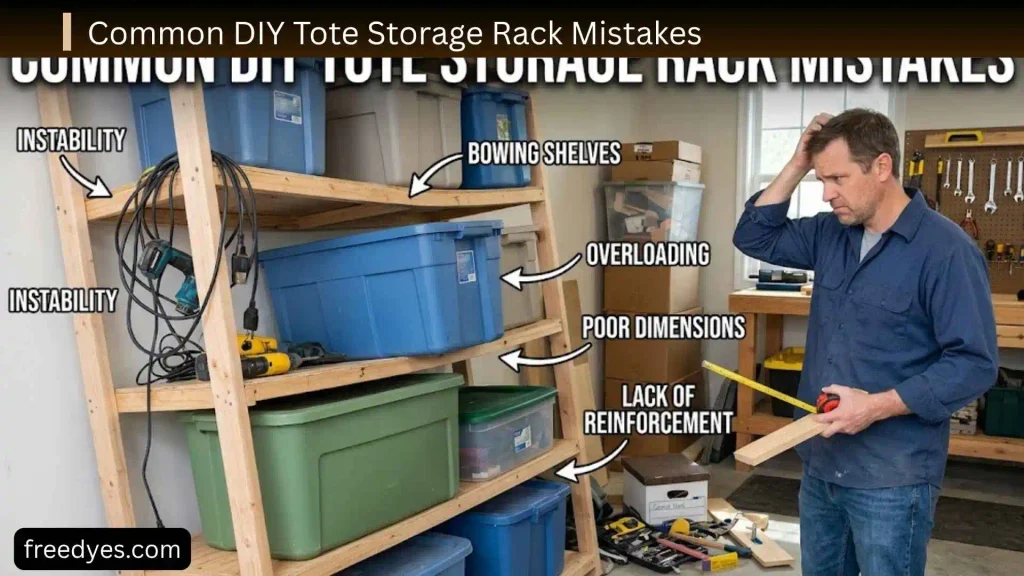
Mistake 1: Copying Dimensions Without Measuring
This is one of the biggest mistakes.
A rack designed for one tote may not fit another tote with the same advertised capacity.
Mistake 2: Forgetting the Lid
The lid may be wider than the container body.
Always measure with the lid installed.
Mistake 3: Making the Openings Too Tight
A perfectly calculated opening can still be annoying if there is no practical working clearance.
Allow enough space for normal insertion and removal.
Mistake 4: Making the Rack Too Tall
More rows mean more storage, but also greater height and potentially greater stability requirements.
Build to the height you can safely and comfortably use.
Mistake 5: Skipping Diagonal Bracing
A rack can have strong joints and still wobble sideways.
Bracing helps address this type of movement.
Mistake 6: Ignoring an Uneven Floor
An uneven garage floor can make a perfectly square rack appear unstable.
Check the floor before final installation.
Mistake 7: Using the Wrong Fasteners
Avoid using unsuitable screws simply because they are inexpensive or already in the toolbox.
Use fasteners appropriate for structural wood connections.
Mistake 8: Loading the Rack Immediately With Heavy Totes
Test the rack first.
Look for movement, loose joints, or unexpected deflection before loading every position.
Mistake 9: Forgetting Access Space
A rack can fit perfectly on paper but still be frustrating if there is not enough space to pull out a tote.
Measure the area in front of the rack too.
DIY Tote Rack Troubleshooting
The Tote Will Not Slide In
Check:
- Opening width
- Lid width
- Handle clearance
- Runner alignment
- Frame squareness
- Protruding screw heads
Do not force the tote into the opening.
The Tote Slides But Gets Stuck
The runners may not be parallel.
Measure both sides of the opening and verify that the supports are level.
The Rack Wobbles
Check:
- Diagonal bracing
- Loose fasteners
- Uneven flooring
- Frame squareness
- Wall anchoring
A tall rack that moves noticeably should not simply be loaded with more weight.
The Tote Falls Off the Supports
The support design may not match the tote lip.
Recheck the lip dimensions and runner placement.
The Rack Looks Twisted
Measure the diagonals.
If the diagonal measurements differ, square the frame before adding more weight.
The Rack Feels Too Deep
If the totes are difficult to reach, consider whether the rack was designed around the actual tote depth or simply copied from a different project.
A rack should be deep enough to support the container without creating unnecessary reach.
How to Customize Your Tote Storage Rack
Once the basic rack works, you can add features without changing its main purpose.
Add a Top Shelf
A top shelf can hold:
- Small boxes
- Tools
- Cleaning supplies
- Baskets
- Lightweight seasonal items
Do not automatically treat the top shelf as a place for heavy equipment.
Add a Work Surface
A wider top can turn part of the rack into a simple work area.
This can be useful in a garage or workshop.
Add Dividers
Dividers can help organize loose supplies that do not belong inside the large totes.
Add Lighting
If the rack is in a dark garage corner, a small LED light can make labels and tote contents easier to see.
Create Storage Zones
Divide the rack into categories.
For example:
Left side: Workshop
Center: Household
Right side: Seasonal
This is often more useful than arranging containers only by size.
How to Expand a Tote Storage Rack Later
If you expect your storage collection to grow, design the first section with expansion in mind.
Keep Module Width Consistent
If every module uses the same basic bay width, adding another section later becomes easier.
Avoid Building to the Absolute Maximum
Leave room for:
- Additional uprights
- Future wall anchors
- Walkway access
- Electrical access
- Maintenance
Reuse the Same Tote Size
A modular rack is easiest to expand when the additional totes have the same dimensions as the original containers.
DIY Tote Storage Rack Maintenance
A wood storage rack is not completely maintenance-free.
Periodically inspect:
- Screws
- Joints
- Braces
- Runners
- Wall anchors
- Lumber cracks
- Signs of sagging
- Floor movement
Also inspect the plastic totes themselves.
A cracked tote lip should not automatically be placed on a rail-supported rack.
Replace damaged containers rather than relying on a damaged rim to carry a load.
Frequently Asked Questions
How do I build a DIY tote storage rack?
Start by measuring the actual totes, then determine the number of rows and columns. Build the uprights and horizontal supports from appropriately sized lumber, connect the frames, add bracing, check the rack for square, and anchor it when appropriate.
The most important part is sizing the openings around the actual tote rather than copying a universal dimension.
What size lumber is best for a tote rack?
2×4 lumber is a common choice for the primary structure because it is readily available and easy to work with. The appropriate lumber size still depends on the rack’s span, height, construction, and intended load.
How far apart should tote rack supports be?
There is no single spacing that works for every tote.
Measure the tote height and supporting lip, then provide enough clearance for the container to slide in and out.
Some published designs use approximately tote-height spacing plus additional clearance, but their measurements are specific to the containers used in those projects.
Can I build a tote rack without plywood?
Yes.
A rail-style rack can support compatible totes using horizontal runners rather than full plywood shelves.
This can reduce material use, but the tote must have a suitable supporting lip and the runners must be positioned correctly.
How do I store 27-gallon totes?
A dedicated rack is one practical option.
Measure your particular 27-gallon totes, determine the required opening dimensions, and build the rack around those measurements.
Do not assume that all 27-gallon containers have identical dimensions.
How many totes can one rack hold?
The capacity is simply the number of usable bays multiplied by the number of rows.
For example:
3 columns × 3 rows = 9 tote positions
However, the number of positions should not be the only consideration. Rack height, stability, access, weight distribution, and wall anchoring also matter.
Should heavy totes go on the top shelf?
Generally, no.
Keep heavier containers lower and lighter, less frequently used containers higher.
This makes the rack easier to use and helps avoid creating an unnecessarily top-heavy arrangement.
Does a tall tote rack need to be anchored?
A tall rack should be evaluated for tipping, especially when loaded or when totes are being pulled from higher positions.
Anchoring to suitable structural framing can improve stability. Follow the requirements of your wall construction and use appropriate hardware.
Is a rail-style tote rack better than shelves?
It depends on your containers.
Rail systems work particularly well with matching totes that have suitable lips.
Full shelves are more versatile when you need to store boxes, bags, irregular containers, or totes with different shapes.
Can I put wheels on a DIY tote rack?
You can design a rack for mobility, but casters change the stability requirements.
A tall rack carrying heavy totes should not automatically be put on wheels. If mobility is important, choose appropriately rated casters and design the base for stability.
How much weight can a DIY tote rack hold?
There is no universal answer.
The safe load depends on lumber, spans, fasteners, joints, bracing, anchoring, and how the weight is distributed.
Do not assume that a rack has a particular load rating simply because another rack made from 2×4 lumber does.
What should I put in the top row?
Use the upper positions for lighter or less frequently accessed items.
Good candidates include seasonal decorations, empty containers, lightweight clothing, or items you only need occasionally.
Final Thoughts
A good DIY tote storage rack does more than get plastic bins off the floor. It makes your storage system easier to access, easier to label, and easier to expand.
The most important part of the project is not the lumber or the screws. It is accurate planning.
Measure your actual tote with the lid installed. Check the width, depth, height, and supporting lip. Decide whether you want rails or full shelves. Calculate the openings instead of guessing them. Build one test bay before cutting the entire rack, and add proper bracing and anchoring when the size of the structure requires it.
For a small collection, a four- or six-tote rack may be all you need. For a larger garage, modular sections can grow into a complete storage wall.
Most importantly, don’t build around the phrase “27-gallon tote.” Build around the actual container sitting in your garage. That one step can prevent many of the fitting problems that occur when a rack is copied without checking tote dimensions first. Current DIY rack designs likewise emphasize measuring specific totes and adjusting the rack accordingly.