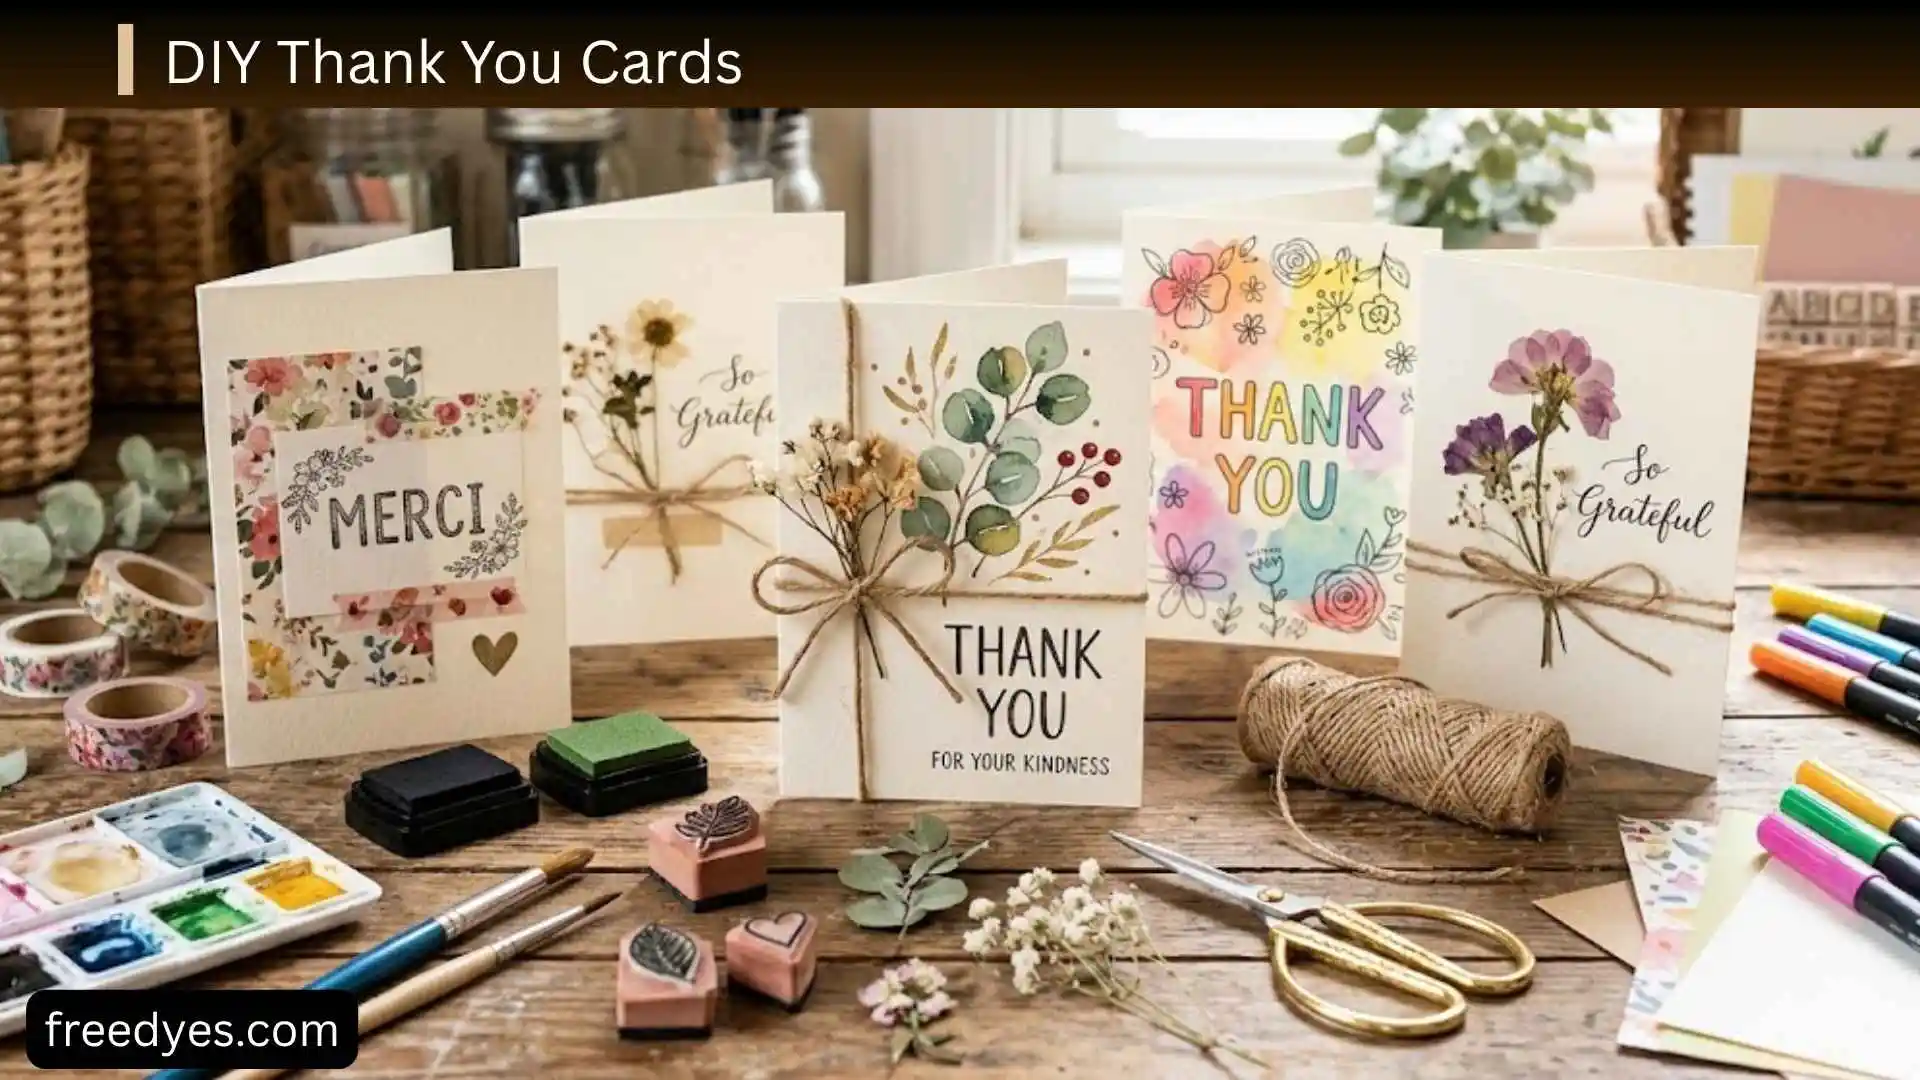
Need a thoughtful thank-you card but don’t want to buy one from a store? DIY thank you cards are an easy way to turn simple paper and craft supplies into something personal, creative, and memorable.
You don’t need advanced cardmaking skills, expensive tools, or a huge craft room. Some of the easiest designs can be made in five minutes with cardstock, a pen, scraps of paper, stickers, paint, or supplies you already have at home.
This guide includes 25 DIY thank you card ideas, beginner-friendly tutorials, quick five-minute projects, kid-friendly designs, teacher and wedding ideas, budget-friendly options, tips for making cards in batches, ideas for what to write inside, and solutions to common cardmaking problems.
Which DIY Thank You Card Should You Make( Quick Picks )
Not sure where to start? Choose your project based on the time, supplies, and look you want.
| If you want… | Try this card |
| The fastest card | Hand-lettered thank-you card |
| A 5-minute project | Washi tape card |
| Something inexpensive | Scrap-paper collage |
| A card for kids | Fingerprint flower card |
| A card for a teacher | Paper flower card |
| An elegant design | Minimalist botanical card |
| A colorful card | Watercolor rainbow card |
| A rustic look | Kraft-paper card |
| A card for a wedding | Simple floral card |
| A card for a child | Balloon fingerprint card |
| A card that is easy to mail | Flat paper-cut card |
| A large batch of cards | Stamped or repeated-pattern card |
| A card without craft supplies | Marker doodle card |
| A creative recycled card | Magazine collage |
| A special keepsake | Photo thank-you card |
The best design isn’t necessarily the most complicated one. If you’re making several cards, a simple design that can be repeated consistently will usually save much more time.
What You Need to Make DIY Thank You Cards
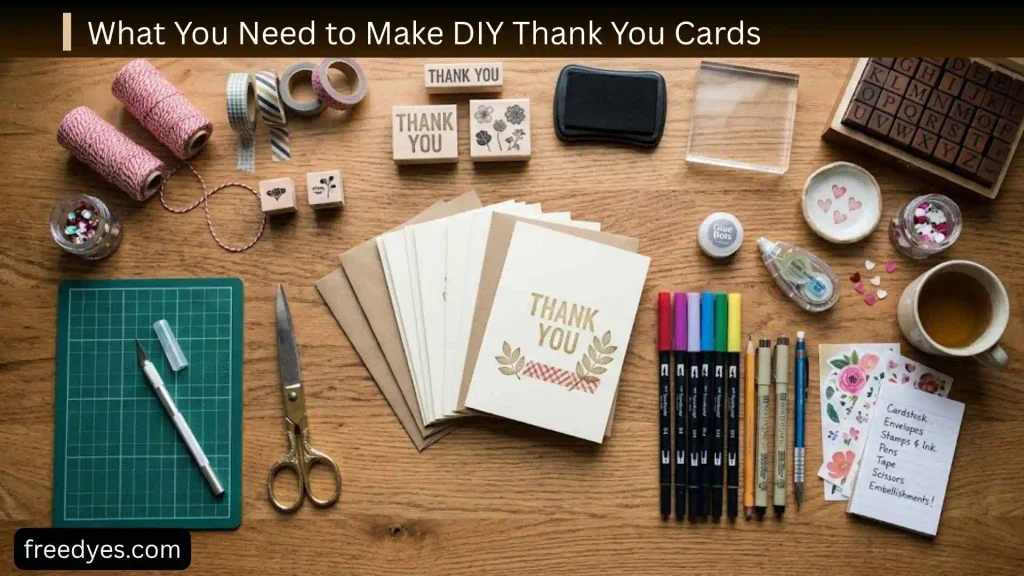
You can make beautiful cards with a surprisingly small collection of supplies.
Basic Supplies
Start with:
- Cardstock
- Colored paper
- Scissors
- Pencil
- Ruler
- Glue stick or paper adhesive
- Black pen
- Colored markers
- Envelopes
Optional Craft Supplies
If you have them, you can also use:
- Watercolors
- Paint
- Paintbrushes
- Washi tape
- Stickers
- Rubber stamps
- Ink pads
- Ribbon
- Twine
- Scrapbook paper
- Craft punches
- Colored pencils
- Metallic pens
- Dried flowers
- Small photographs
You don’t need to purchase everything on this list. Many DIY cards can be made with ordinary household materials.
DIY Thank You Cards With Supplies You Already Have
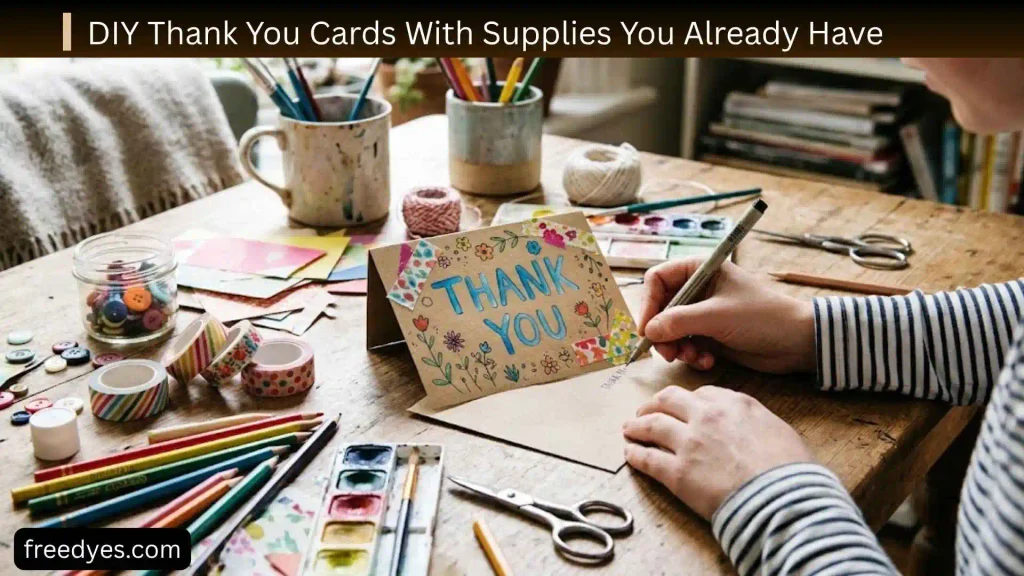
Don’t have fancy cardstock or scrapbook supplies? That’s not a problem.
No Cardstock?
Use the thickest paper you have. You can also glue decorative paper to a thin card base to make it sturdier.
No Scrapbook Paper?
Try:
- Wrapping paper
- Magazine pages
- Old calendar pages
- Paper bags
- Clean packaging
- Leftover construction paper
No Washi Tape?
Cut thin strips of patterned paper and attach them with glue.
No Stamps?
Draw simple dots, leaves, flowers, hearts, stars, or lines with a marker.
No Watercolors?
Use a small amount of washable paint diluted with water, provided the paper can handle moisture.
No Ribbon?
Use yarn, twine, embroidery thread, or a narrow strip of paper.
The goal of DIY cardmaking is creativity, not having the perfect supply collection.
25 DIY Thank You Card Ideas
These ideas range from extremely simple designs to projects that take a little more time. For each one, choose the version that fits your skill level and available supplies.
1. Simple Hand-Lettered Thank You Card
Difficulty: Very easy
Time: 5 minutes
Best for: Almost anyone
Start with a folded piece of cardstock and make the words “Thank You” the main feature.
Lightly sketch the letters with a pencil before tracing them with a black pen. Add small dots, stars, leaves, or hearts around the lettering.
You don’t need professional calligraphy. Simple, confident lettering with plenty of empty space can look surprisingly polished.
Tip: Use pencil guidelines to keep the words straight.
2. Watercolor Stripe Thank You Card
Difficulty: Easy
Time: 10–15 minutes
Best for: Adults, friends, teachers
Paint three or four loose horizontal stripes across the front of a card.
Use related colors rather than completely random ones. Allow the paint to dry, then write “Thank You” across the center.
You can make the stripes:
- Soft pastel
- Bright and cheerful
- Neutral
- Sunset-inspired
- Rainbow-colored
For a cleaner appearance, leave a narrow border around the painted area.
3. Paper Flower Thank You Card
Difficulty: Easy
Time: 15 minutes
Best for: Teachers, friends, family
Cut simple flower shapes from colored paper.
Layer two or three flower shapes together, glue them in the center, and add a small circle as the flower center. Draw stems and leaves beneath them.
You don’t need a flower template. Simple uneven petals can actually make the card feel more handmade.
4. Washi Tape Thank You Card
Difficulty: Very easy
Time: 5 minutes
Best for: Beginners and kids
Place several strips of washi tape across the card.
Try:
- Horizontal stripes
- Diagonal stripes
- A border
- A geometric pattern
- A small banner
Write “THANKS” over the design.
If you don’t have washi tape, create a similar effect with strips of patterned paper.
5. Fingerprint Flower Card
Difficulty: Very easy
Time: 10 minutes
Best for: Kids
Dip a fingertip lightly into washable paint and make several dots to form flower petals.
Add stems with a green marker after the paint dries.
You can turn the fingerprints into:
- Flowers
- Balloons
- Hearts
- Leaves
- Confetti
This makes a particularly sweet card when a child wants to create a thank-you note for a teacher, grandparent, or family member.
6. Fingerprint Balloon Thank You Card
Use colorful fingerprints as balloons.
Make several oval or round fingerprints on the front of the card, allow them to dry, then draw strings underneath.
Add a message such as:
“Thank You for Making My Day Special!”
This is especially suitable for birthday thank-you cards.
7. Minimalist Botanical Card
Difficulty: Easy
Time: 10 minutes
Best for: Adults and elegant occasions
Use cream, white, beige, or pale cardstock.
Draw a single botanical branch along one edge of the card and place a simple “Thank You” message in the center.
Use only two or three colors.
The key to this style is restraint. Don’t feel the need to fill every empty space.
8. Scrap-Paper Collage Card
Save small pieces of patterned paper instead of throwing them away.
Cut them into:
- Circles
- Squares
- Triangles
- Leaves
- Hearts
Arrange them into a simple pattern before gluing.
You can create an abstract design without needing to draw anything.
9. Thank-You Banner Card
Cut several small triangles or rectangles from colored paper.
Attach them to a drawn string to create a miniature banner across the front of the card.
Write one letter on each flag:
T H A N K S
or simply place a “Thank You” message underneath.
This is a good choice when making cards for parties or celebrations.
10. Button Flower Card
Turn spare buttons into flower centers.
Glue three or four buttons onto the cardstock and draw stems and leaves underneath.
For a cleaner design, use buttons in the same color family.
If the card will be mailed, choose flat buttons or replace them with drawn circles to avoid unnecessary bulk.
11. Paper Heart Thank You Card
Cut several hearts in different sizes.
Layer them from largest to smallest and place them near one corner of the card.
Add:
“Thank You From the Bottom of My Heart.”
For a simpler version, use one large heart and a handwritten message.
12. Rainbow Thank You Card
Draw or paint several curved lines to create a rainbow.
Place “Thank You” beneath the rainbow or across the center.
For kids, you can use crayons or markers instead of paint.
For a more modern look, use only three or four colors rather than the traditional full rainbow.
13. Confetti Card
Cut tiny circles from colored paper.
Scatter them around the card to create a confetti effect.
Add a large central message such as:
“Thanks So Much!”
This is perfect after birthdays, parties, graduations, and other celebrations.
14. Kraft-Paper Thank You Card
Kraft cardstock creates a naturally warm and rustic appearance.
Pair it with:
- White pen
- Black marker
- Twine
- Small paper flowers
- Simple leaf drawings
A white handwritten message on kraft paper can be enough to create an attractive card without many decorations.
15. Sticker Doodle Card
Place several plain or decorative stickers on the card.
Then add small doodles around them.
For example, turn circle stickers into:
- Flowers
- Balloons
- Faces
- Bubbles
- Fruits
This is one of the easiest projects for children.
16. Negative-Space Thank You Card
Instead of decorating the entire card, let the cardstock itself become part of the design.
Write or cut out the word:
THANKS
and decorate only the surrounding area.
A dark painted background behind unpainted lettering can make the message stand out dramatically.
17. Photo Thank You Card
Add a small photograph to the front of the card.
Choose a picture connected to the person or occasion.
For example, a graduation thank-you card could include a graduation photograph, while a wedding thank-you card could feature a favorite celebration photo.
Keep the photograph relatively small so that the handwritten message remains the focus.
18. Magazine-Collage Card
Cut interesting colors, textures, or letters from old magazines.
Arrange them into a collage.
You can spell:
THANK YOU
using individual letters or simply create an abstract background.
This is an inexpensive way to make every card different.
19. Paper Pocket Thank You Card
Create a small pocket on the front or inside of the card.
You can place a short note, photograph, tiny drawing, or paper message inside.
This design is especially fun for close friends or family members.
Keep the pocket flat enough that the card can still close comfortably.
20. Pop-Up Thank You Card
Create a simple folded tab inside the card.
Attach a paper flower, heart, star, or banner to the tab so that it rises when the card opens.
Pop-up designs take slightly more patience than flat cards, but even a simple three-dimensional element can make the card feel special.
21. Pressed-Flower Style Card
Attach a small dried flower or leaf to cardstock.
Keep the arrangement simple.
One or two botanical pieces can look more elegant than a large collection.
If you plan to mail the card, consider creating a drawn or paper version instead of using thick dried materials.
22. Stamped Thank You Card
If you have rubber stamps, choose one large background stamp or several small decorative stamps.
Stamp the pattern around the edges and keep the center open for the main message.
You can use the same stamp repeatedly to make a large batch of cards quickly.
23. Painted Dot Card
Dip the end of a paintbrush, pencil eraser, or cotton swab into paint.
Make rows of dots across the card.
Change the size or color of the dots to create a modern pattern.
Once dry, add the words “Thank You.”
This design requires almost no drawing ability.
24. Recycled Packaging Card
Clean, attractive packaging can become a source of texture and pattern.
Use small pieces of:
- Paper bags
- Food packaging
- Tissue packaging
- Cardboard
- Decorative boxes
Cut the material into simple shapes and layer it onto cardstock.
Always use clean, dry materials that are suitable for craft use.
25. Monogram Thank You Card
Personalize the card with the recipient’s initial.
For example, create a large M surrounded by flowers or geometric shapes.
Add “Thank You” underneath.
This works particularly well for weddings, hosts, teachers, and formal thank-you notes.
Three Easy DIY Thank You Cards Step by Step
If you want to start making a card right now, these three projects require minimal equipment.
Easy Watercolor Thank You Card
Materials:
- Cardstock
- Watercolor paint
- Paintbrush
- Water
- Black pen
- Pencil
Step 1: Fold the cardstock in half.
Step 2: Lightly mark where you want the painted area to go.
Step 3: Paint two or three loose stripes.
Step 4: Allow the paper to dry completely.
Step 5: Lightly sketch “Thank You.”
Step 6: Trace the lettering with a pen.
Step 7: Add tiny dots, leaves, or stars around the message.
Step 8: Write your personal note inside.
Easy Paper Flower Card
Materials:
- Cardstock
- Two or three colors of paper
- Scissors
- Glue
- Green marker
Step 1: Cut several simple flower shapes.
Step 2: Layer smaller flowers over larger ones.
Step 3: Add a small paper circle in the center.
Step 4: Arrange the flowers on the card before gluing.
Step 5: Attach them once you’re happy with the arrangement.
Step 6: Draw stems and leaves.
Step 7: Add “Thanks a Bunch” or “Thank You.”
Easy Scrap-Paper Card
Materials:
- Cardstock
- Scrap paper
- Scissors
- Glue
- Pen
Step 1: Cut several pieces of scrap paper into different shapes.
Step 2: Arrange them into a simple pattern.
Step 3: Leave an open area for the message.
Step 4: Glue the pieces down.
Step 5: Add the words “Thank You.”
Step 6: Add a few small hand-drawn accents.
This is one of the best options when you want a handmade card without buying additional craft supplies.
5-Minute DIY Thank You Cards
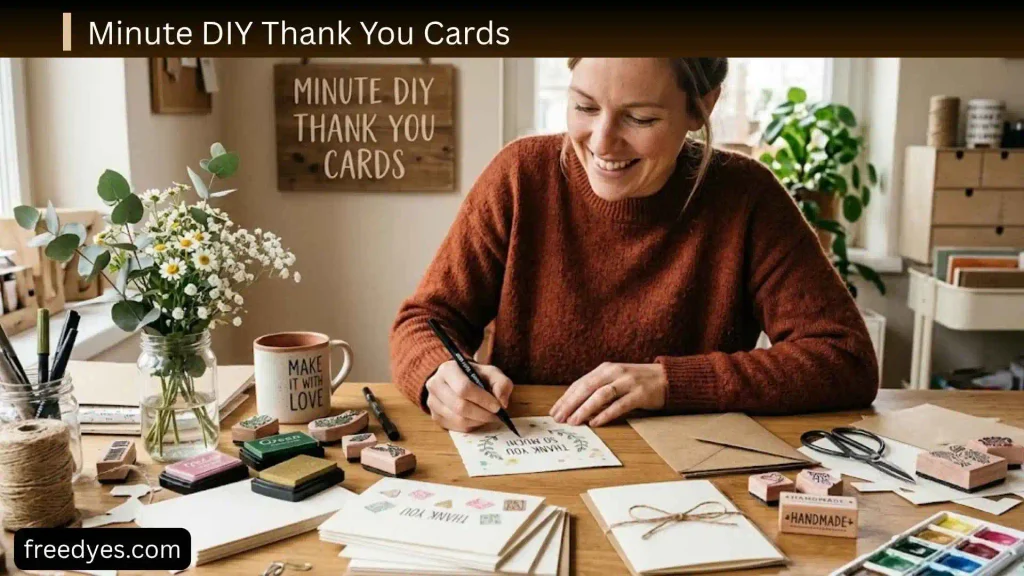
When you need something quickly, don’t start with a complicated design.
Marker Doodle Card
Write “Thank You” in large letters and surround it with dots, stars, hearts, or leaves.
Washi Tape Card
Place three or four strips of tape on cardstock and add a simple message.
Sticker Card
Arrange stickers around a handwritten “Thanks.”
Painted Dot Card
Make rows of colorful dots and write the message underneath.
Paper Strip Card
Glue three strips of patterned paper vertically across the front and add a sentiment.
These designs can be completed quickly without sacrificing the personal quality of a handmade card.
DIY Thank You Cards for Kids
Kids don’t need complicated techniques.
The best projects allow them to experiment with color and simple shapes.
Handprint Flower Card
Paint a child’s hand, press it onto paper, let the print dry, and turn the fingers into flower petals.
Fingerprint Balloon Card
Use colorful fingerprints as balloons and draw strings underneath.
Sticker Thank You Card
Give children stickers and let them create their own arrangement.
Crayon Thank You Card
Let the child draw a picture on the front and help them add a short message inside.
Monster Thank You Card
Use fingerprints or colored circles as monster bodies, then add eyes, arms, and silly expressions.
Don’t worry about making children’s cards perfectly neat. The personal imperfections are often what make them memorable.
DIY Thank You Cards for Teachers
A teacher thank-you card is more meaningful when it mentions something specific.
Good designs include:
- Paper flowers
- Books
- Pencils
- Apples
- Stars
- Classroom doodles
- Botanical designs
Teacher Message Idea
“Thank you for your patience, encouragement, and all the time you put into helping me learn. I truly appreciate everything you did.”
The best teacher cards combine a simple handmade design with a personal message.
DIY Thank You Cards for Friends
Friendship cards can be casual and colorful.
Try:
- Photos
- Doodles
- Inside jokes
- Bright paper
- Stickers
- Collages
- Handwritten lettering
Possible front messages include:
- Thanks for Everything
- You’re the Best
- Thanks for Always Being There
- So Grateful for You
- You Made My Day
Don’t worry about sounding formal. Write the way you naturally speak to that person.
DIY Thank You Cards for Birthdays
Birthday thank-you cards can use:
- Balloons
- Confetti
- Cupcakes
- Candles
- Stars
- Bright colors
- Party hats
If you’re thanking someone for a particular gift, mention the gift inside the card rather than relying only on a generic “thank you.”
DIY Thank You Cards for Weddings
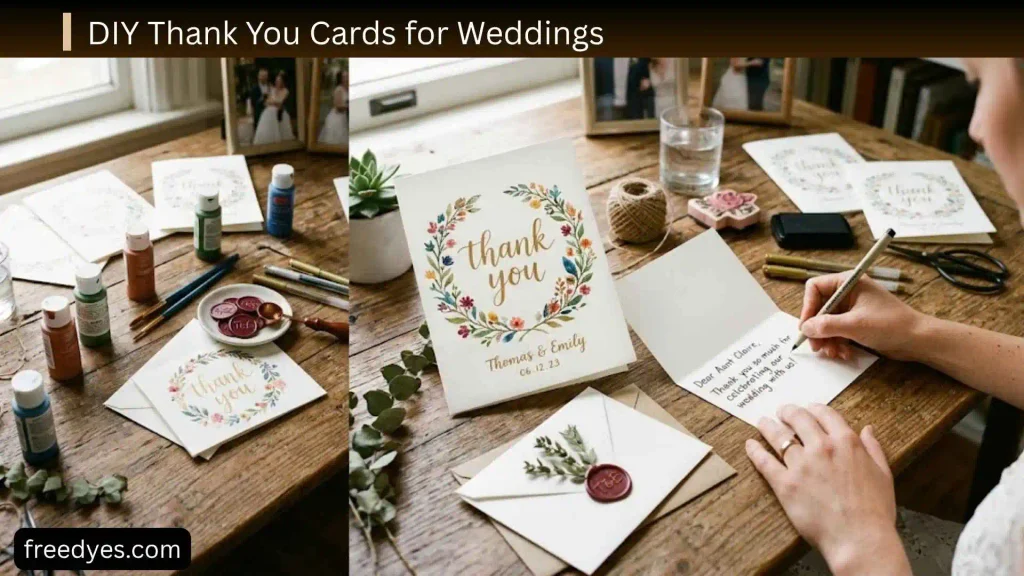
Wedding thank-you cards are often needed in large quantities, so choose a design that can be repeated easily.
Good options include:
- Minimalist floral cards
- Watercolor flowers
- Initial or monogram cards
- Simple botanical designs
- Photo cards
- Elegant paper-cut designs
If you’re making dozens of cards, make one complete sample before cutting all your materials.
That allows you to adjust the size, colors, message placement, and decoration before committing to the whole batch.
DIY Thank You Cards for Baby Showers
Baby shower cards can use soft or neutral colors.
Try:
- Tiny flowers
- Stars
- Clouds
- Baby animals
- Hearts
- Simple botanical drawings
- Soft watercolor backgrounds
You can coordinate the card design with the shower’s colors for an especially polished result.
DIY Thank You Cards for Graduations
Graduation thank-you cards can incorporate:
- Graduation caps
- Stars
- The graduation year
- School colors
- Photographs
- Diplomas
- Simple geometric designs
A clean design often works better than trying to fit too many graduation symbols onto one card.
DIY Thank You Cards for Hosts
If someone invited you into their home, hosted a meal, or made an occasion special, a handmade card can add a personal touch.
Consider a sophisticated design such as:
- Botanical leaves
- Simple flowers
- A watercolor border
- Minimalist lettering
- Kraft paper with twine
Inside, mention something specific you enjoyed about the occasion.
DIY Thank You Cards for Coworkers
A coworker card does not need to be overly elaborate.
Use:
- Geometric shapes
- Simple lettering
- Neutral colors
- Small illustrations
- A clean patterned background
Keep the message friendly and specific.
How to Make DIY Thank You Cards Look More Professional
A professional-looking card isn’t necessarily a complicated card.
Use a Limited Color Palette
Choose two or three main colors.
Too many unrelated colors can make a design feel chaotic.
Create One Focal Point
Decide what the recipient should notice first.
It might be:
- “Thank You”
- A flower
- A photograph
- A monogram
- A paper-cut design
Leave Some Empty Space
You don’t have to decorate every part of the card.
Empty space gives the design room to breathe.
Layer Paper
Adding a smaller paper panel over a larger card base creates depth with very little effort.
Use Pencil Guidelines
Before writing directly onto the card, lightly mark guide lines with a pencil.
Erase them after the ink dries.
Keep Edges Clean
Measure before cutting.
If you’re making a rectangular paper panel, a ruler and sharp scissors can make a noticeable difference.
How to Make DIY Thank You Cards on a Budget
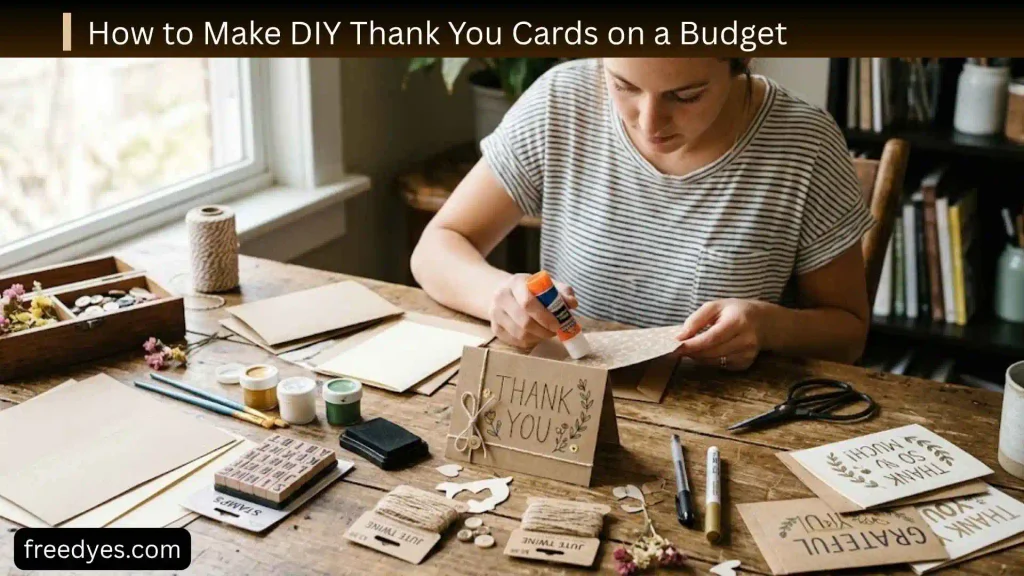
DIY cards can be inexpensive when you design around supplies you already have.
Use Paper Scraps
Instead of purchasing a new scrapbook pad, use leftover pieces from other projects.
Make One Design in Bulk
A repeatable design reduces both material waste and time.
Reuse Packaging
Attractive paper packaging can become decorative cardstock layers.
Use Simple Tools
You don’t need a die-cutting machine or specialty equipment to make a beautiful card.
Avoid Buying Supplies for One Project
If you need one card today, start with what you already have.
The most expensive DIY project is often the one where you buy a complete new craft collection for a five-minute card.
How to Make 20, 50, or 100 DIY Thank You Cards
Large batches require a different strategy from making one card.
Step 1: Choose One Design
Pick something simple enough to repeat.
Step 2: Make One Prototype
Finish a complete card before producing the rest.
Step 3: Count Your Materials
Work out how much cardstock, paper, adhesive, and decoration you need.
Step 4: Cut Everything First
Prepare all card bases and decorative pieces together.
Step 5: Assemble in Stages
Glue the same element onto every card before moving to the next element.
Step 6: Add the Front Messages
Complete the front of every card.
Step 7: Write Personal Notes
Save the inside message for the end so you can personalize each card.
Step 8: Prepare the Envelopes
Address or label envelopes after checking each card.
This assembly-line method is much more efficient than making one card from beginning to end repeatedly.
What to Write Inside a DIY Thank You Card
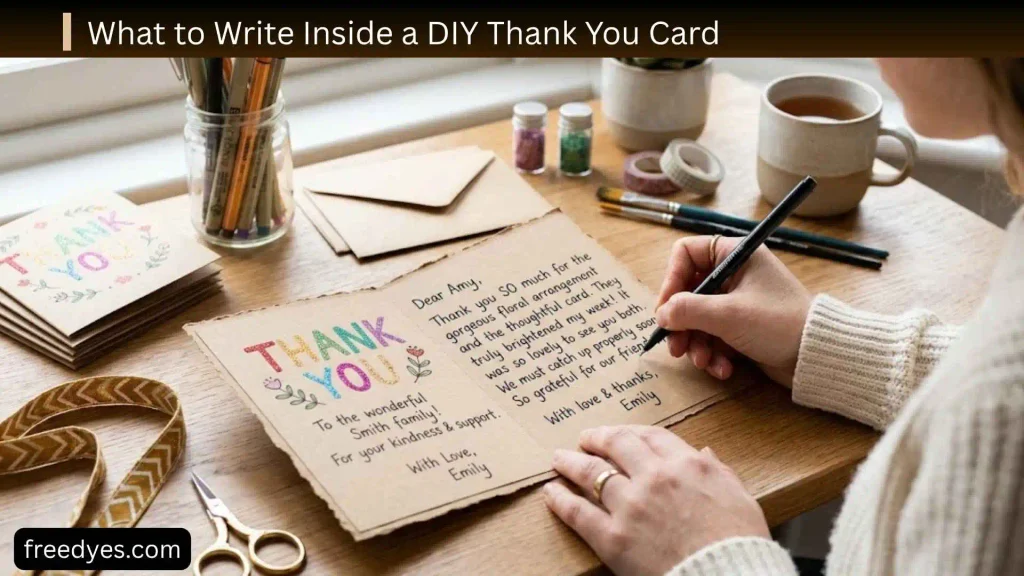
The decoration catches attention, but the message creates the emotional connection.
A simple formula works well:
Thank the person + mention what you’re thankful for + explain why it mattered.
For a Gift
“Thank you so much for the thoughtful gift. I really appreciate you thinking of me, and I can’t wait to use it.”
For a Friend
“Thank you for always being there for me. Your kindness and support mean more than I can say.”
For a Teacher
“Thank you for your patience, encouragement, and everything you taught me. I truly appreciate the time and care you gave this year.”
For a Wedding Gift
“Thank you so much for celebrating with us and for your thoughtful gift. Having you share our special day meant so much to us.”
For a Baby Shower Gift
“Thank you for celebrating this special time with us and for your thoughtful gift. We truly appreciate your kindness.”
For a Host
“Thank you for having me over. I had such a wonderful time and really appreciated all the effort you put into making the occasion special.”
For Help or a Favor
“Thank you for helping me when I needed it. Your kindness made a stressful situation much easier.”
If You’re Late
“I’m sorry this thank-you took longer than it should have, but I didn’t want more time to pass without telling you how much I appreciate your kindness.”
A late thank-you is generally better than skipping the note altogether.
DIY Thank You Card Templates You Can Make Yourself
You don’t necessarily need a downloadable template to create a consistent card.
Simple Folded Card Template
Use a rectangular piece of cardstock, fold it in half, and decorate the front.
Border Template
Draw a simple border around the outside edge and leave the center blank for the message.
Floral Corner Template
Decorate only one or two corners with flowers and leaves.
Banner Template
Create a string across the front and attach small paper flags.
Center Message Template
Place a decorative frame around a centered “Thank You.”
Photo Template
Reserve one section for a photograph and another for the message.
Templates become especially useful when you’re making a large batch because they keep the cards visually consistent.
DIY Thank You Cards That Are Easy to Mail
If you plan to send your card through the mail, think about thickness and durability before decorating it.
Choose Flat Decorations
Paper shapes, drawings, stamps, and flat stickers are usually easier to mail than bulky objects.
Secure Everything Well
Loose embellishments can fall off during handling.
Avoid Excessive Layers
Too many thick paper layers can make the card unnecessarily bulky.
Protect Delicate Elements
If your design includes fragile decorations, consider using an envelope that gives the card enough room.
Check Postage Requirements
Mailing rules and postage can vary by location, size, weight, and thickness, so check your local postal service if the finished card is unusually large or bulky.
Common DIY Thank You Card Mistakes
Making the Design Too Complicated
If you’re a beginner, start with one technique.
Trying watercolor, stamping, embossing, paper cutting, ribbon, glitter, and lettering on the same card can quickly become overwhelming.
Using Too Many Colors
Limit the palette to a few colors that work together.
Forgetting the Message Area
Plan the location of your words before adding decorations.
Using Too Much Glue
Excess adhesive can wrinkle paper or seep around the edges.
Skipping the Test Card
If you’re making many cards, test one first.
Making the Card Too Bulky
Consider the envelope and mailing method before adding thick decorations.
Trying to Make Everything Perfect
Handmade cards are not supposed to look mass-produced.
Small differences can make each card feel more personal.
Common DIY Thank You Card Problems and How to Fix Them
Why Did My Paper Warp?
Wet paint or too much water can cause thin paper to bend or wrinkle.
Use thicker paper for wet techniques and apply less liquid.
Why Is My Glue Visible?
You may be using too much adhesive.
Apply a thin, even layer and keep glue away from exposed edges.
Why Does My Handwriting Look Uneven?
Lightly draw pencil guidelines first.
You can also write the words on a separate paper panel and attach it to the card.
Why Does My Paint Look Patchy?
Uneven water or paint application can create inconsistent areas.
Instead of trying to correct every mark, consider making the variation part of the design.
Why Does My Card Look Too Crowded?
Remove one or two decorative elements.
Then look at the card again.
Simple designs often become stronger when you take something away.
What If I Make a Mistake?
Don’t immediately throw the card away.
Cover the mistake with:
- A paper panel
- A sticker
- A flower
- A banner
- A new piece of cardstock
Turning a mistake into part of the design is often easier than starting over.
How to Create Your Own DIY Thank You Card Design
You don’t need to copy an existing card design to make something attractive.
Use this simple formula:
1 focal point + 2–3 colors + 1 main message + small accents + empty space
For example:
Focal point: Paper flower
Colors: Cream, green, and pink
Message: Thank You
Accent: Three small dots
Empty space: Keep the opposite corner open
Another example:
Focal point: Large “THANKS” lettering
Colors: Black and pale blue
Accent: Tiny stars
Background: White
This approach lets you create dozens of original combinations from basic materials.
When Should You Send a Thank You Card?
Send a thank-you card reasonably soon after receiving a gift, attending an occasion, receiving meaningful help, or being shown significant kindness.
For weddings, showers, graduations, and other large events, it may naturally take longer because there are many cards to prepare.
If you’ve waited longer than planned, don’t let embarrassment stop you from sending one. A sincere message is still meaningful.
Should a DIY Thank You Card Be Handwritten?
A handwritten message can make a handmade card feel even more personal.
For a small number of cards, writing each message by hand is usually worth the extra few minutes.
If you’re making a very large batch, you can combine a consistent handmade design with a personalized handwritten note inside each card.
That gives you the efficiency of a repeatable design without losing the personal element.
DIY Thank You Cards vs. Store-Bought Cards
Both choices can be appropriate.
Choose DIY When You Want:
- A personalized design
- A creative project
- A handmade keepsake
- A specific color scheme
- A budget-friendly option
- A card for someone who appreciates handmade items
Choose a Store-Bought Card When:
- You need something immediately
- You don’t have crafting supplies
- You need only one card and have very little time
- You prefer a professionally printed design
The purpose of a thank-you card is gratitude. Handmade does not automatically mean better, and store-bought does not automatically mean less thoughtful.
Frequently Asked Questions About DIY Thank You Cards
What is the easiest DIY thank you card to make?
A simple folded cardstock card with hand lettering is one of the easiest options. Add a few dots, stars, leaves, or hearts around the message for decoration.
Can I make a thank-you card without cardstock?
Yes. Use the thickest paper available and reinforce it with another layer if necessary. You can also create a decorative front panel and attach it to a sturdier paper base.
What can I use instead of scrapbook paper?
Try wrapping paper, magazine pages, old calendars, paper bags, clean packaging, or leftover construction paper.
What is a good five-minute thank-you card?
A washi tape design, marker doodle card, sticker card, painted dot card, or simple hand-lettered card can be completed quickly.
How do I make a DIY thank-you card look expensive?
Use good-quality paper, a limited color palette, clean edges, simple lettering, and plenty of empty space. A restrained design can look more sophisticated than one covered with decorations.
What is the best DIY thank-you card for kids?
Fingerprint flowers, fingerprint balloons, stickers, crayons, handprints, and simple paper collages are good choices because children can participate without needing advanced craft skills.
How do I make 50 thank-you cards quickly?
Choose one repeatable design, create a prototype, cut all the materials at once, and assemble the cards in batches. Save personalized messages for the final stage.
What should I write inside a homemade thank-you card?
Thank the recipient directly, mention what you’re grateful for, and explain why their gift, help, or kindness mattered.
Can I make DIY thank-you cards without buying anything?
Often, yes. Use paper, pens, magazines, wrapping paper, packaging, crayons, paint, or other craft materials already available at home.
What decorations are best for cards that will be mailed?
Flat paper decorations, drawings, stamps, paint, and stickers are generally easier to mail than bulky embellishments.
Can children make thank-you cards for teachers?
Absolutely. A simple handprint flower, fingerprint design, drawing, or colorful paper collage can make a very personal teacher thank-you card.
How do I make a thank-you card for a wedding?
Choose a repeatable design such as a floral border, watercolor background, monogram, botanical pattern, or photo card. If making many cards, prepare them in batches.
What should I write in a thank-you card for a gift?
Mention the gift specifically when possible and explain why you appreciate it. A short, sincere message is usually better than a long generic paragraph.
Is it okay to send a thank-you card late?
Yes. If you’ve missed your intended timing, sending a genuine thank-you is generally better than deciding not to send one at all.
How can I make each handmade card unique?
Keep the basic layout the same while changing the colors, paper patterns, small illustrations, or handwritten accents.
Final Thoughts
The best DIY thank you cards don’t have to be complicated, expensive, or perfectly crafted. A piece of cardstock, a few simple supplies, and a sincere message are enough to create something meaningful.
If you need a card quickly, start with hand lettering, washi tape, stickers, painted dots, or paper strips. For children, fingerprint and handprint designs are easy and personal. For teachers, weddings, showers, and other special occasions, floral, botanical, watercolor, and minimalist designs can create a more polished appearance.
If you’re making a large number of cards, choose one simple design and work in batches. And if you don’t have traditional craft supplies, look around your home before buying anything—you may already have enough paper, pens, packaging, or scraps to make something beautiful.
Most importantly, remember that the handmade decoration is only part of the thank-you. The personal message inside is what gives the card its meaning.