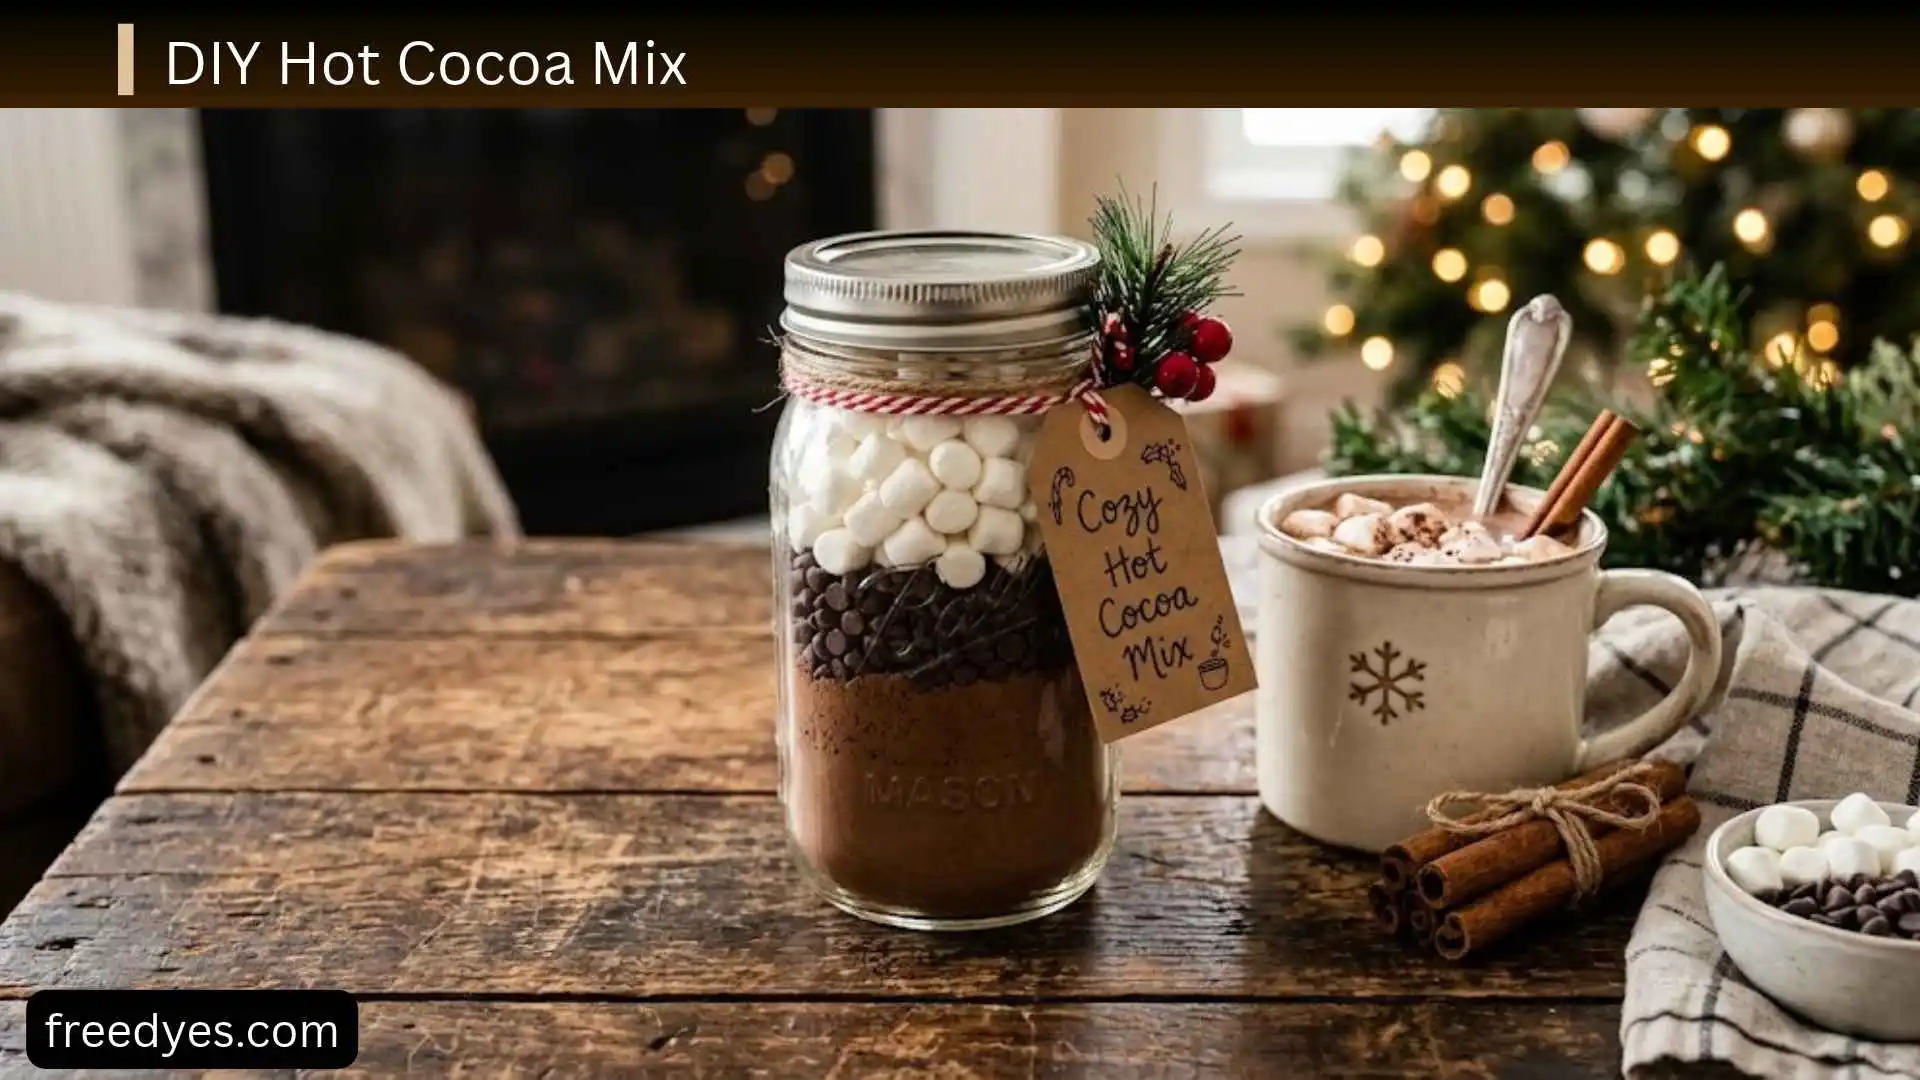
Making your own DIY hot cocoa mix is an easy way to keep a homemade chocolate drink ready whenever you want one. Instead of opening individual packets, you can combine a few dry pantry ingredients, store the mixture in an airtight container, and scoop out exactly what you need for each mug.
This homemade hot cocoa mix is designed to be rich, chocolatey, creamy, and easy to customize. You can prepare it with hot milk for the creamiest result or use hot water when convenience matters.
The recipe below makes a dry mix that can also be packaged in a jar for a simple homemade food gift.
DIY Hot Cocoa Mix at a Glance
| Detail | Information |
| Prep time | About 10 minutes |
| Yield | About 2½ cups of dry mix |
| Serving size | About 3 tablespoons per 1 cup of liquid |
| Best liquid | Milk or unsweetened non-dairy milk |
| Quick option | Hot water |
| Storage | Airtight container in a cool, dry place |
| Difficulty | Easy |
| Best for | Everyday cocoa, winter drinks, Christmas gifts, party favors |
The exact amount of mix you need can vary slightly depending on your cocoa powder, sugar, and personal taste. Start with the recommended amount and adjust the next mug if you prefer stronger chocolate or more sweetness.
Ingredients for DIY Hot Cocoa Mix
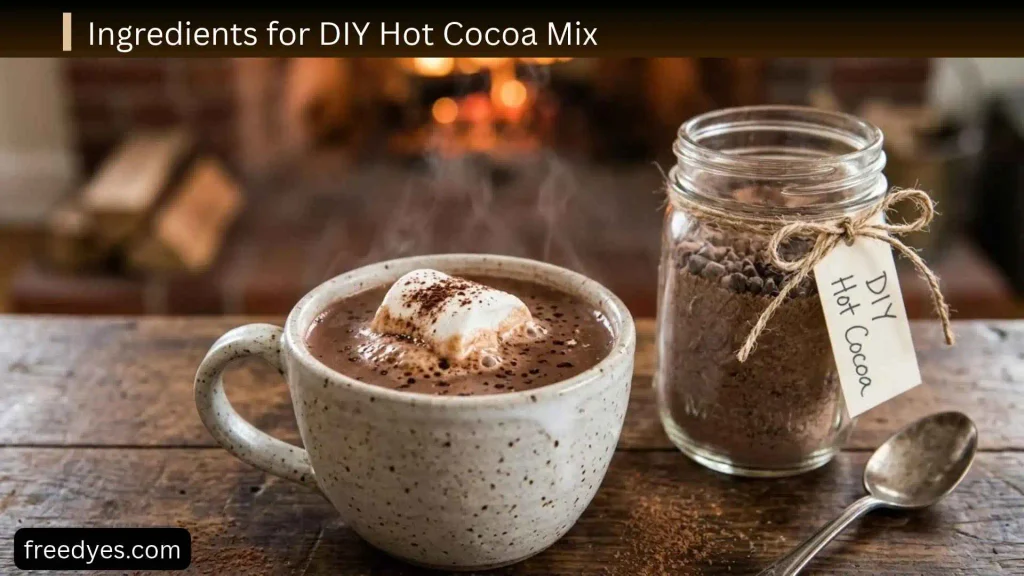
You only need a handful of ingredients.
Unsweetened Cocoa Powder
Use ½ cup unsweetened cocoa powder.
Cocoa powder provides the main chocolate flavor. Because this recipe already contains sugar, unsweetened cocoa gives you better control over the final sweetness.
Do not substitute a sweetened chocolate drink powder without adjusting the rest of the recipe. Sweetened powders can make the finished cocoa much sweeter than intended.
Powdered Milk
Use 1 cup nonfat dry milk powder.
Powdered milk adds milk solids and creaminess while keeping the mixture dry and easy to store. It also means you can prepare a cup with hot water when you don’t have fresh milk available.
Dry milk is a common ingredient in homemade cocoa mixes, although other recipes use different proportions depending on whether the mix is intended to be prepared with water or milk.
Powdered Sugar
Use ¾ cup powdered sugar.
Powdered sugar provides sweetness and blends easily into the dry ingredients.
Using powdered sugar also helps avoid the need to wait for larger sugar crystals to dissolve completely.
Fine Salt
Use ¼ teaspoon fine salt.
You won’t taste the cocoa as “salty.” A small amount helps balance the sweetness and makes the chocolate flavor taste more pronounced.
Optional Vanilla Powder
For extra flavor, you can add 1 teaspoon vanilla powder.
Vanilla powder works well in a dry mix because it doesn’t introduce liquid into the storage container.
If you don’t have vanilla powder, simply leave it out. You can add a small amount of vanilla extract when preparing an individual mug instead.
How to Make DIY Hot Cocoa Mix
The actual preparation takes only a few minutes.
Step 1: Measure Everything
Measure the cocoa powder, powdered milk, powdered sugar, salt, and optional vanilla powder accurately.
Avoid estimating large quantities with a regular eating spoon because small differences become more noticeable when you make a whole batch.
Step 2: Sift the Cocoa Powder
Place a fine-mesh sieve over a large mixing bowl.
Sift the cocoa powder into the bowl.
This helps break up cocoa lumps before they become part of the finished mix.
Step 3: Add the Remaining Ingredients
Add the powdered milk, powdered sugar, salt, and vanilla powder.
Whisk everything together thoroughly.
Pay particular attention to the bottom and sides of the bowl because powdered milk and cocoa can settle there.
Step 4: Transfer to a Container
Pour the finished mix into a clean, completely dry airtight container.
A glass jar with a tight-fitting lid works well.
Label the container with:
DIY Hot Cocoa Mix
and add the serving instructions:
Use about 3 tablespoons mix per 1 cup hot milk or water.
Step 5: Make One Test Cup
Before using the mixture as a gift, make one cup.
This is an easy way to find out whether you personally want more chocolate, sweetness, or creaminess.
If the first cup tastes too mild, increase the amount of mix slightly in your next cup rather than immediately changing the entire batch.
How to Make Hot Cocoa From the Mix
For one mug, start with:
- 1 cup milk or unsweetened non-dairy milk
- 3 tablespoons DIY hot cocoa mix
Using Milk
Warm 1 cup of milk in a saucepan over medium-low heat or heat it carefully in the microwave.
Add the cocoa mix and whisk until smooth.
Heat until the drink is hot and steaming, but avoid aggressively boiling the milk.
Pour into a mug and add your favorite topping.
Using milk generally produces a richer drink. Several established recipes also recommend milk rather than water when a richer homemade hot chocolate is the goal.
Using Water
For a quicker version, use 1 cup hot water.
Add about 3 tablespoons of the dry mix and whisk or stir thoroughly.
Because this recipe contains powdered milk, water can still produce a creamy cocoa, although the result will generally be lighter than cocoa made with fresh milk.
If the first cup seems too weak, add another teaspoon or two of mix.
How Much Hot Cocoa Mix Should You Use Per Cup?
Start with 3 tablespoons of mix for 1 cup of liquid.
Then adjust according to taste.
| Preference | Starting Point |
| Mild cocoa | 2½ tablespoons |
| Standard cocoa | 3 tablespoons |
| Rich cocoa | 3½–4 tablespoons |
| Extra chocolatey | 4 tablespoons |
The best amount depends on the strength of your cocoa powder and the type of milk or water you use.
Other homemade recipes use different serving amounts—for example, some recipes recommend 4 tablespoons per cup while others use about 2–3 tablespoons—so the serving instruction should always match the specific formula being used.
Why Each Ingredient Matters
Understanding the ingredients makes it easier to customize the recipe.
| Ingredient | What It Does |
| Unsweetened cocoa powder | Provides chocolate flavor |
| Powdered milk | Adds creaminess and milk solids |
| Powdered sugar | Adds sweetness |
| Salt | Balances and enhances the chocolate flavor |
| Vanilla powder | Adds a subtle vanilla note |
This also helps you troubleshoot.
For example, if your cocoa is too sweet, you know the sugar is the ingredient to adjust. If it lacks chocolate flavor, increasing the cocoa is more logical than simply adding more powdered milk.
How to Make Your Hot Cocoa More Chocolatey
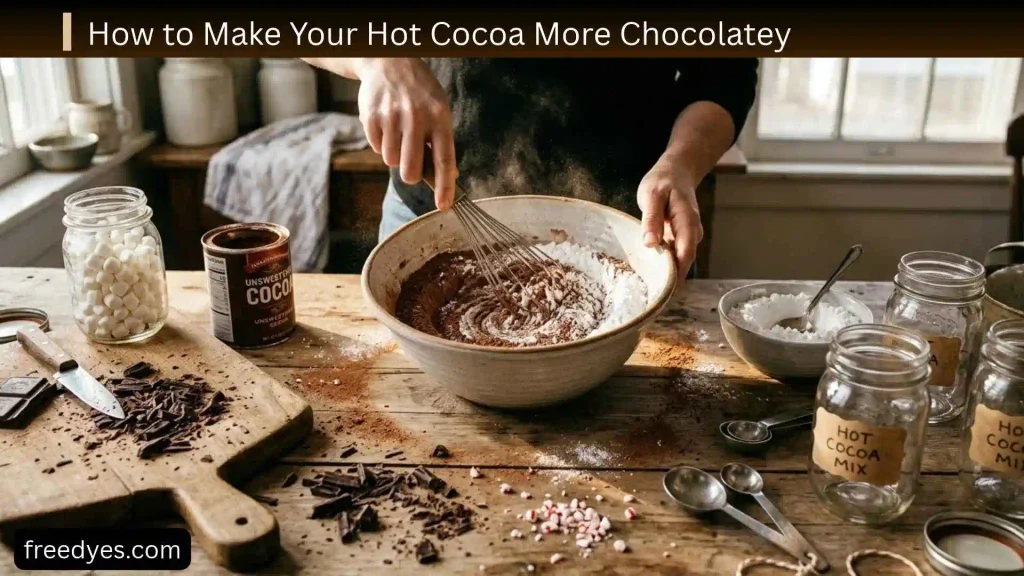
If you prefer a darker chocolate flavor, start by adding ½ teaspoon to 1 teaspoon additional cocoa mix to an individual mug.
Taste before adding more.
For the whole dry batch, you can also increase the cocoa powder slightly, but it is better to test a single serving first.
Adding a small amount of finely grated dark chocolate to the prepared drink is another way to make the mug richer without changing the stored dry mix.
How to Make Hot Cocoa Less Sweet
If your cocoa tastes too sweet, don’t simply add more liquid. That can make the chocolate flavor weak.
Instead, try:
- Using less mix per cup
- Adding a little extra unsweetened cocoa to the batch
- Serving it with plain milk rather than a sweetened milk alternative
- Adding a small amount of unsweetened cocoa to an individual mug
If you are adjusting an entire batch, make a small test portion first so you don’t accidentally make the whole container too bitter.
How to Make It Creamier
For a creamier cup, use:
- Whole milk
- A rich unsweetened non-dairy milk
- Slightly less liquid
- A small spoonful of cream
- Whipped cream on top
Using fresh milk instead of water is the simplest option.
Can You Make DIY Hot Cocoa Mix Without Powdered Milk?
Yes.
If you don’t have powdered milk, you can make a simpler dry cocoa-and-sugar mixture and prepare each serving with fresh milk.
The important difference is that the dry mix will no longer contain the milk component.
For a single mug, combine your cocoa-sugar mixture with warm milk and whisk until smooth.
Do not try to replace powdered milk with liquid milk inside the dry storage container. Adding liquid changes the mixture completely and can make it unsuitable for room-temperature storage.
Powdered milk is particularly useful in a convenience mix because it provides a dry milk ingredient that can be stored with the other powdered components.
Can You Make It Dairy-Free?
Yes, but you need to replace the dairy ingredient appropriately.
Use a suitable non-dairy milk powder if you want the convenience of a dry mix that can be prepared with water.
Alternatively, make a cocoa-and-sugar dry mix without milk powder and prepare each serving with your preferred unsweetened plant-based milk.
Always check the ingredient labels of your cocoa, chocolate, milk powder, and toppings if allergies are a concern.
How to Store Homemade Hot Cocoa Mix
Keep the finished mix in a clean, dry, airtight container.
Store it in a cool, dry place away from:
- Steam
- Direct sunlight
- Heat
- Moisture
- Strong-smelling foods
Moisture is particularly important because it can cause powdered ingredients to clump.
Do not use a container that is damp after washing it.
Let it dry completely before adding the cocoa mix.
How Long Does Homemade Hot Cocoa Mix Last?
There isn’t one universal storage period for every homemade cocoa mix because recipes contain different ingredients.
For example, the University of Maine’s powdered milk/cocoa mix recommends room-temperature airtight storage and use within two months, while other formulas with different ingredients give different storage recommendations.
For this reason, use the storage guidance appropriate to the exact ingredients in your batch rather than assuming every homemade cocoa mix has the same shelf life.
If the mixture develops an unusual smell, visible moisture, mold, insects, or other signs of spoilage, discard it.
DIY Hot Cocoa Mix in a Jar for Gifts
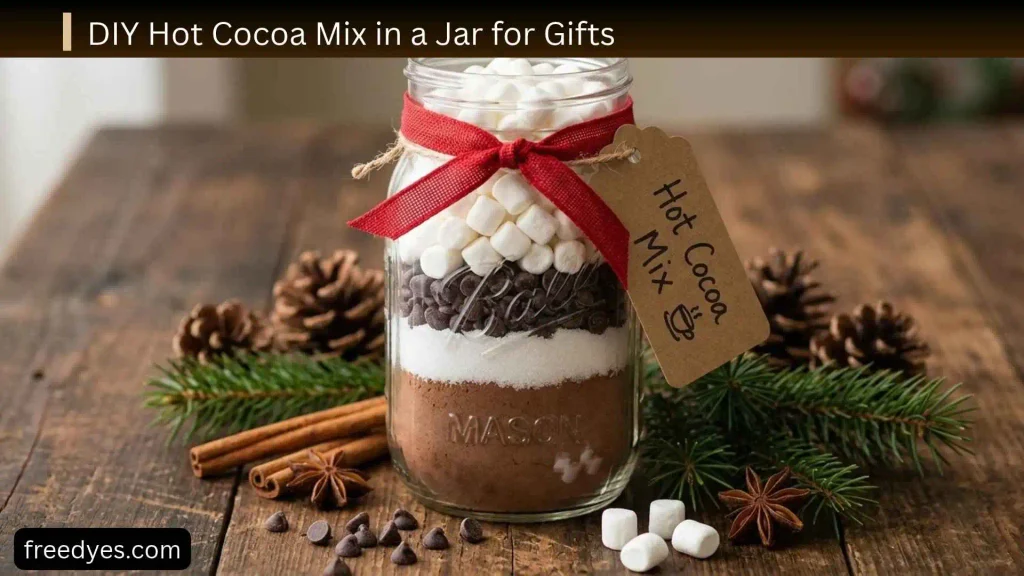
Homemade cocoa mix makes an easy winter or holiday food gift because the dry ingredients can be packaged ahead of time.
What You Need
- Clean glass jar
- DIY hot cocoa mix
- Ribbon or twine
- Small gift tag
- Optional marshmallows
- Optional candy cane
- Optional mug
How to Assemble the Gift
Fill the jar with the dry cocoa mix.
Close the lid securely.
Tie a ribbon around the jar.
Add a label with simple instructions:
Homemade Hot Cocoa
Add 3 tablespoons of mix to 1 cup hot milk or water.
Stir until smooth.
Top with marshmallows or whipped cream if desired.
If you’re giving the jar to someone with allergies or dietary restrictions, include the ingredient list on the label.
How to Make the Gift More Special
Instead of filling the gift with lots of decorations, pair the jar with one useful item:
- A mug
- Mini marshmallows
- Chocolate spoon
- Candy cane
- Small whisk
- Cinnamon sticks
A simple presentation often looks better than an overcrowded jar.
Easy Ingredient Substitutions
| Original Ingredient | Possible Substitute | Important Note |
| Nonfat dry milk | Suitable non-dairy milk powder | Changes flavor and creaminess |
| Powdered sugar | Very finely ground sugar | Texture may differ |
| Vanilla powder | Omit it | Add vanilla when preparing the drink |
| Dairy milk for serving | Unsweetened plant milk | Choose one that suits your dietary needs |
| Water for serving | Milk | Produces a richer drink |
Not every substitution is a direct one-to-one replacement.
For example, replacing powdered milk with liquid milk is not appropriate when making the dry mix because it introduces moisture.
DIY Hot Cocoa Mix Troubleshooting
Even a simple mix can have problems. Most are easy to fix.
The Cocoa Mix Is Clumpy
Likely cause: Cocoa powder or powdered milk has absorbed moisture.
Fix: Sift the cocoa before mixing and keep the finished mix in an airtight, dry container.
If the stored mixture has become noticeably damp or shows signs of spoilage, don’t try to rescue it.
The Hot Cocoa Is Too Sweet
Likely cause: Too much mix was used or the particular cocoa/sugar balance is sweeter than you prefer.
Fix: Use a smaller amount of mix per cup or adjust the dry batch with additional unsweetened cocoa after testing a small portion.
The Hot Cocoa Is Too Bitter
Likely cause: Too much cocoa relative to sugar, or a particularly intense cocoa powder.
Fix: Add a little more sweetener to the individual cup or use slightly less mix next time.
The Chocolate Flavor Is Too Weak
Likely cause: Too little mix or a mild cocoa powder.
Fix: Increase the mix gradually, about a teaspoon at a time.
The Drink Is Gritty
Likely cause: Ingredients have not dissolved properly.
Fix: Whisk the mix into hot liquid instead of simply stirring it once.
Sifting the dry cocoa before making the batch can also help prevent lumps.
The Powder Sinks to the Bottom
Likely cause: The mixture has not been incorporated thoroughly.
Fix: Whisk vigorously while adding the dry mix.
For milk-based cocoa, heating the milk first and then gradually whisking in the mix can produce a smoother result.
How to Make a Better Cup Every Time

A few small habits make a noticeable difference.
Warm the Liquid First
Don’t dump dry powder into a mug of cold milk and expect it to dissolve immediately.
Start with warm liquid.
Add the Mix Gradually
Add the cocoa mix while whisking instead of dropping the entire amount into the liquid at once.
Don’t Overheat Milk
Very hot milk can be unpleasant to drink and can make preparation more difficult.
Warm it gradually and whisk as the mix dissolves.
Taste Before Adding Toppings
Marshmallows, whipped cream, chocolate syrup, and sweet toppings can significantly increase the sweetness.
Taste the cocoa first.
Then decide what it needs.
Easy Ways to Customize Your Mug
The dry mix can remain simple while each serving gets a different topping.
Peppermint Cocoa
Add a small amount of crushed peppermint candy or use a peppermint stick as a stirrer.
Cinnamon Cocoa
Add a pinch of cinnamon to the finished drink.
Mocha Cocoa
Add a small amount of instant coffee or espresso powder to an individual serving.
Extra-Chocolate Cocoa
Add a little finely grated dark chocolate while the drink is hot.
Marshmallow Cocoa
Top with mini marshmallows and let them soften slightly before drinking.
Whipped Cream Cocoa
Add whipped cream and finish with a light dusting of cocoa powder.
These are serving ideas rather than changes that need to be mixed into the entire dry batch.
What Not to Do With Homemade Hot Cocoa Mix
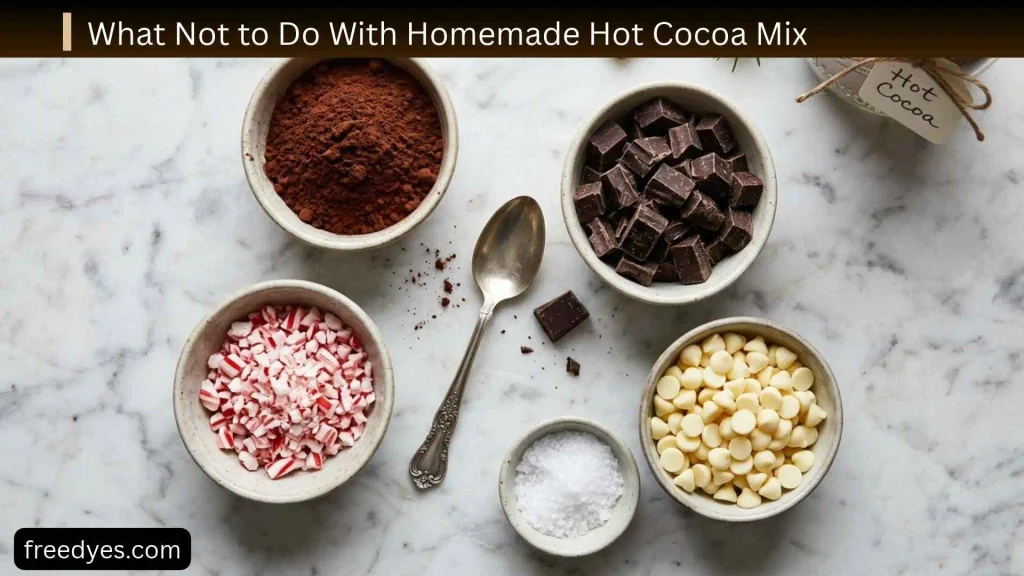
A few mistakes can reduce the quality of the mix.
Don’t add liquid ingredients to the dry storage mix.
Don’t store the mixture in a damp container.
Don’t assume every cocoa powder has the same sweetness or intensity.
Don’t use sweetened cocoa drink powder as though it were unsweetened cocoa.
Don’t make a huge gift batch before testing one cup.
Don’t promise a universal shelf life for a recipe whose ingredients or storage conditions differ.
These simple precautions make the mix more reliable and easier to customize.
Frequently Asked Questions
Is homemade hot cocoa mix better than store-bought packets?
Homemade mix gives you more control over the sweetness, chocolate flavor, milk ingredients, and toppings. It also lets you make a larger batch and store it for convenient use.
Can I make hot cocoa mix with water?
Yes. A mix containing powdered milk can be prepared with hot water. For a richer and creamier drink, fresh milk or an appropriate non-dairy milk is usually a better choice.
Can I use milk instead of water?
Yes. Use about 1 cup of milk for one serving and whisk in the recommended amount of dry mix.
How much DIY hot cocoa mix should I use?
Start with about 3 tablespoons per 1 cup of liquid. Add more if you want a stronger chocolate flavor.
Can I use Dutch-process cocoa powder?
Yes, but cocoa powders can differ in flavor and intensity. If you change the cocoa powder, make one test cup before adjusting the entire batch.
Can I use regular granulated sugar?
You can, but it may take longer to dissolve than powdered sugar. For a smooth dry mix, powdered sugar is convenient.
Why should I sift cocoa powder?
Cocoa powder can form small lumps. Sifting breaks them apart before they become mixed into the stored cocoa powder.
Can I make hot cocoa mix without powdered milk?
Yes. Make a dry cocoa-and-sugar mixture and prepare each cup with fresh milk or a suitable plant-based milk.
Can I give homemade hot cocoa mix as a Christmas gift?
Yes. Put the dry mix in a clean airtight jar and attach serving instructions and an ingredient list.
Should homemade hot cocoa mix be refrigerated?
A properly dry mix is generally stored according to the recipe’s specific storage guidance rather than automatically refrigerated. Moisture control is important. Follow the storage recommendation for your exact ingredients and discard the mix if it shows signs of spoilage.
Why doesn’t my hot cocoa dissolve smoothly?
The most common issues are clumped dry ingredients, insufficient whisking, or liquid that isn’t hot enough. Sift the cocoa and whisk the mixture thoroughly into the warm liquid.
Final Thoughts
This DIY hot cocoa mix is an easy pantry recipe that gives you a convenient homemade alternative to individual cocoa packets.
The key is keeping the dry ingredients simple and balanced: unsweetened cocoa provides the chocolate flavor, powdered milk adds creaminess, powdered sugar provides sweetness, and a small amount of salt helps round everything out.
For the best results, sift the cocoa, mix everything thoroughly, store the finished powder in a dry airtight container, and make one test cup before changing the batch or turning it into gifts.
Once you have the basic mix ready, each mug can be customized with milk, peppermint, cinnamon, chocolate, marshmallows, whipped cream, or whatever topping you enjoy.