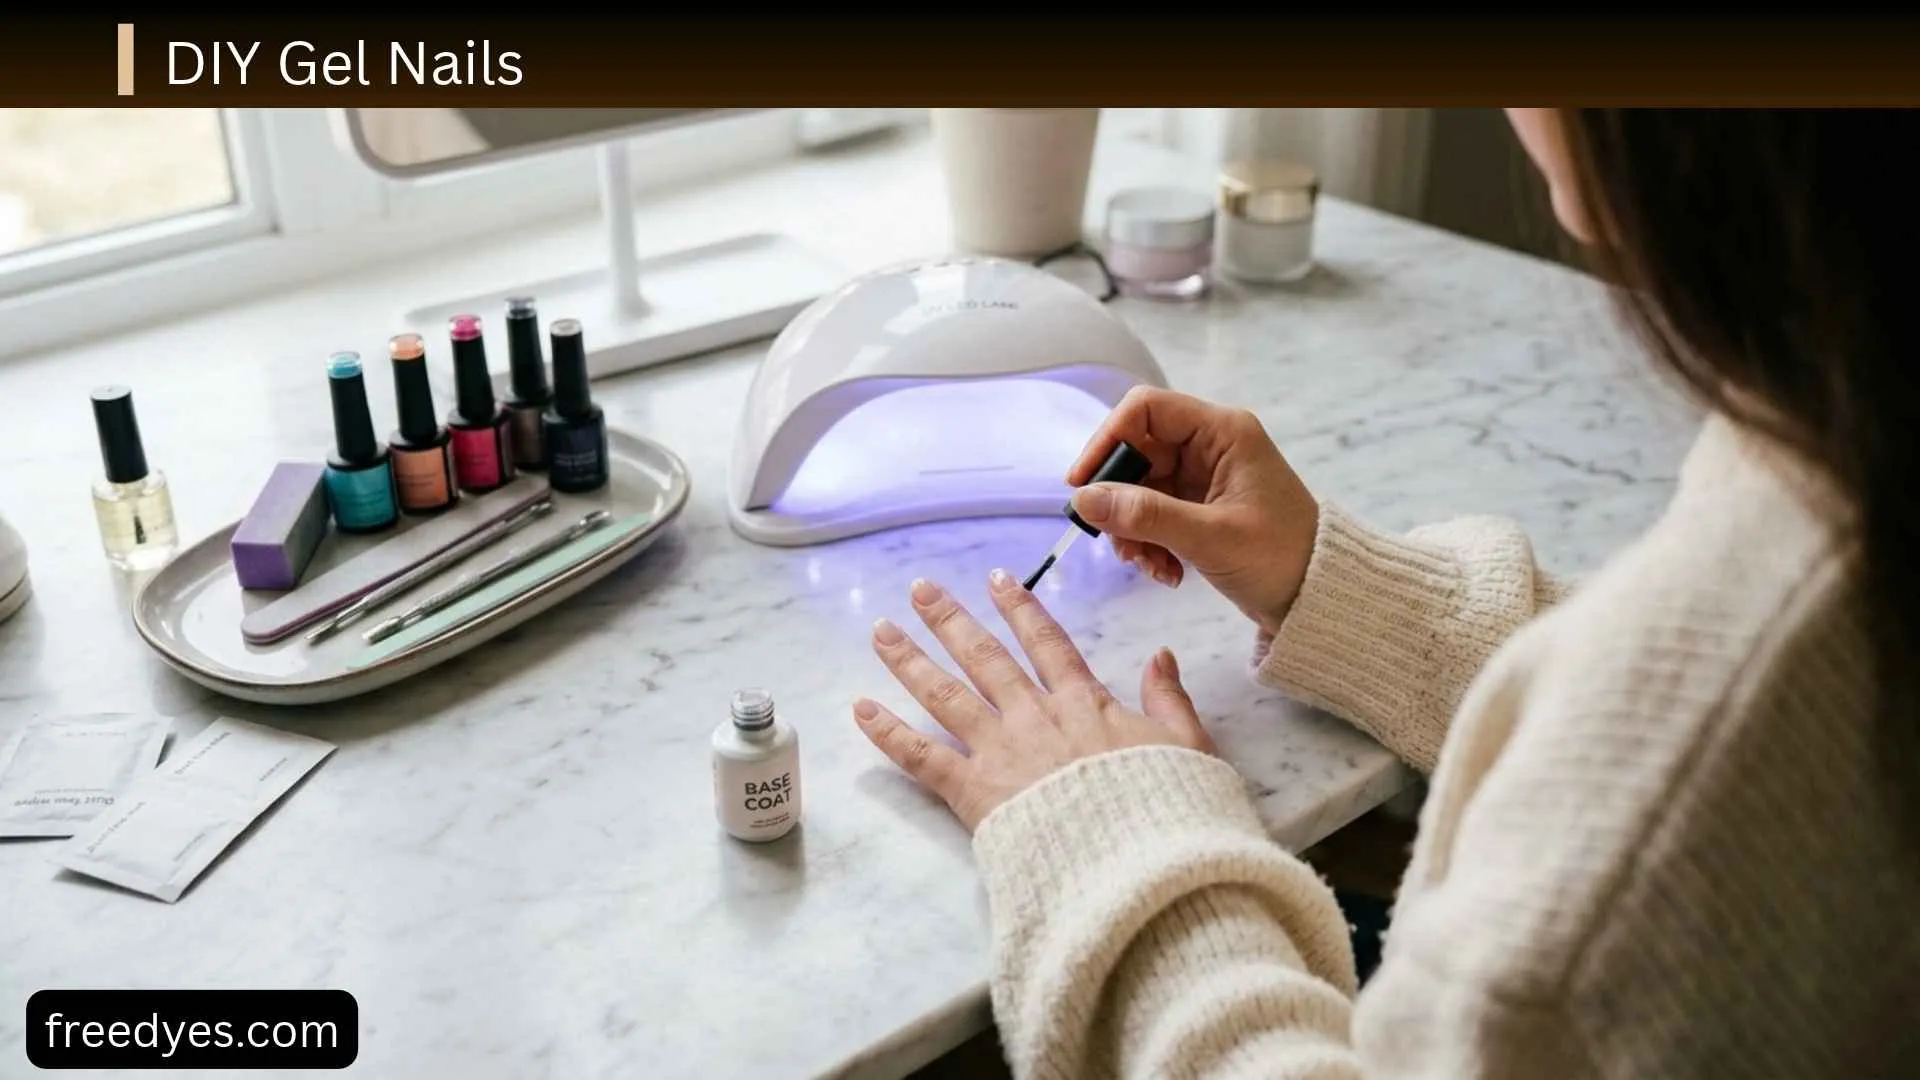
DIY gel nails can give you a smooth, glossy manicure at home without booking a salon appointment. The basic process is simple: prepare the natural nails, apply thin layers of compatible gel products, cure each layer as directed, and remove the manicure gently when it is time to take it off.
The part that requires the most care is not the color application. Proper nail preparation, keeping uncured gel away from the skin, using a compatible curing lamp, and avoiding aggressive removal are essential for a safer DIY gel manicure.
This guide explains exactly how to do gel nails at home, what supplies you need, which products go first, how to prevent peeling and lifting, how to remove gel polish, and what to do if your nails or skin react to the products.
DIY Gel Nails at a Glance
| Question | Quick answer |
| Are DIY gel nails beginner-friendly? | Yes, if you start with a simple gel-polish manicure |
| Do you need a lamp? | Yes, for gel products designed to be light-cured |
| What goes first? | Nail preparation, then base coat |
| Basic application order | Prep → base → cure → color → cure → top → cure |
| How many color coats? | Usually thin coats until the desired coverage is reached |
| Biggest beginner mistake | Getting uncured gel on the surrounding skin |
| Why does gel peel? | Preparation, application, curing, compatibility, or daily wear can all contribute |
| Can you peel gel off? | No; forced removal can damage the natural nail |
| How is soak-off gel removed? | Usually by softening it with acetone according to the product instructions |
| Is LED automatically UV-free? | No; some LED nail lamps emit UV wavelengths used for curing |
What Are DIY Gel Nails?
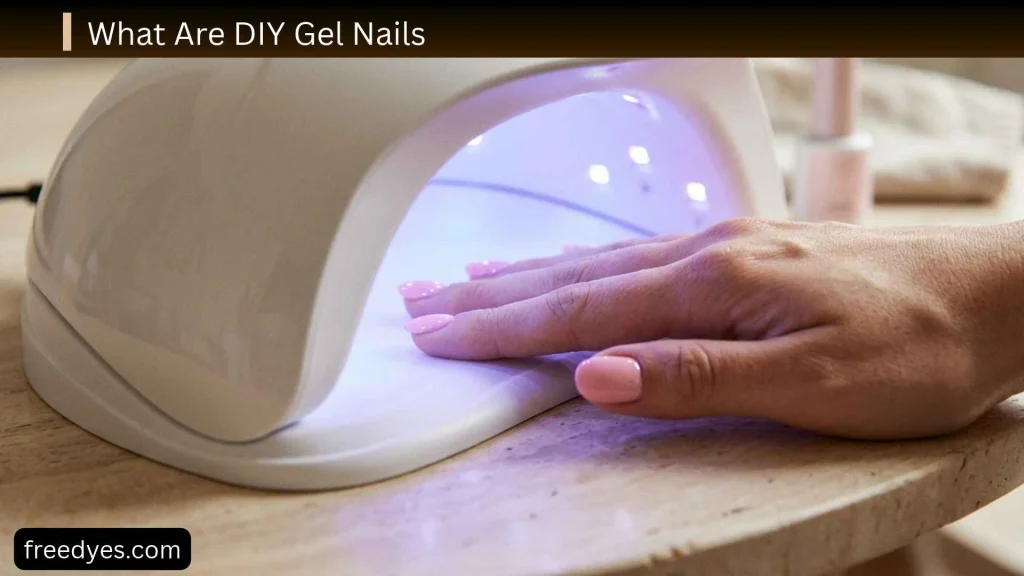
DIY gel nails usually refer to applying gel nail products yourself at home rather than having a professional manicure.
For a basic gel-polish manicure, the products are applied in layers and cured with a compatible lamp. The finished manicure is harder and more durable than ordinary air-dried nail polish.
However, “gel nails” can describe several different systems, so it is important to know what you are using before you begin.
Gel Polish vs Builder Gel vs Hard Gel
These products should not be treated as interchangeable.
Gel polish
Gel polish is primarily used as color over the natural nail.
It is generally the simplest option for someone learning how to do DIY gel nails.
A basic manicure normally involves:
- Base gel
- Gel color
- Top gel
- Curing between required layers
Builder gel
Builder gel is designed to provide more structure than ordinary gel polish.
Depending on the product, it may be used to reinforce the natural nail or create additional structure and length.
Because application and removal can differ from gel polish, beginners should follow the specific instructions for the product rather than applying a builder-gel technique to ordinary gel polish.
Hard gel
Hard gel is another type of enhancement product and is not necessarily removed in the same way as soak-off gel polish.
Do not assume that every product labeled “gel” can be soaked off with acetone.
Check the product instructions before beginning.
Gel extensions
Gel extensions add artificial length and involve additional products and techniques.
If your goal is simply a beginner DIY gel manicure, start with gel polish on your natural nails rather than attempting a complicated extension system.
What You Need for DIY Gel Nails

You can start with a relatively small collection of supplies.
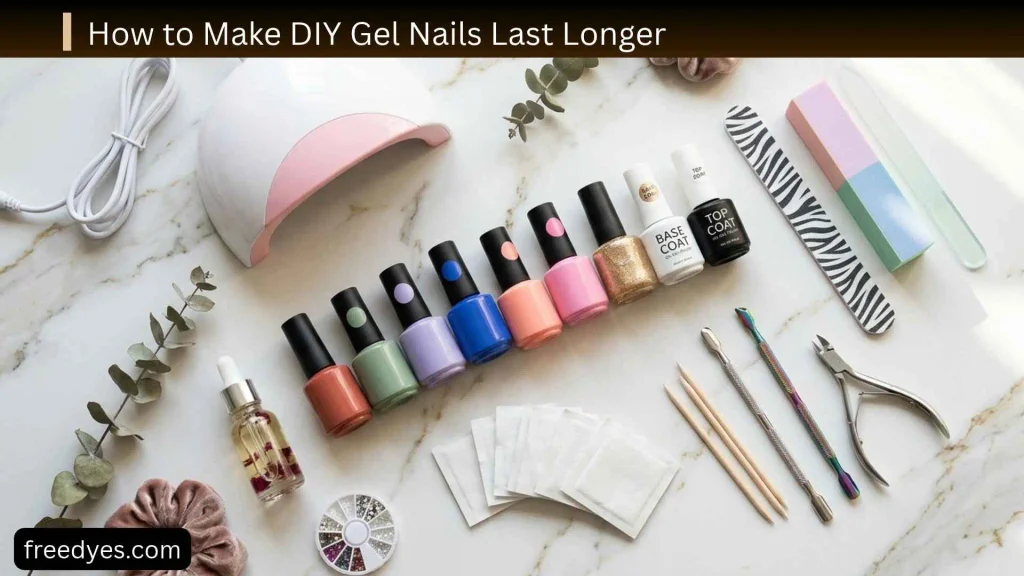
Essential supplies
- Compatible gel base coat
- Gel polish
- Compatible gel top coat
- UV/LED curing lamp appropriate for your products
- Nail file
- Gentle nail buffer
- Cuticle pusher
- Lint-free wipes
- Nail cleanser or preparation product recommended by your system
- Acetone if your gel is a soak-off formula
- Cotton pieces for removal
- Cuticle oil or moisturizer
Optional supplies
You may also find these useful:
- Nail clips for removal
- Nail art brushes
- Dotting tools
- Nail stickers
- Fine-detail brushes
- A small manicure lamp or work light for application
You do not need dozens of colors or complicated nail-art equipment for your first manicure.
What matters most when buying supplies
Prioritize compatibility and instructions over having the largest collection of products.
Check:
- Which lamp the gel manufacturer recommends
- Required curing time
- Whether the product is soak-off
- Recommended base and top coats
- Application thickness
- Removal instructions
A lamp being advertised as an LED nail lamp does not automatically mean it is suitable for every gel product.
How to Do DIY Gel Nails Step by Step
The easiest beginner routine is a simple gel manicure on short or medium-length natural nails.
Step 1: Remove old nail polish
Start with clean nails.
If you already have gel polish, remove it using the appropriate removal method instead of peeling it away.
Never pull or pick gel from the natural nail just because it has started lifting.
Forced removal can take layers of the natural nail with it and contribute to thinning or peeling.
Step 2: Shape your nails
Use a nail file to create your preferred shape.
Beginner-friendly shapes include:
- Round
- Oval
- Squoval
- Short square
- Short almond
Shorter nails can be easier to manage while you learn because there is less length to catch on clothing or objects.
File gently and avoid excessive pressure.
Step 3: Prepare the cuticle area
Gently push back the cuticle area if your product instructions call for it.
The goal is to create a clean working surface, not to aggressively remove living tissue.
Avoid cutting or aggressively scraping the cuticles. Cuticles help protect the surrounding nail area from infection, and dermatologists advise against routine cuticle cutting.
Step 4: Lightly prepare the nail surface
If your gel system requires buffing, gently remove surface shine with a suitable buffer.
Do not repeatedly file the natural nail.
The goal is clean preparation, not making the nail thinner.
Aggressive filing can leave the natural nail weak, thin, or sensitive.
Step 5: Remove dust and residue
Clean the nail using the preparation product recommended by your gel system.
Use a lint-free wipe so that fibers do not remain on the nail.
Once the nail has been prepared, avoid repeatedly touching it with your fingers.
Step 6: Apply the base coat
Apply a very thin layer of gel base coat.
Keep the product away from:
- Cuticle skin
- Sidewalls
- Fingertip skin
If gel accidentally touches the surrounding skin, clean the uncured product away before curing.
Do not cure gel while it is sitting on your skin.
Methacrylate-containing gel products can cause allergic contact dermatitis, and inadequate curing or repeated skin exposure can increase the risk of sensitization.
Step 7: Cure the base coat
Place your hand correctly inside the compatible lamp.
Cure according to the manufacturer’s instructions.
Do not guess the curing time simply because another gel product uses a different time.
Step 8: Apply the first color coat
Apply a thin layer of gel color.
Do not try to achieve complete opacity by applying a thick layer.
A thin coat gives you better control and reduces the chance of creating thick areas.
Keep the gel away from the skin.
Step 9: Cure the color
Cure the first color layer according to the product instructions.
Make sure the fingers are positioned correctly under the lamp.
Step 10: Apply a second color coat if needed
If the color is still translucent or uneven, apply another thin layer.
Cure it as directed.
You may need fewer or more coats depending on the formula and color.
Step 11: Apply the top coat
Apply a thin, even layer of top coat.
Try to keep the finish smooth without flooding the cuticle area.
If the product instructions recommend sealing the free edge, do so carefully.
Step 12: Cure the top coat
Cure the top coat according to its instructions.
If your top coat leaves a sticky inhibition layer, follow the manufacturer’s directions for finishing it rather than automatically wiping it with a random cleanser.
Step 13: Finish the manicure
Once the manicure is complete, apply cuticle oil or moisturizer around the nail area.
Your basic DIY gel manicure is finished.
The Correct DIY Gel Nail Application Order
If you forget the sequence, use this simple order:
Prepare → Base → Cure → Color → Cure → Color if needed → Cure → Top → Cure → Finish
The exact products and curing requirements vary by system, so the manufacturer’s instructions should take priority over a generic sequence.
How to Cure Gel Polish Correctly
Curing deserves special attention because a manicure can look finished while still having application problems.
Why curing matters
Gel products are designed to harden through a light-curing process.
Proper curing depends on factors such as:
- The gel formula
- Lamp compatibility
- Light output
- Layer thickness
- Hand positioning
- Manufacturer instructions
Why thick layers are a problem
A thick layer may not cure in the same way as a properly applied thin layer.
It can also wrinkle, remain soft, or create an uneven finish.
For this reason, more gel does not mean a stronger manicure.
Signs something may be wrong
Watch for:
- Wrinkling
- Persistent softness
- Gummy product
- Uneven hardening
- Product that dents unusually easily
- Repeated lifting despite good preparation
If you notice these problems, check the product instructions and lamp compatibility rather than simply increasing curing time at random.
How to Keep Gel Off Your Skin
This is one of the most important DIY gel nail habits.
Use less product
A smaller amount is easier to control around the cuticle.
Place the brush carefully
Instead of pushing a large amount of gel toward the cuticle, leave a very small margin and guide the product carefully.
Check before curing
Before putting your hand under the lamp, inspect:
- Cuticle area
- Sidewalls
- Corners
- Fingertip edges
If you see gel on your skin, remove the uncured product before curing.
Why this matters
Repeated skin exposure to acrylate or methacrylate ingredients can cause allergic contact dermatitis in susceptible people. Reports of nail-product allergy include both professional and home users.
If a product repeatedly causes itching, burning, swelling, blistering, or a rash, stop using it and seek medical advice rather than trying to cover the reaction with another manicure.
How Long Do DIY Gel Nails Last?
There is no universal wear time that applies to every person or every gel system.
How long a manicure lasts depends on:
- Natural nail condition
- Preparation
- Product compatibility
- Application technique
- Layer thickness
- Curing
- Nail length
- Exposure to water and cleaning products
- Physical impact
- How the nails are used
Instead of focusing on a guaranteed number of days, focus on preventing early lifting and mechanical damage.
How to Make DIY Gel Nails Last Longer
Prepare carefully
Clean, properly prepared nails give the gel a better surface for application.
Use thin coats
Avoid building unnecessary thickness.
Keep product away from the skin
Gel flooding around the cuticle can contribute to lifting and also creates unwanted skin exposure.
Cure according to the system
Do not assume every product needs the same curing time.
Protect your nails
Avoid using your nails to:
- Open cans
- Scrape labels
- Pry objects
- Pick at stickers
- Remove stubborn residue
A gel manicure still experiences mechanical stress.
Why Are My DIY Gel Nails Peeling?
Peeling is one of the most common beginner complaints.
Gel is lifting near the cuticle
Possible causes include:
- Product touching the skin
- Too much product near the cuticle
- Inadequate preparation
- Product incompatibility
- Curing problems
Gel is lifting at the tips
Possible causes include:
- Repeated impact
- Incorrect application around the free edge
- Excessive nail length
- Daily activities that put pressure on the tips
The entire layer peels away
Possible causes include:
- Poor nail preparation
- Incompatible products
- Application problems
- Curing problems
- Natural nail flexibility
Don’t solve lifting by simply adding more products.
First identify what caused the lifting.
DIY Gel Nails Troubleshooting
| Problem | Possible cause | Better solution |
| Gel peels quickly | Preparation or adhesion problem | Review preparation and product compatibility |
| Gel lifts around cuticle | Product touched skin or application is too thick | Leave a small margin and use less product |
| Tips chip | Physical impact | Keep a manageable length and protect the free edge |
| Gel wrinkles | Layer may be too thick or not properly cured | Apply thinner layers and check curing instructions |
| Gel stays soft | Curing issue | Check lamp compatibility, positioning, and instructions |
| Bubbles appear | Uneven or overworked application | Apply smoothly with controlled brush strokes |
| Manicure looks bulky | Too much product | Use thinner layers |
| Removal takes too long | Product has not softened sufficiently | Continue the appropriate removal process rather than forcing it |
| Natural nail is peeling | Aggressive removal or filing | Stop picking and reduce mechanical damage |
| Skin becomes irritated | Possible product sensitivity | Stop using the product and seek medical advice if symptoms persist |
How to Remove DIY Gel Nails
Removal should be treated as part of the manicure, not an annoying final step.
Step 1: Determine what type of gel you used
First check whether the product is actually a soak-off gel.
Not every gel system is removed in the same way.
Step 2: Follow the product’s removal instructions
For soak-off gel polish, acetone is commonly used to soften the product.
Protect the surrounding skin and work surface.
Step 3: Remove only what has softened
Once the product has softened sufficiently, gently remove it.
Do not pry, scrape aggressively, or pull off stubborn pieces.
If the product does not release easily, repeat the appropriate removal process rather than increasing force.
Step 4: Clean and moisturize
After removal:
- Wash your hands
- Moisturize the skin
- Apply cuticle oil
- Avoid aggressive filing
The American Academy of Dermatology recommends avoiding picking gel polish and describes acetone-based removal approaches for gel manicures.
Step 5: Give damaged nails a break
If your nails have become thin, brittle, peeling, or painful, don’t immediately cover them with another manicure.
A period without polish and regular moisturizing can help reduce dryness and brittleness.
DIY Gel Nails and Natural Nail Health
Gel manicures can be attractive and durable, but repeated manicures and poor preparation or removal can contribute to nail brittleness, peeling, and cracking.
Avoid over-buffing
Your natural nail should not be aggressively thinned to make gel adhere.
Avoid picking
If the gel begins lifting, do not use another fingernail to pull it away.
Don’t ignore persistent changes
Pay attention to:
- Persistent redness
- Swelling
- Itching
- Blistering
- Pain
- Nail lifting
- Unusual discoloration
- Significant thinning
- Persistent cracking
If you repeatedly experience unusual nail or skin changes, stop using the product and consider evaluation by a dermatologist.
DIY Gel Nails and UV/LED Lamps
Gel products need appropriate light curing, and nail-curing lamps can expose the hands to UV radiation.
The American Academy of Dermatology recommends reducing unnecessary UV exposure by using broad-spectrum, water-resistant SPF 30 or higher on the hands before a gel manicure or using opaque fingerless gloves designed for UV protection.
Is an LED nail lamp UV-free?
Not necessarily.
Some LED curing lamps emit UV wavelengths used to cure gel products.
The important point is not simply whether the lamp is labeled “LED.” Check the manufacturer’s compatibility information and use the lamp as directed.
Gel Nails vs Regular Nail Polish
| Feature | DIY gel nails | Regular polish |
| Drying method | Light curing | Air drying |
| Lamp required | Yes for light-cured gel | No |
| Equipment | More equipment | Minimal |
| Removal | Usually more involved | Generally simpler |
| Finish | Glossy and durable | Easier to change |
| Application | Requires more technique | Usually easier |
| UV exposure | Curing lamp involved | No curing lamp |
If you want a manicure that is easy to change and remove, regular polish may be more convenient.
If you prefer the cured finish and are willing to learn the technique, gel can be a useful option.
DIY Gel Nails for Beginners: The Easiest Routine
If this is your first attempt, don’t start with extensions, elaborate art, or several different gel systems.
Use this basic routine:
- Start with clean, healthy nails.
- Shape them.
- Gently prepare the nail surface.
- Remove dust.
- Apply a thin base coat.
- Cure as directed.
- Apply a thin color coat.
- Cure.
- Apply a second thin coat if necessary.
- Cure.
- Apply a top coat.
- Cure.
- Finish with cuticle oil.
Choose a simple color while learning.
A lighter or medium-opacity shade can make application easier to inspect than an extremely dark color that hides uneven layers.
Easy DIY Gel Nail Designs for Beginners

Once your basic application is clean, you can add simple designs.
Minimal French tips
Use a fine brush or nail-art tool to create a simple tip.
Glitter accent nail
Apply glitter to one or two nails rather than attempting a complicated design on every nail.
Two-color manicure
Use one color on most nails and a second color as an accent.
Simple dots
Create dots with a dotting tool after the base color has been cured.
Minimal lines
Thin lines can create a modern design without requiring advanced nail-art skills.
Cure every layer according to the instructions for the products being used.
Common DIY Gel Nail Mistakes
Using too much product
More gel does not automatically create a stronger manicure.
Touching the skin
Gel should stay on the nail plate.
Skipping preparation
Poor preparation can contribute to lifting.
Over-buffing
The natural nail does not need to be aggressively filed.
Guessing curing times
Different formulas and lamps can have different requirements.
Mixing systems without checking compatibility
Base, color, top coat, and lamp compatibility can affect the final result.
Peeling the manicure off
This is one of the easiest ways to turn a cosmetic problem into nail damage.
Starting with complicated nail art
Learn clean applications before adding extensions, sculpting, or detailed designs.
When You Should Stop Using Gel Products
DIY gel nails are not something to push through if your skin or nails are reacting badly.
Stop using the product and seek appropriate medical advice if you develop:
- Persistent itching
- Burning
- Significant redness
- Swelling
- Blisters
- A spreading rash
- Painful nail changes
- Nail separation
- Persistent or unusual discoloration
Allergic contact dermatitis from acrylate and methacrylate nail products is a recognized problem, including among people who use nail products at home.
How to Make DIY Gel Nails Safer
Keep these rules in mind every time:
Keep uncured gel off your skin.
Use a curing lamp compatible with your gel system.
Follow the manufacturer’s curing instructions.
Apply thin, controlled layers.
Do not aggressively cut or scrape cuticles.
Do not peel cured gel from your natural nails.
Use the appropriate removal method for your specific product.
Take breaks if your nails become brittle, thin, or damaged.
Stop using a product that repeatedly causes irritation and seek professional advice.
Frequently Asked Questions
Can you do gel nails at home?
Yes. A simple gel-polish manicure can be done at home with the appropriate products, compatible curing lamp, and careful preparation.
What goes first when doing DIY gel nails?
After preparing and cleaning the natural nail, the base coat normally goes first, followed by gel color and top coat, with curing performed as directed between the required layers.
How many coats of gel polish should I use?
There is no universal number. Use thin coats and add color until you reach the coverage you want while following the product instructions.
Why does my gel polish peel after one day?
Possible reasons include poor preparation, product touching the skin, incompatible products, curing problems, or mechanical stress. Check the entire application process rather than simply adding another coat.
Can I put gel polish directly on my natural nails?
Many gel-polish systems are designed for use on natural nails, but follow the instructions for your specific product and use the recommended base coat when required.
Can I cure gel polish with any LED lamp?
No. Do not assume that every LED nail lamp is compatible with every gel formula. Follow the gel manufacturer’s lamp and curing requirements.
Can I peel off gel nails?
No. Picking or peeling can remove layers of the natural nail and contribute to damage. Use the appropriate removal method instead.
How do I remove gel nails at home?
If you are using a soak-off gel polish, acetone is commonly used to soften the product. Follow the manufacturer’s removal instructions and never force product that has not softened.
Are DIY gel nails safe?
They can be used with precautions, but they are not risk-free. Potential concerns include nail damage, skin reactions to gel ingredients, and UV exposure from curing lamps.
Is LED better than UV for gel nails?
The label alone does not tell you everything about the exposure. Some LED nail lamps still emit UV wavelengths used for curing. The AAD recommends measures such as SPF 30+ on the hands or opaque fingerless gloves to reduce UV exposure.
How can I make DIY gel nails last longer?
Focus on careful preparation, thin application, keeping gel off the skin, correct curing, and protecting the nails from unnecessary impact and harsh activities.
Should I do gel nails if my nails are already damaged?
If your nails are thin, painful, peeling, discolored, or otherwise abnormal, it is better to address the problem first rather than covering it with another manicure.
Final Thoughts
DIY gel nails do not require complicated techniques to look polished. A beginner can get a much better result by concentrating on a few fundamentals: proper preparation, thin layers, compatible products, correct curing, clean application, and gentle removal.
The most important rule is to keep uncured gel away from the skin. The second is to never turn a lifting manicure into a nail-damaging removal session by peeling it off.
Start with a simple gel-polish manicure, learn to control the amount of product on the brush, and only add nail art or more advanced techniques once your basic application is consistent.