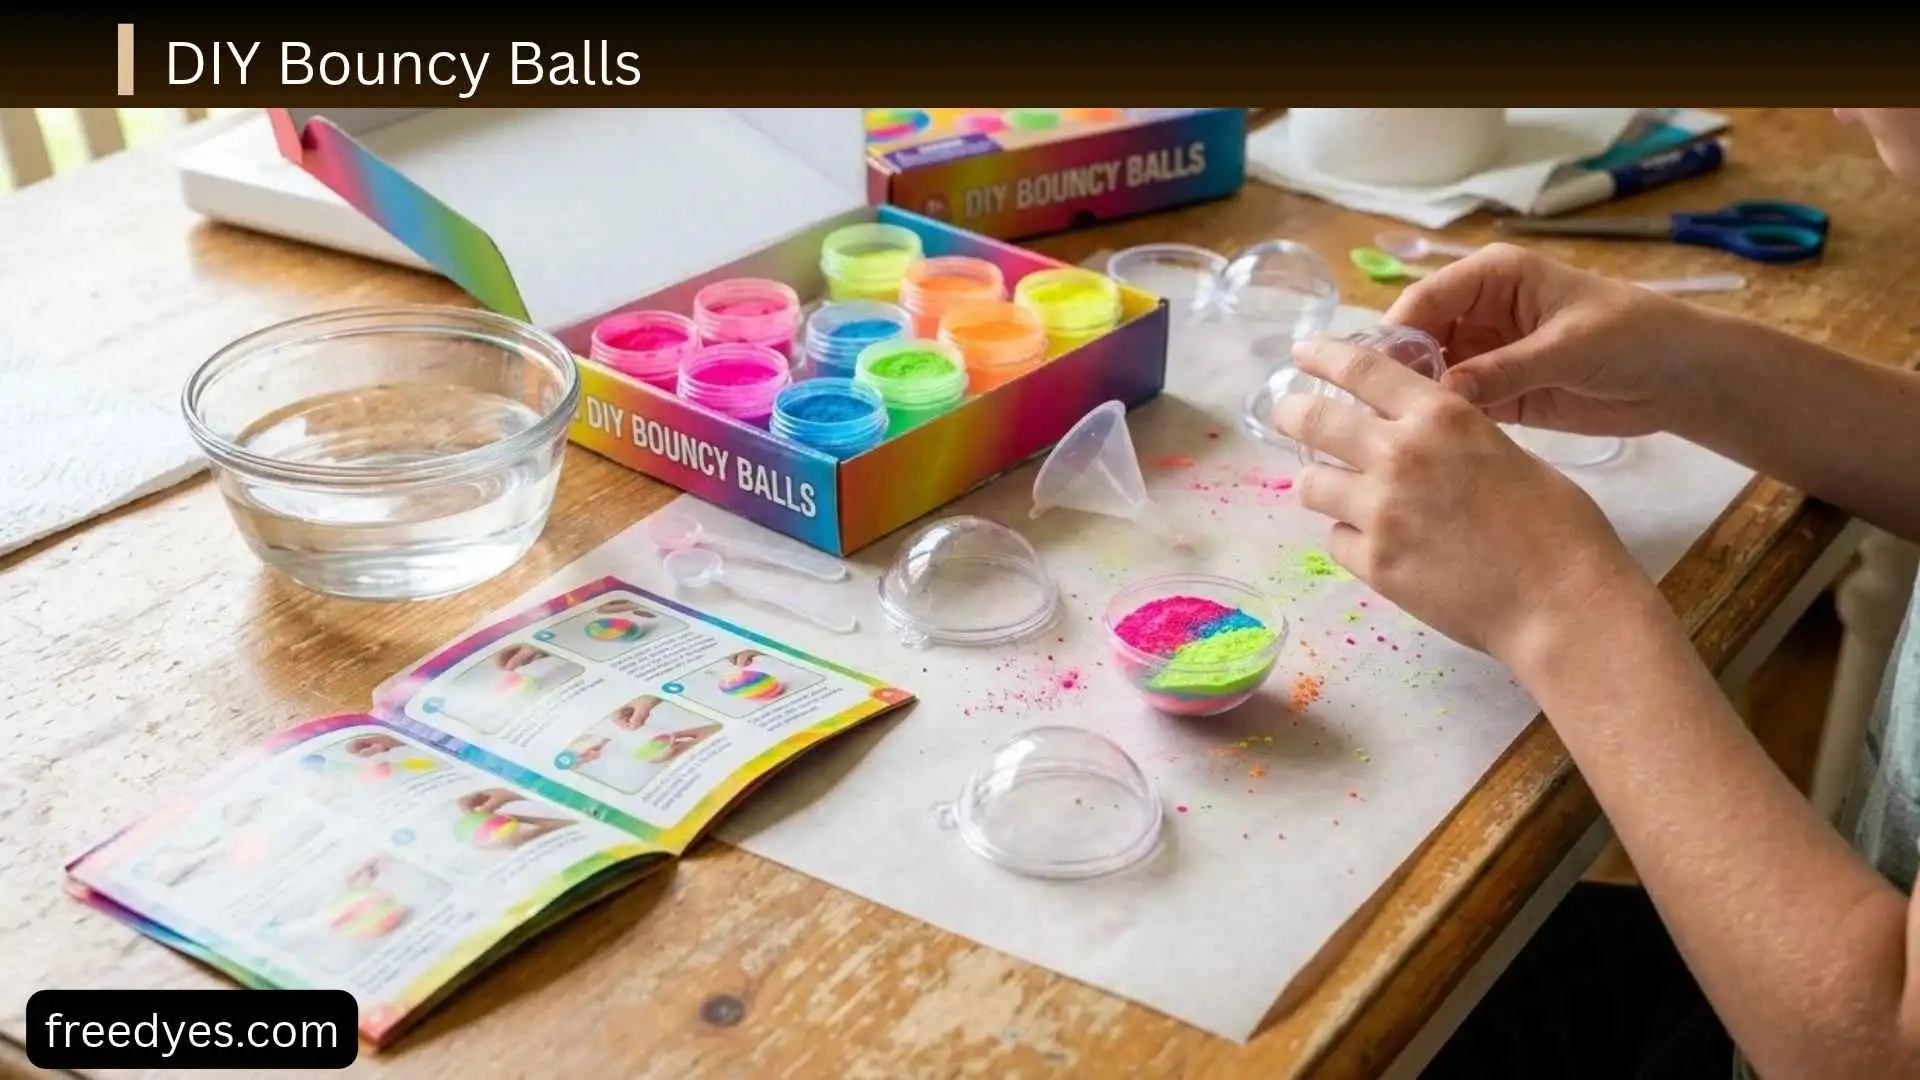
Making DIY bouncy balls is an easy science activity that turns simple craft materials into a small, rubbery ball. The project is fun for kids, but it also demonstrates a real chemistry concept: when a cross-linking ingredient interacts with polymers in glue, the material can change from a liquid or soft mixture into a more elastic solid.
This version focuses on the things that matter most when you’re actually making the ball: the right consistency, how to shape it, why it bounces, what to do when it fails, and how to test different versions fairly.
Safety first: This activity uses borax. Adult supervision is recommended, especially when handling the dry powder. Keep borax away from eyes and mouths, follow the product label, wash hands after the activity, and keep the finished small ball away from children who may put objects in their mouths.
DIY Bouncy Balls at a Glance
| Detail | What to expect |
| Difficulty | Easy |
| Activity type | Craft + STEM experiment |
| Main material | White school glue |
| Cross-linking ingredient | Borax |
| Optional color | Food coloring |
| Best surface for testing | Hard, smooth surface |
| Adult supervision | Recommended |
| Best use | Short-term science activity and supervised play |
The exact texture can vary with the glue formulation and the amount of cross-linking solution used. Educational bouncy-ball activities use several different formulations, so careful measuring and consistency checks are more useful than assuming every brand of glue will behave identically.
What You Need to Make DIY Bouncy Balls
Essential Materials
For one small experimental batch, gather:
- 2 tablespoons white school glue
- ½ teaspoon borax
- 2½ teaspoons warm water
- Small mixing cup
- Craft stick or spoon
- Paper towel
- Optional food coloring
- Measuring spoons
This is a practical small-batch starting point. Because glue formulations vary, the final texture may require a small adjustment rather than behaving identically every time.
What Kind of Glue Works Best?
Start with basic white school glue, preferably a PVA-based craft or school glue.
Avoid assuming that every adhesive will produce the same result. Different glue formulations contain different polymers and additives, and educational experiments have shown that changing the starting material can change the finished ball.
For a first attempt, keep the glue simple rather than experimenting with specialty adhesives.
Optional Materials
You can also use:
- Food coloring
- Disposable gloves
- Ruler or measuring tape
- Small airtight container
- Notebook for recording bounce results
Food coloring changes the appearance, not the basic purpose of the experiment.
How to Make DIY Bouncy Balls

Step 1: Prepare the Borax Solution
Add ½ teaspoon borax to 2½ teaspoons warm water in a small cup.
Stir carefully until the powder has dissolved as much as possible.
An adult should handle the dry borax, particularly when young children are participating.
Keep the solution away from food, drinks, eyes, and mouths.
Step 2: Measure the Glue
Place 2 tablespoons of white school glue in a separate cup.
If you want a colored ball, add a small amount of food coloring now and mix it into the glue.
Starting with a small amount of coloring is better than adding lots of liquid because the goal is to keep the mixture’s consistency predictable.
Step 3: Add the Borax Solution Gradually
Add a small amount of the borax solution to the glue while stirring.
The mixture should gradually become thicker and start forming a cohesive mass.
Don’t automatically pour all of the solution in at once.
The important visual checkpoint is that the glue should stop behaving like a smooth liquid and begin gathering into a thicker polymer mass.
Step 4: Remove the Polymer Mixture
Once the mixture has clumped together, remove it from the cup.
It may still feel slightly sticky.
That doesn’t necessarily mean the batch has failed.
Step 5: Knead the Mixture
Work the material between your hands and continue pressing and rolling it.
As it is worked, the mixture should become easier to handle and more cohesive.
If it is still extremely sticky, give it more time to come together before making major adjustments.
Step 6: Shape the Ball
Compress the material into one compact mass.
Then roll it between your palms until you have a reasonably round ball.
A smooth, compact shape is important because a misshapen ball will bounce unpredictably.
Step 7: Let Excess Moisture Leave
Pat the surface gently with a paper towel if necessary.
Don’t squeeze the ball aggressively because you can deform it.
Step 8: Test the Bounce
Place the ball over a hard, smooth surface.
Drop it from a consistent height and watch how high it rebounds.
For a simple first test, use the same drop height every time.
Educational bouncy-ball experiments commonly compare balls by dropping them from the same height and measuring their bounce.
How to Tell When Your DIY Bouncy Ball Is Ready
A successful mixture should:
- Hold together as one piece
- Be shapeable by hand
- Feel rubbery or elastic rather than watery
- Be less sticky after working
- Maintain a roughly spherical shape
- Bounce at least somewhat when dropped on a hard surface
It should not remain a loose liquid, separate into large wet and dry portions, or immediately fall apart when handled.
Don’t expect every homemade ball to behave exactly like a manufactured rubber bouncy ball. Homemade versions are experimental polymer materials, so texture and bounce can vary.
Why Does a DIY Bouncy Ball Bounce?
Science begins with the glue.
Glue contains long polymer molecules. When a suitable cross-linking material interacts with those polymer chains, it can connect them into a larger network.
That network changes the physical behavior of the material.
Instead of remaining a flowing glue mixture, it becomes a more solid, flexible material that can deform and recover some of its shape.
That elastic behavior is what makes the finished ball capable of bouncing.
What Does Borax Do?
In this experiment, borax provides the cross-linking ingredient.
The important idea is not simply that “borax makes glue hard.” It changes how the polymer chains are connected.
The amount of cross-linking can affect the resulting material, which is why changing the recipe can change the ball’s texture and bounce. University-level educational experiments specifically use different compositions to investigate how cross-linking influences bouncy polymer materials.
What Does Cornstarch Do?
Some popular bouncy-ball recipes include cornstarch or cornflour.
It can help thicken the mixture and contribute to the ball’s ability to hold its shape. Educational recipes use it for this purpose.
However, recipes are not interchangeable. If you add or remove ingredients, the proportions need to be adjusted rather than assuming the same amount of borax will produce the same result.
How to Make a Better-Bouncing DIY Ball
There isn’t one magic ingredient adjustment that guarantees the highest bounce.
A better approach is to control the experiment.
Keep the Ball Round
A round ball gives you a more consistent bounce.
If one side is flat or lumpy, it may shoot sideways instead of rebounding upward.
Keep the Size Similar
If you’re comparing two balls, make them approximately the same size.
A large difference in size can make the comparison less useful.
Use the Same Drop Height
Mark a starting height on a wall or use a ruler.
Drop every ball from the same position.
Don’t throw the ball downward because that adds extra force.
Use the Same Surface
A hard, smooth surface makes it easier to compare bounce height.
Don’t compare one ball on tile and another on carpet and then assume the recipe caused the difference.
Change Only One Variable
If you’re testing recipes, change one thing at a time.
For example:
- Ball A: original recipe
- Ball B: different glue-to-water ratio
Keep the ball size, drop height, surface, and testing method the same.
That makes your experiment much easier to understand.
DIY Bouncy Ball Science Experiment
Once you’ve made one ball, you can turn the project into a simple STEM investigation.
Experiment 1: Does Ball Size Affect Bounce?
Make two balls of different sizes.
Drop both from the same height.
Record the maximum bounce height.
Ask:
Does the larger ball bounce higher, lower, or about the same?
Experiment 2: Does the Surface Matter?
Test the same ball on:
- Tile
- Wood
- Concrete
- Carpet
Keep the drop height identical.
The surface can absorb or return different amounts of energy, so the bounce will change.
Experiment 3: Does the Recipe Matter?
Make several small batches while changing one ingredient ratio at a time.
Record:
| Ball | Recipe change | Drop height | Bounce height | Texture |
| A | Original | ___ | ___ | ___ |
| B | More/less cross-linking solution | ___ | ___ | ___ |
| C | Different glue | ___ | ___ | ___ |
This is much more useful than simply deciding which ball “looks better.”
Experiment 4: Compare With a Store-Bought Ball
Use a commercial bouncy ball as a comparison.
Drop both balls from the same height.
Record:
- Bounce height
- Shape after bouncing
- Number of bounces
- Texture
- Durability
This demonstrates why manufactured rubber products can behave differently from homemade polymer experiments.
Why Is My DIY Bouncy Ball Too Sticky?
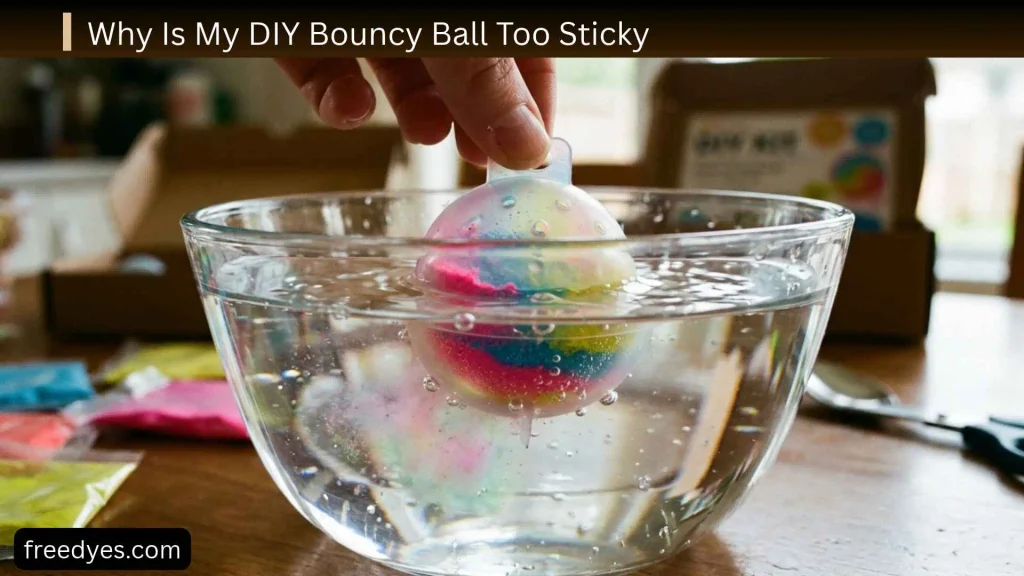
A sticky ball doesn’t automatically mean the project failed.
Possible reasons include:
- The mixture needs more work.
- The polymer has not formed the desired consistency.
- The proportions were inaccurate.
- The glue formulation behaves differently from the one used in the original recipe.
What to Do
First, continue kneading the material.
If it remains excessively sticky, compare your measurements with the recipe before adding anything else.
If you need to make an adjustment, use small amounts of the prepared borax solution rather than dumping dry borax directly onto the ball.
Don’t keep adding borax blindly. Too much cross-linking can change the texture in the opposite direction and make the material excessively firm.
Why Is My DIY Bouncy Ball Too Hard?
An overly hard ball may have received too much cross-linking material or may have a different composition from the intended recipe.
Don’t try to rescue a severely over-hardened batch by randomly adding more ingredients.
For your next batch:
- Measure everything carefully.
- Use the same glue.
- Change only one variable.
- Add the cross-linking solution gradually.
This gives you a much better chance of identifying what caused the difference.
Why Is My DIY Bouncy Ball Crumbly?
A crumbly mixture may indicate that the proportions are off or that there isn’t enough cohesive polymer material holding everything together.
Check:
- Glue measurement
- Dry ingredient measurement
- Water measurement
- Mixing technique
A successful ball should form one cohesive mass rather than breaking into dry pieces when rolled.
If the batch is clearly wrong, making a small fresh batch is often more useful than continuing to add random ingredients.
Why Does My DIY Bouncy Ball Fall Apart?
If the ball breaks apart as soon as you pick it up, it has not formed a sufficiently cohesive structure.
Check whether:
- The glue was measured correctly.
- The cross-linking solution was added properly.
- The mixture was stirred thoroughly.
- The material was kneaded enough before shaping.
- Too much dry material was included.
Don’t judge the mixture immediately after combining the ingredients. Give it time to clump and work it into one mass.
Why Doesn’t My DIY Bouncy Ball Bounce?

A homemade ball may have poor bounce for several reasons.
It May Not Be Round
A lumpy ball loses consistency when it hits the surface.
It May Be Too Soft
The material may not have developed the desired structure.
It May Be Too Hard
A very stiff material doesn’t necessarily produce a better bounce.
The Surface May Be Absorbing the Impact
Test on a hard surface before deciding that the recipe failed.
The Drop May Be Inconsistent
Drop rather than throw the ball.
Use the same height for every test.
Why Did My Bouncy Ball Flatten?
Homemade polymer balls are not identical to factory-made rubber balls.
A homemade ball may flatten because:
- It is still soft.
- It was pressed against a surface.
- It was stored under weight.
- Its material continues to change as it dries.
If it remains workable, reshape it gently.
Store it without anything heavy pressing against it.
How to Store DIY Bouncy Balls
Place the finished ball in a clean, sealed container or bag when you’re finished using it.
This can help reduce drying.
Some educational bouncy-ball activities recommend airtight storage and note that homemade balls can lose their shape during storage and be reshaped later.
Keep the ball:
- Away from food
- Away from pets
- Away from very young children
- Away from excessive heat
- Away from heavy objects
Don’t treat a homemade bouncy ball as a permanent toy.
If it becomes dirty, damaged, unusually brittle, or otherwise unsuitable for handling, discard it.
DIY Bouncy Balls Without Borax
If your main goal is to avoid borax, don’t simply replace it with another household chemical without changing the recipe.
A different chemical system can produce a completely different material.
For younger children, consider a non-chemical ball-making activity or use a commercially manufactured bouncy ball for play.
If you specifically want a borax-free polymer experiment, it should be treated as a separate experiment with its own tested recipe and safety instructions.
DIY Bouncy Ball Safety
Because this project uses borax, safety needs to be part of the activity from the beginning.
Handle Borax Carefully
Keep dry borax away from children’s faces, eyes, food, and drinks.
Use the product according to its label.
Borate products can be harmful if swallowed, and Poison Control recommends following product directions and keeping these substances away from children and pets.
Wash Hands After the Activity
Everyone participating should wash their hands after handling the mixture and finished ball.
Clean the work surface and wash reusable tools separately from food-preparation equipment.
Avoid Eye Contact
If the material gets into the eyes, follow the product’s safety instructions and seek appropriate medical or poison-control advice.
Don’t Eat the Ball
The finished bouncy ball is not edible.
Don’t let children lick, chew, or taste it.
Watch for Choking Risk
A homemade bouncy ball is small.
Keep it away from babies, toddlers, and anyone likely to put small objects in their mouth.
Don’t Use Food Containers
Don’t make or store the experiment in containers that could later be mistaken for food containers.
Label the storage container clearly.
DIY Bouncy Balls for Different Ages
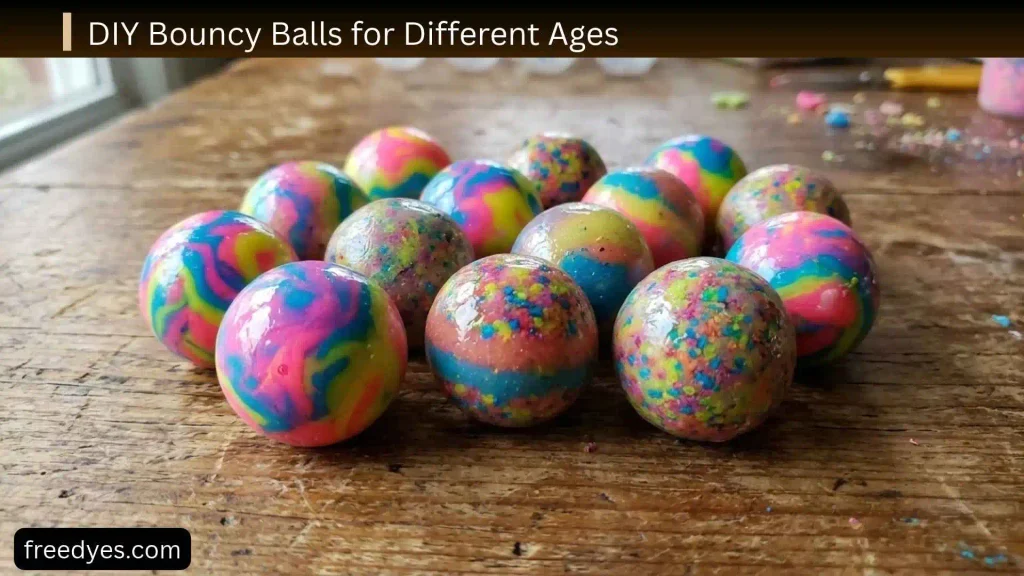
Young Children
The activity should be closely supervised because of the borax and the small finished ball.
An adult can handle the powder and manage the mixing while the child watches the material change.
School-Age Kids
Older children can participate more actively while an adult controls the chemical-handling steps.
The bounce-testing portion is particularly useful because children can measure and record results.
Older Kids and Teens
The activity can become a deeper STEM experiment.
They can investigate:
- Cross-linking
- Elasticity
- Material composition
- Bounce efficiency
- Experimental controls
- Data collection
- Graphing results
DIY Bouncy Balls vs Store-Bought Bouncy Balls
A homemade ball and a commercial bouncy ball have different purposes.
| Homemade bouncy ball | Store-bought bouncy ball |
| Excellent for science activities | Better for regular play |
| Made during the experiment | Ready to use |
| Recipe affects texture | Manufactured for consistency |
| Bounce may vary | More predictable |
| Good for testing variables | Usually more durable |
| Educational | Primarily a toy |
If your goal is learning, making the ball yourself is the interesting part.
If your goal is durable repeated play, a manufactured ball is generally more appropriate.
Common DIY Bouncy Ball Mistakes
Using Random Measurements
Small changes in ingredient ratios can affect the final material.
Measure instead of guessing.
Adding Too Much Borax
More cross-linking does not automatically mean more bounce.
Add gradually and observe the consistency.
Changing Several Ingredients at Once
If you change glue, water, borax, and cornstarch simultaneously, you won’t know what caused the result.
Change one variable at a time.
Making the Ball Uneven
A lumpy ball will not bounce predictably.
Roll and compress it into as round a shape as possible.
Testing on Soft Surfaces
Carpet makes bounce comparisons difficult.
Use a hard surface for consistent testing.
Throwing Instead of Dropping
A throw adds extra force.
Drop the ball from a measured height.
Expecting a Factory-Quality Toy
Homemade polymer balls can vary in texture and durability.
Treat the project as a science experiment rather than a replacement for a manufactured rubber ball.
DIY Bouncy Ball FAQs
How do you make a DIY bouncy ball?
A common method combines white school glue with a borax-based cross-linking solution. The mixture is worked until it becomes a cohesive, rubbery mass and then shaped into a ball. Different educational recipes use different ratios, so measurements and glue type matter.
What makes a homemade bouncy ball bounce?
The glue contains polymers, and the cross-linking process changes how those polymer chains interact. The resulting material can behave more elastically than the original glue mixture.
What glue is best for DIY bouncy balls?
Basic white school glue is a practical starting point. Different formulations can behave differently, so changing glue brands or types can change the result.
Why is my DIY bouncy ball sticky?
The mixture may need more working, or the proportions may not be right for the glue being used. Knead it first and check your measurements before making adjustments.
Why is my bouncy ball hard?
Too much cross-linking or different material proportions can produce a firmer ball. Make a fresh batch with carefully measured ingredients rather than repeatedly adding more materials to the existing batch.
Why isn’t my homemade bouncy ball bouncing?
Check the ball’s shape, firmness, testing surface, and drop method. Test it on a hard surface and drop it rather than throwing it.
Can I make bouncy balls without borax?
Yes, other material systems can be used for different polymer experiments, but you shouldn’t make random substitutions in this recipe. A borax-free recipe needs its own proportions and safety instructions.
Can I use clear glue instead of white glue?
You can experiment with different glue formulations, but don’t expect identical results. The composition of the glue affects the final polymer material.
How do I make my bouncy ball bounce higher?
Make the ball round and consistent, use a hard surface, and test it from the same height each time. If you’re comparing recipes, change only one variable at a time.
How long do homemade bouncy balls last?
There isn’t one reliable lifespan because homemade balls vary in composition and storage conditions. They can flatten, dry, lose elasticity, or change shape over time.
Can toddlers play with DIY bouncy balls?
They should not play with the finished ball unsupervised. The ball is small enough to create a choking risk, and the activity also involves borax.
Can I store homemade bouncy balls?
Yes. Store them in a clean sealed container or bag and keep them away from food, pets, young children, heat, and heavy objects. Homemade balls can change shape during storage.
Final Thoughts
DIY bouncy balls are more than a simple homemade toy. They are a practical way to see how changing the structure of a material can change its physical properties.
For the best experience, measure carefully, add the cross-linking solution gradually, work the mixture until it becomes cohesive, shape the ball evenly, and test every version under the same conditions.
Most importantly, treat the activity as a supervised science experiment. Borax requires careful handling, and the finished small ball should never be treated as an edible or toddler-safe toy.