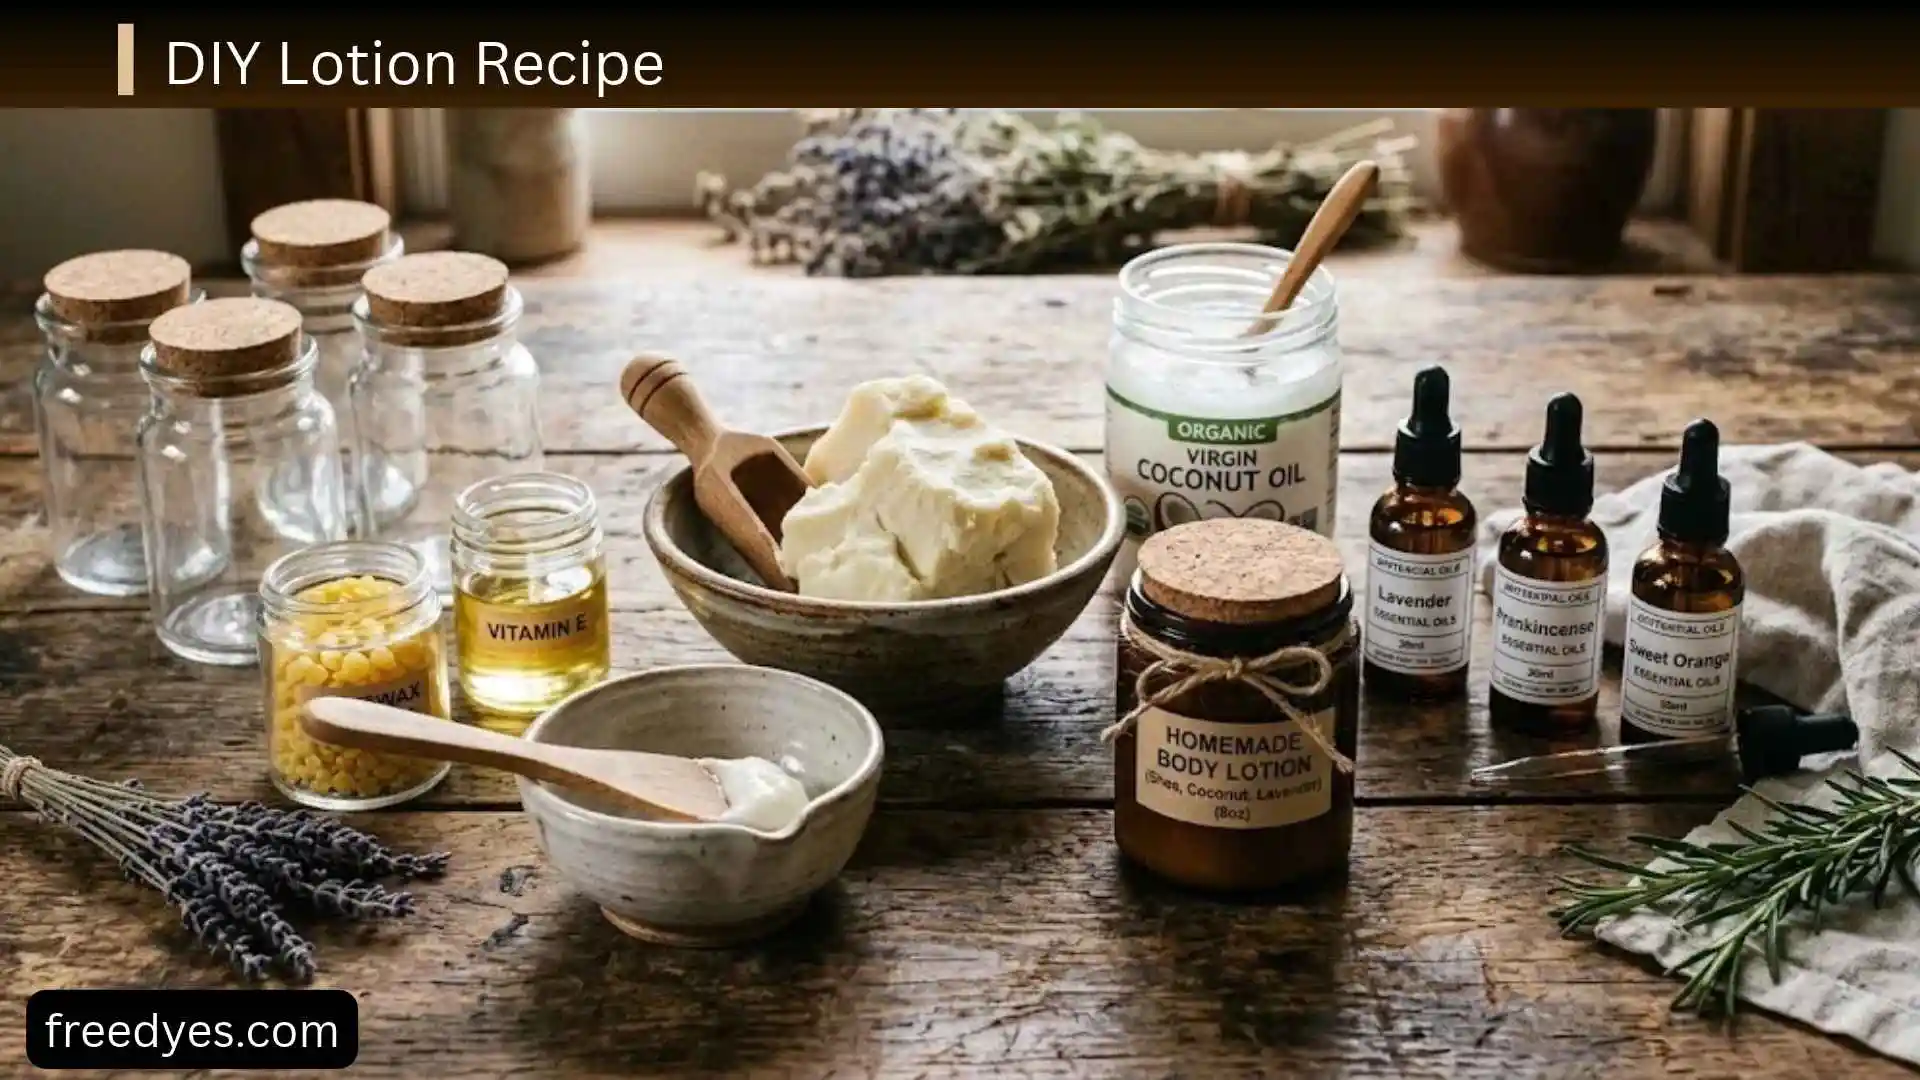
Yes, you can make DIY lotion at home, but a true lotion is more than simply mixing oil and water. Because lotion contains water, you need a suitable emulsifier to keep the water and oil together and an appropriate broad-spectrum preservative to help control microbial growth.
This beginner-friendly formula makes a small batch of homemade body lotion with a light-to-medium texture. It also explains what each ingredient does, how to adjust the formula, what to do if the lotion separates, and when body butter may be a better choice.
Important: This is a small-batch DIY formulation example, not a commercially validated cosmetic formula. Homemade lotion has not automatically been stability- or preservative-tested simply because the ingredients are commonly used in cosmetics.
DIY Lotion at a Glance
| Detail | Information |
| Recipe type | Water-based body lotion |
| Batch size | 100 g |
| Texture | Light to medium |
| Main phases | Water phase + oil phase |
| Emulsifier | Emulsifying Wax NF |
| Preservative | Broad-spectrum cosmetic preservative |
| Best use | Body and hands |
| Fragrance | Optional; fragrance-free is simplest |
| Equipment | Digital scale, heat-safe containers, thermometer, mixer |
| Difficulty | Intermediate |
| Best packaging | Clean pump bottle |
| Important | Follow the instructions for your specific emulsifier and preservative |
Because the batch is 100 g, 1 gram equals 1% of the finished formula. That makes the recipe easy to understand and scale.
Before You Make DIY Lotion
Lotion vs Cream vs Body Butter
These products are related, but they are not the same.
| Product | General character | Beginner consideration |
| Lotion | More water, lighter feel | Requires emulsification and preservation |
| Cream | Richer and thicker | Requires more formulation control |
| Body butter | Usually water-free | Simpler because there is no water phase |
| Balm | Water-free and often wax-based | Very simple compared with lotion |
If you want the easiest homemade moisturizer, a body butter is usually a simpler project.
If you specifically want a lightweight moisturizer that spreads like conventional lotion, a water-based lotion is worth the extra formulation work.
What Makes a Lotion Different?
A lotion normally contains two major phases:
- Water phase: distilled water and water-soluble ingredients
- Oil phase: oils, butters, and emulsifier
Water and oil naturally separate. An emulsifier helps create a stable oil-in-water mixture.
That is why simply combining water, coconut oil, and shea butter will not give you a dependable lotion.
When Homemade Lotion Is Not the Best Choice
DIY lotion may not be the best option if:
- You want a long, predictable shelf life.
- You do not have a digital scale.
- You do not want to use a preservative.
- You do not want to work with an emulsifier.
- You need a product with validated microbial and stability testing.
- You are trying to formulate a treatment for a diagnosed skin condition.
For very dry or eczema-prone skin, dermatologists commonly recommend fragrance-free creams or ointments rather than lotions because creams and ointments generally provide more moisture.
DIY Lotion Recipe
This 100 g formula is designed as a starting formulation for a simple body lotion.
Ingredients
| Ingredient | Amount | Purpose |
| Distilled water | 75.5 g | Main water phase |
| Vegetable glycerin | 3 g | Humectant |
| Lightweight carrier oil | 10 g | Emollient |
| Shea butter | 5 g | Richness and skin feel |
| Emulsifying Wax NF | 6 g | Emulsifies water and oil |
| Broad-spectrum preservative* | 0.5 g | Helps control microbial growth |
| Total | 100 g |
*The preservative is the part you must verify carefully. Use a cosmetic preservative that is specifically appropriate for a water-based leave-on lotion, and use it at the supplier’s permitted concentration, pH range, and processing temperature.
For example, some Liquid Germall Plus suppliers specify a 0.1–0.5% usage range and a pH range around 3–8, with addition during cool-down below the specified temperature. Always follow the technical information for the exact preservative you purchased rather than assuming all preservatives work the same way.
What Kind of Oil Should You Use?
For the 10 g oil portion, you can start with:
- Sunflower oil
- Sweet almond oil
- Jojoba oil
- Grapeseed oil
Choose one rather than mixing several oils during your first batch.
That makes troubleshooting easier.
Why Use Distilled Water?
Water is the largest ingredient in this formula, so its quality matters.
For a beginner formulation, distilled water is a straightforward choice because you are not introducing the variable quality of household tap water.
More importantly, water-containing cosmetics require attention to microbial contamination and preservation. FDA notes that contaminated water, raw materials, poor manufacturing conditions, and ineffective preservation can contribute to microbial contamination in cosmetics.
What Each DIY Lotion Ingredient Does

Distilled Water
Water provides the main liquid portion of the lotion.
It gives the finished product a lighter, easier-to-spread texture than a water-free body butter.
Glycerin
Glycerin is a humectant that helps attract and hold water.
It can improve the moisturizing feel of a lotion, although too much can make a formula feel sticky.
Carrier Oil
Oil provides emollient properties and changes how the lotion feels on the skin.
A lighter oil can make the lotion feel less greasy, while richer oils can give a more substantial finish.
Shea Butter
Shea butter adds richness and body.
It also makes the finished lotion feel more substantial than a formula made entirely with liquid oil.
Emulsifying Wax NF
This is the ingredient that allows the water and oil phases to form a lotion instead of quickly separating.
Do not automatically substitute beeswax.
Beeswax and emulsifying wax do not perform the same job in a typical water-and-oil lotion.
Emulsifying Wax NF is commonly used in lotions and creams, with suppliers giving different recommended ranges depending on the specific product. One supplier, for example, lists approximately 3–5% for lotions and higher levels for creams.
Broad-Spectrum Preservative
Because this formula contains water, preservation is a major consideration.
The preservative helps control bacteria, yeast, and mold when used correctly.
Do not assume vitamin E is a replacement for a broad-spectrum preservative.
Vitamin E is commonly used as an antioxidant to help slow oxidation of oils; it does not replace a properly selected antimicrobial preservation system for a water-based lotion.
How to Make DIY Lotion

Step 1: Clean Your Equipment
Wash and thoroughly clean:
- Mixing containers
- Spoons or spatulas
- Digital scale
- Thermometer
- Mixer
- Finished lotion bottle
Allow everything to dry.
Good sanitation matters because contamination can enter cosmetics from raw materials, water, equipment, packaging, and handling.
Step 2: Weigh the Water Phase
Place a heat-safe container on your digital scale.
Add:
- 75.5 g distilled water
- 3 g glycerin
Mix them together.
Step 3: Weigh the Oil Phase
In a second heat-safe container, weigh:
- 10 g carrier oil
- 5 g shea butter
- 6 g emulsifying wax
Keep the two phases separate.
Step 4: Heat the Two Phases
Heat the water phase and oil phase separately according to the processing instructions for your particular emulsifier.
The goal is to fully melt the emulsifier and shea butter while bringing the phases into a suitable temperature range for emulsification.
Do not assume every product labeled “emulsifying wax” has identical processing instructions.
Different suppliers and blends can behave differently, so follow the technical information for the exact product you purchased.
Step 5: Combine the Phases
When the two phases are ready, slowly combine them.
Begin mixing immediately.
The mixture should become increasingly cloudy and uniform as the emulsion forms.
Step 6: Blend the Lotion
Use a suitable stick blender or cosmetic mixer to emulsify the mixture.
Avoid whipping excessive air into the lotion.
The mixture may look thinner while it is still warm. Do not judge the final texture immediately.
Step 7: Allow the Lotion to Cool
Continue gentle mixing while the lotion cools.
The texture can become thicker as the emulsion cools.
Step 8: Add the Preservative
Once the lotion reaches the temperature specified by your preservative supplier, add the preservative.
For example, suppliers of Liquid Germall Plus commonly specify cool-down addition below 50°C and usage within a defined concentration range.
Never add a preservative simply because a recipe says “add 1%.”
The correct amount depends on the actual preservative.
Step 9: Mix Thoroughly
Mix until the preservative is evenly distributed throughout the lotion.
Do not stop immediately after adding it.
Step 10: Check the Final Lotion
A finished lotion should generally look uniform rather than showing obvious pools of oil or water.
If your formulation calls for a specific pH range, measure the finished lotion with an appropriate pH meter or suitable test method.
The target pH should be chosen based on the preservative, emulsifier, ingredients, and intended use rather than guessed from a generic recipe.
Step 11: Fill the Bottle
Transfer the lotion into a clean pump bottle.
A pump container is practical because it reduces repeated finger contact with the product.
Label the bottle with:
- Date made
- Formula
- Preservative
- Fragrance, if used
How to Scale the DIY Lotion Recipe
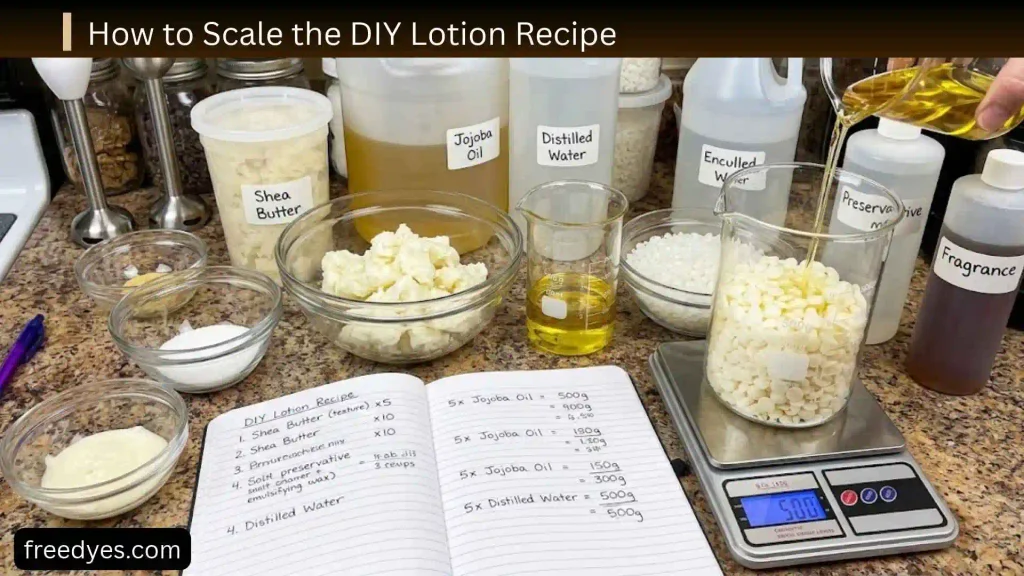
The 100 g batch makes formulation math easy.
The basic formula is:
Ingredient weight = total batch size × ingredient percentage ÷ 100
For example, if an ingredient represents 5%:
- 100 g batch → 5 g
- 200 g batch → 10 g
- 500 g batch → 25 g
This is one reason weighing lotion ingredients is much better than using teaspoons.
Why You Should Not Scale by Random Spoonfuls
A tablespoon of one ingredient does not necessarily weigh the same as a tablespoon of another.
Oil, glycerin, butter, and wax all have different densities.
For repeatable lotion making, work by weight, not volume.
How to Choose a Better DIY Lotion Texture
For a Lighter Lotion
Try:
- A lighter carrier oil
- Less shea butter
- A pump bottle
- A balanced oil phase
Do not simply add extra water to an already finished lotion.
Adding water changes the formula and can also affect preservation.
For a Richer Lotion
You can formulate a richer product by increasing the richness of the oil phase, but changes should be made deliberately.
Adding a large amount of shea butter can change:
- Viscosity
- Skin feel
- Emulsion behavior
- Cooling characteristics
If you want a very rich, water-free moisturizer, a body butter may be a better formulation.
How to Make DIY Lotion for Dry Skin
If your goal is everyday moisturizing for dry-feeling skin, focus on a simple, fragrance-free formula.
Useful ingredients can include:
- Glycerin
- Shea butter
- Suitable plant oils
- Other properly formulated moisturizing ingredients
Apply moisturizer after bathing while the skin is still slightly damp.
The American Academy of Dermatology recommends moisturizing dry skin regularly and notes that creams and ointments generally provide more moisture than lotions.
When a Lotion May Not Be Enough
If your skin is extremely dry, cracked, painful, or persistently irritated, a richer cream or ointment may be more appropriate than a lightweight lotion.
A homemade lotion should not be presented as a treatment for eczema, psoriasis, dermatitis, or another medical condition.
For eczema-prone skin, the American Academy of Dermatology recommends fragrance-free creams or ointments rather than lotions.
DIY Lotion for Sensitive Skin
For sensitive skin, start with the simplest formula possible.
Consider leaving out:
- Fragrance
- Essential oils
- Colorants
- Large botanical blends
Fragrance-free is preferable to simply choosing something labeled “unscented.” The AAD notes that “unscented” products can still contain fragrance ingredients used to mask odors.
Patch Testing
Before using a new homemade skincare product over a large area, test a small amount on a limited area of skin.
If you experience burning, significant redness, swelling, itching, or another concerning reaction, stop using it.
Can You Add Essential Oils to DIY Lotion?

You can formulate some lotions with essential oils, but they are not necessary.
Essential oils are concentrated materials and can cause irritation or sensitization in some people.
If you’re making your first lotion, a fragrance-free version is easier to troubleshoot.
If you later add an essential oil, use one specifically appropriate for leave-on cosmetic use and follow reliable usage guidance for that particular material.
Can You Add Aloe Vera?
Yes, aloe can be included in some lotion formulas, but the type of aloe matters.
Commercial aloe gels may already contain:
- Water
- Preservatives
- Thickeners
- Humectants
- pH adjusters
- Other cosmetic ingredients
Adding a large amount of an unknown aloe gel to the finished lotion can change the formulation and preservation system.
If you want an aloe lotion, formulate aloe into the water phase from the beginning and account for everything contained in the aloe ingredient.
Can You Use Coconut Oil?
Yes, coconut oil can be used as a cosmetic oil in some lotion formulas.
However, it can produce a different skin feel from lighter liquid oils and may become firmer at cooler temperatures.
For a lightweight lotion, sunflower or another suitable liquid oil may be easier to work with.
Can You Use Olive Oil?
Olive oil can be incorporated into cosmetic emulsions, but it can create a richer, heavier skin feel than some lightweight oils.
If you substitute it into this formula, make the substitution deliberately rather than changing several ingredients at the same time.
Can You Use Beeswax Instead of Emulsifying Wax?
Not as a direct substitute for the emulsifier in this recipe.
Beeswax can add structure to oil-based products, but it does not perform the same emulsifying function required to keep a conventional water-and-oil lotion together.
If you do not want to use an emulsifier, make a water-free product instead.
DIY Lotion Without Preservative
A water-based lotion should not simply have the preservative removed.
The presence of water creates conditions in which microorganisms can grow, and FDA identifies ineffective preservation as one potential contributor to microbial contamination in cosmetics.
What Should You Make Instead?
If you specifically want a homemade moisturizer without a conventional water-based preservation system, consider a:
- Body butter
- Body balm
- Oil-based moisturizer
These products are formulated without added water, although they still require clean handling and appropriate storage.
Water-free does not mean automatically contamination-proof.
DIY Lotion Without Emulsifying Wax
If you leave the emulsifier out, the water and oil will tend to separate.
You can shake the mixture temporarily, but that does not turn it into a stable lotion.
Instead, choose one of these approaches:
- Use a suitable emulsifier and make lotion.
- Make a water-free body butter.
- Make a balm using oils and suitable waxes.
Why Does DIY Lotion Need an Emulsifier?
Think of the lotion as two ingredients that normally do not want to stay together:
Water + oil → separation
An emulsifier helps create a more stable mixture:
Water + oil + emulsifier + proper processing → lotion
The exact emulsifier level depends on the specific emulsifier and formula.
For example, suppliers of Emulsifying Wax NF commonly recommend different percentages depending on the oil phase and desired texture.
This is also why switching between different products called “emulsifying wax” can change the finished lotion.
Why Does DIY Lotion Need a Preservative?
The short answer is because it contains water.
Microorganisms can enter through:
- Water
- Raw materials
- Equipment
- Hands
- Packaging
- Air and handling
- Storage
FDA specifically identifies bacteria and fungi as potential contaminants in cosmetics and notes that ineffective preservation can contribute to microbial growth.
A preservative system is therefore part of the formulation, not an optional finishing touch.
Does Vitamin E Preserve DIY Lotion?
No.
Vitamin E is commonly used as an antioxidant, which is different from an antimicrobial preservative.
An antioxidant can help slow oxidation of oils, but it should not be treated as the complete preservation system for a water-containing lotion.
Why pH Matters in DIY Lotion

The final pH matters for several reasons:
- Skin compatibility
- Preservative performance
- Ingredient stability
- Overall formula behavior
There is no single magic pH that works for every homemade lotion.
Instead, determine the appropriate pH based on the complete formulation and the specific preservative you are using.
Some preservatives have broad working ranges, while others are much more dependent on pH.
Never choose a preservative without checking its technical documentation.
How to Tell If Your Lotion Emulsified Properly
A Good-Looking Emulsion
Your lotion should generally be:
- Uniform
- Creamy or lotion-like
- Easy to spread
- Free of obvious oil pools
- Free of visible water separation
Signs of Emulsion Failure
Watch for:
- Oil floating on top
- Water collecting underneath
- Large visible separation
- Persistent curdling
- Major texture changes after cooling
If the lotion separates, don’t simply assume shaking it makes the formula stable.
Investigate the formulation and processing.
DIY Lotion Troubleshooting
| Problem | Possible cause | What to check |
| Lotion separates | Emulsion failure | Emulsifier, phase temperatures, mixing |
| Lotion is too thin | Formula or processing issue | Emulsifier and oil phase |
| Lotion is too thick | Too much structure | Butter or emulsifier level |
| Lotion feels greasy | Heavy oil phase | Oil and butter selection |
| Lotion feels sticky | Humectant/formula balance | Glycerin level |
| Lotion becomes grainy | Butter crystallization | Heating and cooling |
| Lotion smells strange | Ingredient degradation or contamination | Stop using |
| Lotion changes color | Oxidation or ingredient change | Investigate before use |
| Water appears at bottom | Separation | Emulsion stability |
| Oil appears at top | Separation | Emulsifier/process |
Why Is My DIY Lotion Too Thin?
Possible causes include:
- The formula contains too much water.
- The emulsifier level is unsuitable.
- The oil phase is too small for the chosen system.
- The lotion has not completely cooled.
- The emulsifier was not processed correctly.
Let the lotion cool completely before deciding the final texture is too thin.
Why Is My DIY Lotion Too Thick?
Possible causes include:
- Too much emulsifier
- Too much shea butter
- A particularly thick emulsifying wax
- A heavier oil phase
- Cooling effects
Make one change at a time in the next batch.
Why Is My Lotion Greasy?
A rich oil phase can make a lotion feel greasy.
Try a lighter carrier oil or reduce the amount of shea butter in the next formulation.
Do not fix greasiness by randomly adding water.
Why Is My Lotion Sticky?
Too much glycerin or another humectant can contribute to a sticky feel.
If the texture is otherwise good, reduce the humectant level in a future batch rather than changing the entire formula.
Why Did My Lotion Separate?
Check these first:
- Was the correct emulsifier used?
- Was enough emulsifier used for the formula?
- Were the phases processed according to the emulsifier’s instructions?
- Were the phases properly mixed?
- Did you change an ingredient?
- Did you add water or another ingredient after emulsification?
Why Did My Lotion Become Grainy?
Shea butter and other solid fats can sometimes develop a grainy texture because of changes in crystallization.
For your next batch, review the heating and cooling process and avoid making several formula changes simultaneously.
Why Does My Lotion Smell Bad?
Stop using it.
An unusual or unpleasant odor can indicate oxidation, ingredient degradation, contamination, or another formulation problem.
Do not cover a suspicious smell with fragrance.
How to Store Homemade Lotion

Use a Clean Pump Bottle
A pump bottle is preferable to repeatedly dipping wet fingers into an open jar.
Keep It Closed
Close the container after use.
Keep Water Out
Do not dilute the finished lotion with water.
Adding water changes the formula and can also affect preservation.
Avoid Excessive Heat
Store the lotion according to the requirements of the ingredients and preservative.
Label the Batch
Write the date and formula on the container.
Watch for Changes
Stop using the lotion if you notice:
- Mold
- Unexpected separation
- Major color change
- Unusual odor
- Gas or pressure
- Other unexplained changes
However, a lotion that looks and smells normal is not automatically proven microbiologically safe. Microbial contamination can occur without an obvious visual warning.
How Long Does Homemade Lotion Last?
There is no honest universal answer such as:
“Homemade lotion lasts six months.”
Shelf life depends on:
- Preservative
- Preservative concentration
- pH
- Formula
- Water quality
- Packaging
- Manufacturing hygiene
- Storage
- Microbial contamination
- Stability testing
A homemade batch without laboratory testing cannot be assigned the same confidence as a professionally tested cosmetic.
Do not invent a long shelf life just because another DIY recipe gives one.
Common DIY Lotion Mistakes
Measuring With Spoons
Use a digital scale.
Changing Several Ingredients at Once
If you change the oil, butter, emulsifier, glycerin, and preservative simultaneously, you won’t know what caused the texture change.
Using Random Preservatives
Preservatives are not interchangeable.
Check:
- Usage rate
- pH range
- Addition temperature
- Compatibility
- Regulatory restrictions
Skipping the Preservative
A water-based lotion needs an appropriate preservation strategy.
Treating Vitamin E as a Preservative
It isn’t a substitute for antimicrobial preservation.
Using Beeswax as the Only Emulsifier
Beeswax is not a direct replacement for an oil-in-water emulsifier.
Adding Water After Making the Lotion
This changes the formula and can compromise preservation.
Adding Too Many “Natural” Ingredients
More ingredients do not automatically create a better lotion.
A simple formula is easier to understand and troubleshoot.
Assuming Natural Means Safe
Plant-derived ingredients can still cause irritation or allergic reactions.
Making a Large Batch First
Start with a small batch while learning the process.
DIY Lotion Ingredient Substitution Guide
| Ingredient | Possible direction | Important consideration |
| Sunflower oil | Jojoba or another suitable liquid oil | Skin feel changes |
| Shea butter | Another compatible cosmetic butter | Texture changes |
| Glycerin | Another suitable humectant | Formula balance changes |
| Fragrance | Leave it out | No scent, easier for sensitive skin |
| Emulsifying Wax NF | Another suitable emulsifier | Recalculate based on supplier instructions |
| Preservative | Another broad-spectrum system | Must reformulate around its requirements |
Do not assume substitutions are always gram-for-gram equivalent.
The most important substitutions are the emulsifier and preservative. Those should never be changed casually.
DIY Lotion vs Store-Bought Lotion
| Feature | Homemade Lotion | Commercial Lotion |
| Ingredient control | High | Depends on product |
| Customization | High | Limited |
| Formulation difficulty | Higher | None for consumer |
| Preservation validation | Usually limited | May include testing |
| Stability testing | Often unavailable | More likely |
| Texture control | Requires experimentation | Ready to use |
| Shelf-life confidence | Lower without testing | Usually established by manufacturer |
| Best for | Learning and customization | Convenience and predictability |
Homemade lotion can be a useful formulation project, but it should not automatically be presented as safer or better than a professionally manufactured product.
Best DIY Lotion for Different Needs
For Everyday Body Moisturizing
Choose a light-to-medium lotion with:
- Glycerin
- A suitable carrier oil
- Small amount of shea butter
- No unnecessary fragrance
For Sensitive Skin
Choose:
- Fragrance-free
- Minimal ingredients
- Gentle formulation
- Appropriate preservation
For Very Dry Skin
A richer cream or ointment may be more useful than a lightweight lotion. Dermatology guidance commonly favors creams and ointments for very dry or eczema-prone skin.
For the Simplest DIY Moisturizer
Choose a water-free body butter rather than a preserved lotion.
For a Lightweight Feel
Use a lighter liquid oil and avoid making the butter portion unnecessarily high.
Frequently Asked Questions
What is the easiest DIY lotion recipe?
A basic homemade lotion needs a water phase, oil phase, suitable emulsifier, and appropriate broad-spectrum preservative. A digital scale makes the process much more reliable.
Can I make DIY lotion without emulsifying wax?
You can make a different type of moisturizer without emulsifying wax, such as a body butter or balm. But a conventional water-and-oil lotion requires an appropriate emulsification system.
Can I make DIY lotion without a preservative?
A water-based lotion should not simply have its preservative removed. Microbial contamination is a genuine concern for water-containing cosmetics.
What can I use instead of emulsifying wax?
Use another cosmetic emulsifier specifically designed for the type of lotion you are making. Do not assume beeswax or a random wax will work as a direct replacement.
Can I use coconut oil in homemade lotion?
Yes, coconut oil can be used in some lotion formulas, but it changes the texture and can feel richer than lighter liquid oils.
Can I use olive oil?
Yes, but olive oil can give the lotion a richer feel. Test it in a small batch before committing to a larger formula.
Is DIY lotion good for dry skin?
It can provide moisturization, but very dry skin often responds better to a richer cream or ointment than a lightweight lotion.
Is homemade lotion good for eczema?
Don’t treat homemade lotion as an eczema treatment. For eczema-prone skin, dermatologists generally recommend fragrance-free creams or ointments and appropriate medical care.
Can I add essential oils?
You can formulate some lotions with essential oils, but they are not necessary and can irritate or sensitize some people. A fragrance-free first batch is easier to troubleshoot.
Can I use vitamin E as the preservative?
No. Vitamin E can function as an antioxidant, but it should not be treated as the complete antimicrobial preservation system for a water-based lotion.
Why did my homemade lotion separate?
Common causes include unsuitable emulsifier selection, incorrect emulsifier level, phase-processing problems, inadequate mixing, or changes to the formula.
Why is my lotion too greasy?
The oil or butter phase may be too rich for your preference. Try a lighter carrier oil or reduce the butter in the next batch.
Why is my lotion sticky?
Glycerin and other humectants can contribute to stickiness. Adjust the humectant level in a future batch rather than randomly adding water.
How should I package homemade lotion?
A clean pump bottle is a practical option because it reduces repeated finger contact.
How long does homemade lotion last?
There is no universal shelf life. Preservation, pH, packaging, ingredients, hygiene, storage, and testing all affect longevity.
Can I sell homemade lotion?
Selling cosmetics is different from making a personal-use batch. You become responsible for the safety, labeling, manufacturing practices, and applicable regulations in the markets where you sell. In the United States, FDA states that individuals who manufacture cosmetics are responsible for making products that are safe and not adulterated, including consideration of microbial contamination.
Final Thoughts
The best DIY lotion is not necessarily the recipe with the most ingredients. A better approach is to understand the basic structure of the formula.
You need a water phase, an oil phase, an appropriate emulsifier, and a suitable preservation system. Weigh everything accurately, process the phases according to your specific emulsifier, add the preservative according to its technical instructions, and keep the finished product hygienically packaged.
If you want something extremely simple, make a water-free body butter instead. If you specifically want a lightweight homemade body moisturizer, learning how to make a properly emulsified lotion gives you much more control over the texture and ingredients.
Most importantly, do not treat a homemade lotion as automatically safe simply because the ingredients are familiar or natural. Water-based cosmetics require careful formulation, preservation, hygiene, and realistic expectations about shelf life.
For SEO, this article is intentionally focused on solving the reader’s actual problem rather than adding unnecessary recipe variations. Google’s guidance emphasizes helpful, reliable, people-first content, originality, completeness, and satisfying the reader’s goal rather than writing to an arbitrary word count.